- Home
- /
- Article

Thanks for your feedback.

Webex Meetings desktop app VDI to Webex App VDI migration guide
 In this article
 Feedback?
This guide provides detailed procedures for migrating from Webex Meetings desktop app VDI to Webex App VDI. The procedures include steps to verify the migration, including the migration from Meeting Client VDI to Webex VDI plug-in.
Taskflow
The following taskflow provides a high-level view of the required tasks and the order in which to perform the tasks. Steps 1–4 provide detailed migration steps, and steps 5–8 provide detailed steps to verify postmigration functionality. For detailed procedures specific to your deployment, select the corresponding tab for the hardware client operating system.
For information about how to determine whether a platform is Webex Suite, see Webex App | Find out if your meetings use the Webex Suite meeting platform.
| 1 |
Uninstall the Webex Meetings Desktop App from the HVD. |
| 2 |
Uninstall the Webex Meetings Virtual Desktop Plug-in from the hardware client. |
| 3 |
Install the bundled Webex VDI plug-in on the hardware client. |
| 4 |
Install the Webex App on the HVD. |
| 5 |
Start the Webex App on the HVD. |
| 6 |
Make a 1-1 call and test midcall operations. |
| 7 |
Start and join a Personal Room meeting and test meeting functionality. |
| 8 |
Start and join a Personal Room meeting (Webex Suite meeting platform) and test meeting functionality. |
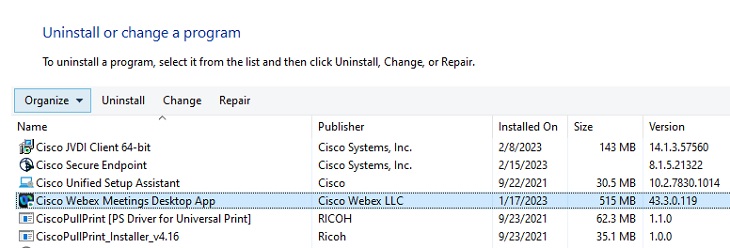
To completely remove the app from the HVD, perform the following steps in order.
| 1 |
If it starts, close the Webex Meetings Desktop App. |
| 2 |
Open the Windows Control Panel and uninstall the Webex Meetings Desktop App.
|
| 3 |
Using Windows Explorer, remove the following folders if they exist:
By default, the last two folders are hidden by Windows. Open
File Explorer Options and select the
View tab. To view these folders, select Show hidden
files, folders, and drives. |
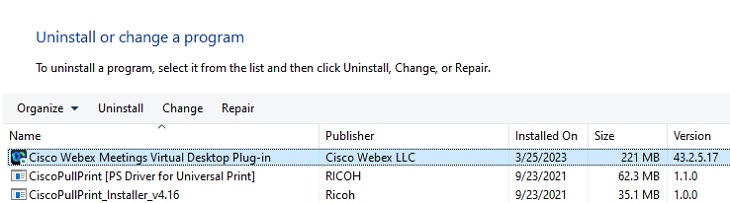
To completely remove the plug-in from a Windows-based thin client, perform the following steps in order.
| 1 |
Close all VDI sessions. |
| 2 |
Open the Windows Control Panel and uninstall the Webex Meetings Virtual Desktop Plug-in.
|
| 3 |
Using Windows Explorer, remove the following folder, if it exists:
|
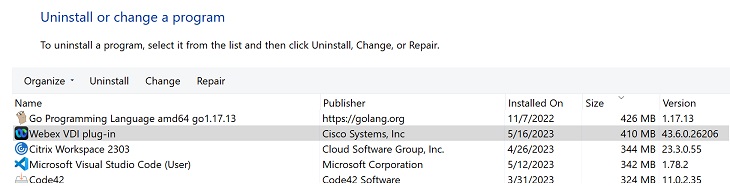
To install the Webex VDI plug-in on a Windows-based thin client, perform the following steps in order.
| 1 |
Close all VDI sessions. |
| 2 |
Run the bundled Webex VDI plug-in installer by double-clicking the file:
|
| 3 |
Verify that the Webex VDI plug-in entry appears in Control Panel.
|
| 4 |
Using Windows Explorer, confirm that the following folders exist:
|
To install the Webex App, perform the following steps in order.
| 1 |
Connect to the HVD. |
| 2 |
Run |
| 3 |
Run the installation command as follows:
For more information, see the following sections of the deployment guide: |
| 4 |
Confirm that Webex exists in . |
| 5 |
Using Windows Explorer, confirm that the following folders exist:
|
To verify the installation, perform the following steps in order.
| 1 |
Sign in to the HVD. |
| 2 |
To start the app, double-click the Webex App shortcut. |
| 3 |
Sign in to your Webex account. |
| 4 |
On the thin client, open the Windows Task Manager and verify that the following processes are running:
|
| 5 |
Using the Webex Health Checker, verify the virtual channel connection between the Webex App and the Webex App VDI Plug-in.
|

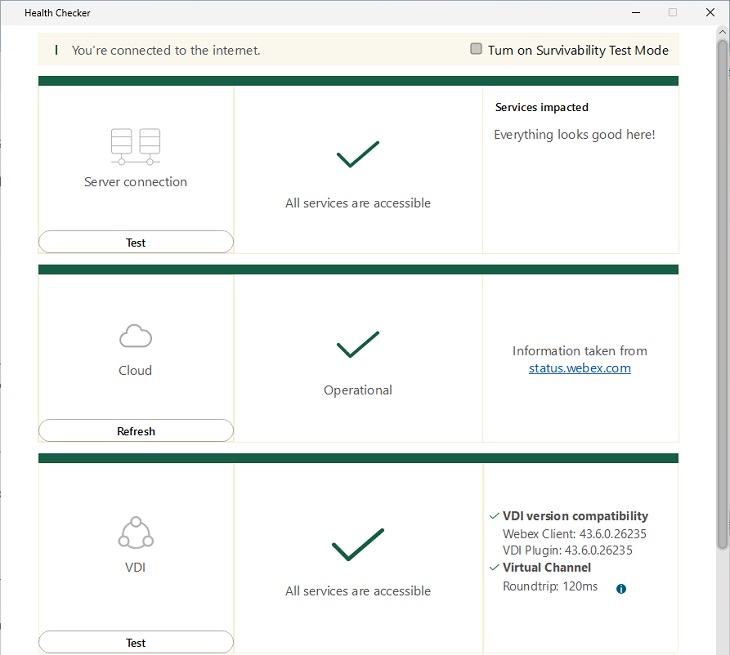
As you perform the following steps, complete this checklist:
-
Call is optimized.
-
No call failure.
-
Audio, Video, and Sharing quality is acceptable.
-
System usage is reasonable.
| 1 |
Establish a 1:1 audio or video call using one of the following methods:
|
| 2 |
Perform mid-call operations, such as:
|
Use the following procedure to test meetings that are not Video Mesh-ready.
| 1 |
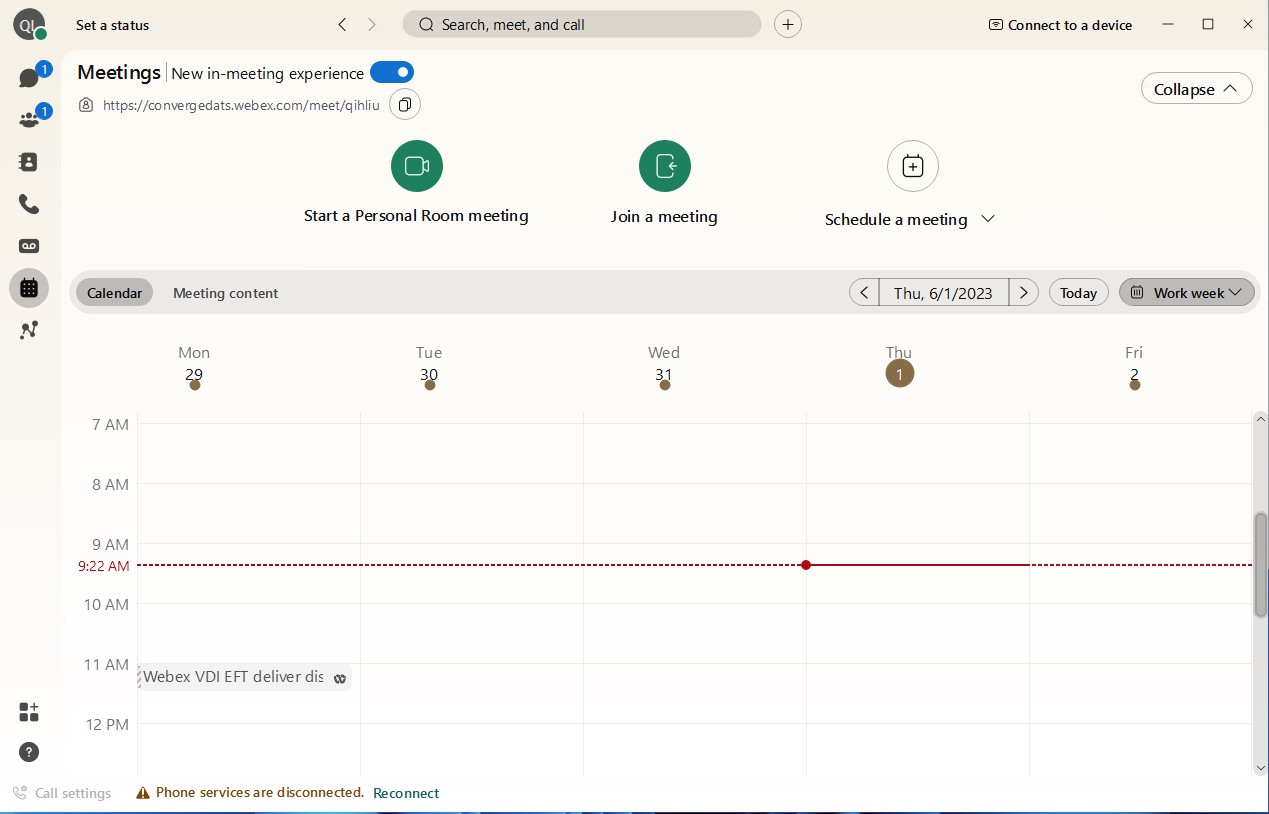
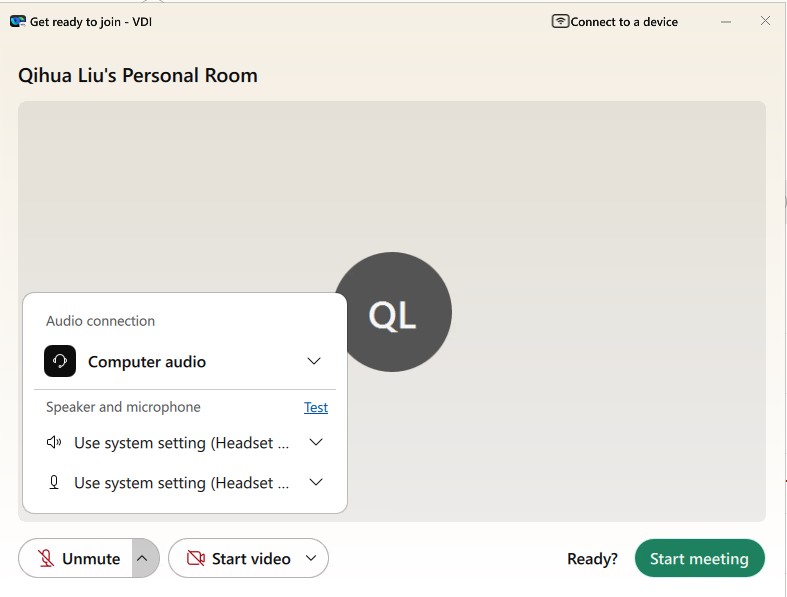
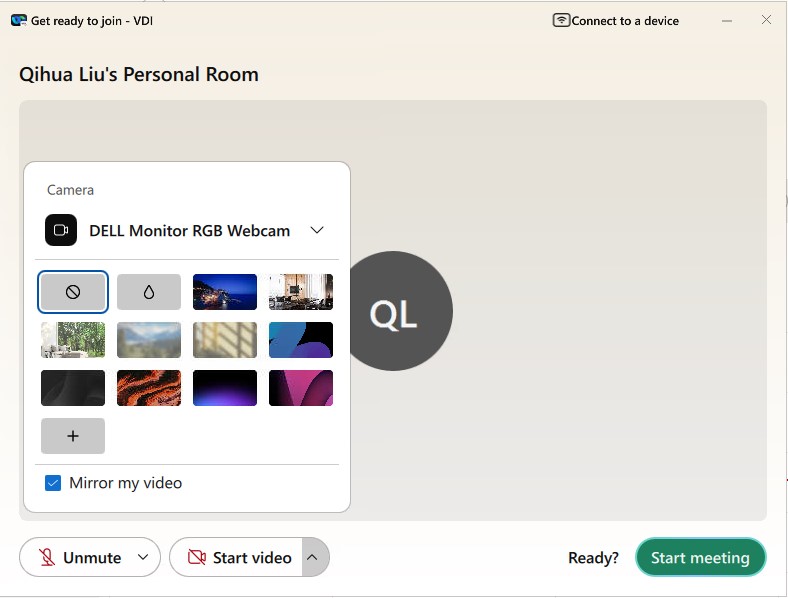
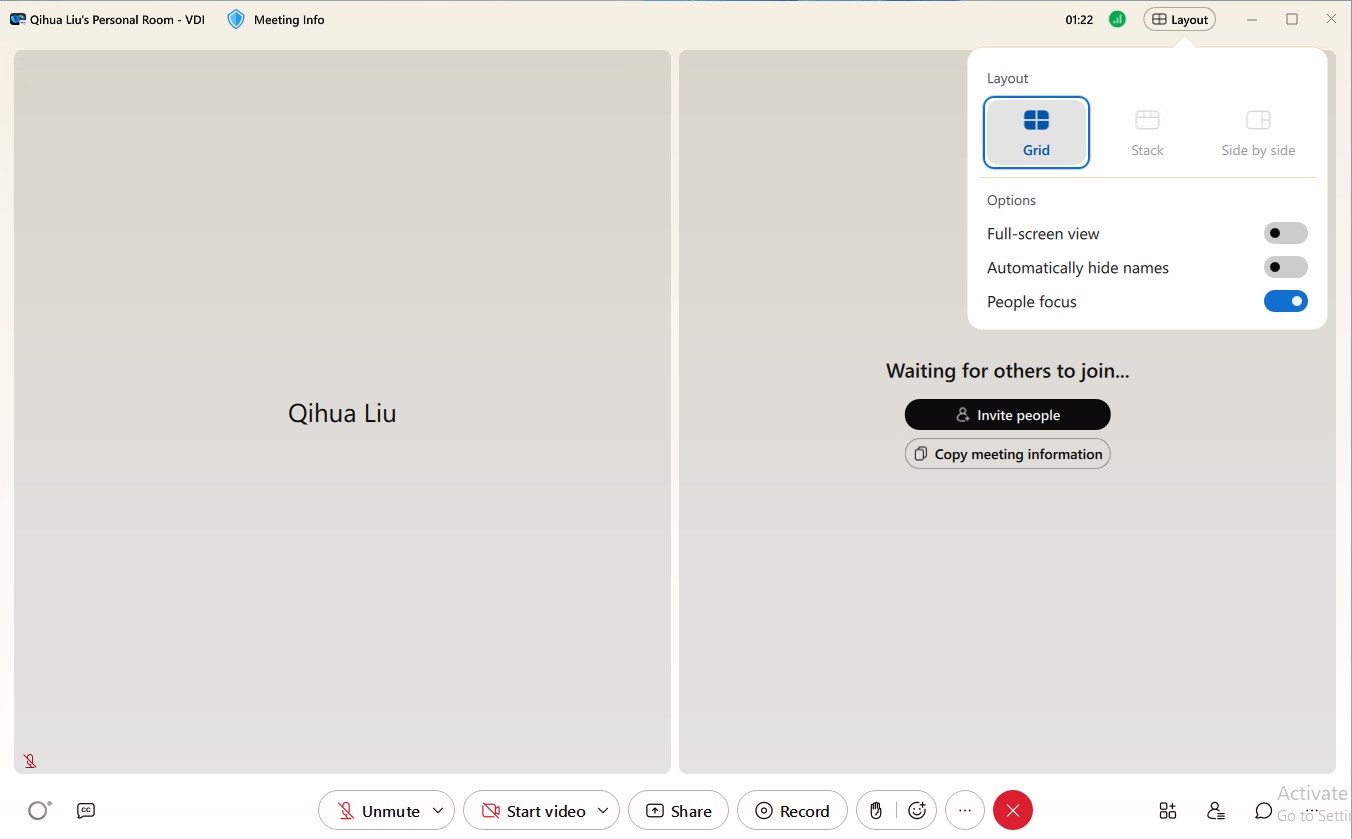
On the Webex Meetings tab, Start a Personal Room meeting.
|
| 2 |
Cross-launch the Meetings Client, have another account join the meeting, and check the following functionality:
|
| 3 |
Start the meeting as usual, and ensure that the following meeting operations work for other participants:
|
| 4 |
Check system usage to ensure that it is reasonable.
|
| 5 |
End the meeting and ensure that it closes as expected. |
| 1 |
On the Webex Meetings tab, click Start a Personal Room meeting.
|
| 2 |
Launch the Webex App, have another account join the meeting, and check the following functionality:
|
| 3 |
Start the meeting as usual, and ensure that the following meeting operations work for other participants:
|
| 4 |
Check system usage to ensure that it is reasonable.
|
| 5 |
End the meeting and ensure that it closes as expected. |
To completely remove the app from the HVD, perform the following steps in order.
| 1 |
If it starts, close the Webex Meetings Desktop App. |
| 2 |
Open the Windows Control Panel and uninstall the Webex Meetings Desktop App.
|
| 3 |
Using Windows Explorer, remove the following folders if they exist:
By default, the last two folders are hidden by Windows. Open
File Explorer Options and select the
View tab. To view these folders, select Show hidden
files, folders, and drives. |
To completely remove the plug-in from a MacOS-based thin client, perform the following steps in order.
| 1 |
Close all VDI sessions. |
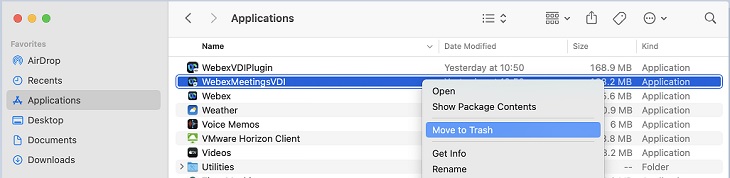
| 2 |
Open Applications, and move WebexMeetingsVDI to the Trash.
|
| 3 |
Verify that the WebexMeetingsVDI entry no longer appears in the list of applications. |
To install the Webex VDI plug-in on a MacOS-based thin client, perform the following steps in order.
| 1 |
Close all VDI sessions. |
| 2 |
Run the bundled VDI plug-in installer by double-clicking the file:
|
| 3 |
Verify that the WebexVDIPlugin and WebexMeetingsVDI entries appear in Applications.
|

To install the Webex App, perform the following steps in order.
| 1 |
Connect to the HVD. |
| 2 |
Run |
| 3 |
Run the installation command as follows:
For more information, see the following sections of the deployment guide: |
| 4 |
Confirm that Webex exists in . |
| 5 |
Using Windows Explorer, confirm that the following folders exist:
|
To verify the installation, perform the following steps in order.
| 1 |
Sign in to the HVD. |
| 2 |
To start the app, double-click the Webex App shortcut. |
| 3 |
Sign in to your Webex account. |
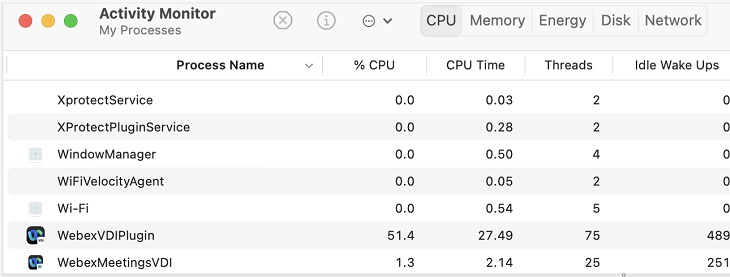
| 4 |
On the thin client, open the Activity Monitor and verify that the following processes are running:
|
| 5 |
Using the Webex Health Checker, verify the virtual channel connection between the Webex App and the Webex App VDI Plug-in.
|
As you perform the following steps, complete this checklist:
-
Call is optimized.
-
No call failure.
-
Audio, Video, and Sharing quality is acceptable.
-
System usage is reasonable.
| 1 |
Establish a 1:1 audio or video call using one of the following methods:
|
| 2 |
Perform mid-call operations, such as:
|
Use the following procedure to test meetings that are not Video Mesh-ready.
| 1 |
On the Webex Meetings tab, Start a Personal Room meeting.
|
| 2 |
Cross-launch the Meetings Client, have another account join the meeting, and check the following functionality:
|
| 3 |
Start the meeting as usual, and ensure that the following meeting operations work for other participants:
|
| 4 |
Check system usage to ensure that it is reasonable.
|
| 5 |
End the meeting and ensure that it closes as expected. |
| 1 |
On the Webex Meetings tab, click Start a Personal Room meeting.
|
| 2 |
Launch the Webex App, have another account join the meeting, and check the following functionality:
|
| 3 |
Start the meeting as usual, and ensure that the following meeting operations work for other participants:
|
| 4 |
Check system usage to ensure that it is reasonable.
|
| 5 |
End the meeting and ensure that it closes as expected. |
To completely remove the app from the HVD, perform the following steps in order.
| 1 |
If it starts, close the Webex Meetings Desktop App. |
| 2 |
Open the Windows Control Panel and uninstall the Webex Meetings Desktop App.
|
| 3 |
Using Windows Explorer, remove the following folders if they exist:
By default, the last two folders are hidden by Windows. Open
File Explorer Options and select the
View tab. To view these folders, select Show hidden
files, folders, and drives. |
To completely remove the plug-in from an Ubuntu-based thin client, perform the following steps in order.
| 1 |
Close all VDI sessions. |
| 2 |
Run the following command to uninstall the Webex Meetings VDI plugin:
|
| 3 |
Check to ensure that the |

To install the Webex VDI plug-in on an Ubuntu-based thin client, perform the following steps in order.
| 1 |
Close all VDI sessions. |
| 2 |
Install the Webex VDI plug-in by running the following command: |
| 3 |
Install the Webex Meetings VDI plug-in by running the following command: |
| 4 |
Check the package information by running the following command:
|
| 5 |
Confirm that the following directories exist:
|

To install the Webex App, perform the following steps in order.
| 1 |
Connect to the HVD. |
| 2 |
Run |
| 3 |
Run the installation command as follows:
For more information, see the following sections of the deployment guide: |
| 4 |
Confirm that Webex exists in . |
| 5 |
Using Windows Explorer, confirm that the following folders exist:
|
To verify the installation, perform the following steps in order.
| 1 |
Sign in to the HVD. |
| 2 |
To start the app, double-click the Webex App shortcut. |
| 3 |
Sign in to your Webex account. |
| 4 |
On the thin client, run the following command to verify that the following processes are running: ps -e | grep vdi
|
| 5 |
Using the Webex Health Checker, verify the virtual channel connection between the Webex App and the Webex App VDI Plug-in.
|

As you perform the following steps, complete this checklist:
-
Call is optimized.
-
No call failure.
-
Audio, Video, and Sharing quality is acceptable.
-
System usage is reasonable.
| 1 |
Establish a 1:1 audio or video call using one of the following methods:
|
| 2 |
Perform mid-call operations, such as:
|
Use the following procedure to test meetings that are not Video Mesh-ready.
| 1 |
On the Webex Meetings tab, Start a Personal Room meeting.
|
| 2 |
Cross-launch the Meetings Client, have another account join the meeting, and check the following functionality:
|
| 3 |
Start the meeting as usual, and ensure that the following meeting operations work for other participants:
|
| 4 |
Check system usage to ensure that it is reasonable.
|
| 5 |
End the meeting and ensure that it closes as expected. |
| 1 |
On the Webex Meetings tab, click Start a Personal Room meeting.
|
| 2 |
Launch the Webex App, have another account join the meeting, and check the following functionality:
|
| 3 |
Start the meeting as usual, and ensure that the following meeting operations work for other participants:
|
| 4 |
Check system usage to ensure that it is reasonable.
|
| 5 |
End the meeting and ensure that it closes as expected. |


