License Management Guide
 Feedback?
Introduction
Cisco has enabled True Forward (TF) automation for Collaboration Flex Plan 3.0 Enterprise Agreements, eliminating manual touches for the annual TF process.
This automation applies to Collaboration Flex Plan 3.0 Enterprise Agreement Cloud deployed subscriptions:
- Webex Suite
- Meetings Enterprise Agreement
- Webex Calling Enterprise Agreement
- Meetings + Webex Calling Pack Enterprise Agreement
Collaboration Flex Plan EA offers not listed here use the same annual True Forward methodology but require manual orders.
If the account is Overconsumed on the Last Day of the 11th Lifecycle Month, a True Forward is required on the True Forward Anniversary Date (TFAD).
An account is overconsumed when the number of Entitled (Licensed) Users exceeds the number of EA Licenses purchased, plus a 20% growth allowance.
For the Webex Suite subscription, an account is overconsumed when the number of Entitled (Licensed) Users exceeds the number of EA Licenses purchased, plus a 15% growth allowance.
To support an accurate Collaboration FLEX EA True Forward, it is important to audit Meetings and Calling licenses prior to the last day of the 11th month. All assigned licenses are measured, regardless of the user status.
For more information about Host vs Attendee licenses, see https://help.webex.com/article/txzp4bb.
For more information about Basic Meetings licenses, see https://help.webex.com/article/c7bq88.
For more information on managing multiple users by CSV, see Add multiple users in Control Hub with the CSV template.
| 1 |
Go to and click Export user List |
| 2 |
Remove Columns that will not be updated Leave the First name, Last Name, and User ID/Email (Required) columns. Delete any columns that you did not modify. Columns that you remove from the file do not have any chance of altering data. This measure protects you from inadvertently modifying users' services. |
| 3 |
Update license values to |
| 4 |
Click Import to upload the modified file. |
For more information on managing individual users in Control Hub, see https://help.webex.com/article/nikzbgy.
| 1 |
Find the inactive user. 
|
| 2 |
Select the user. The user details page opens, on the user's Profile tab. Scroll down to see their Licenses. 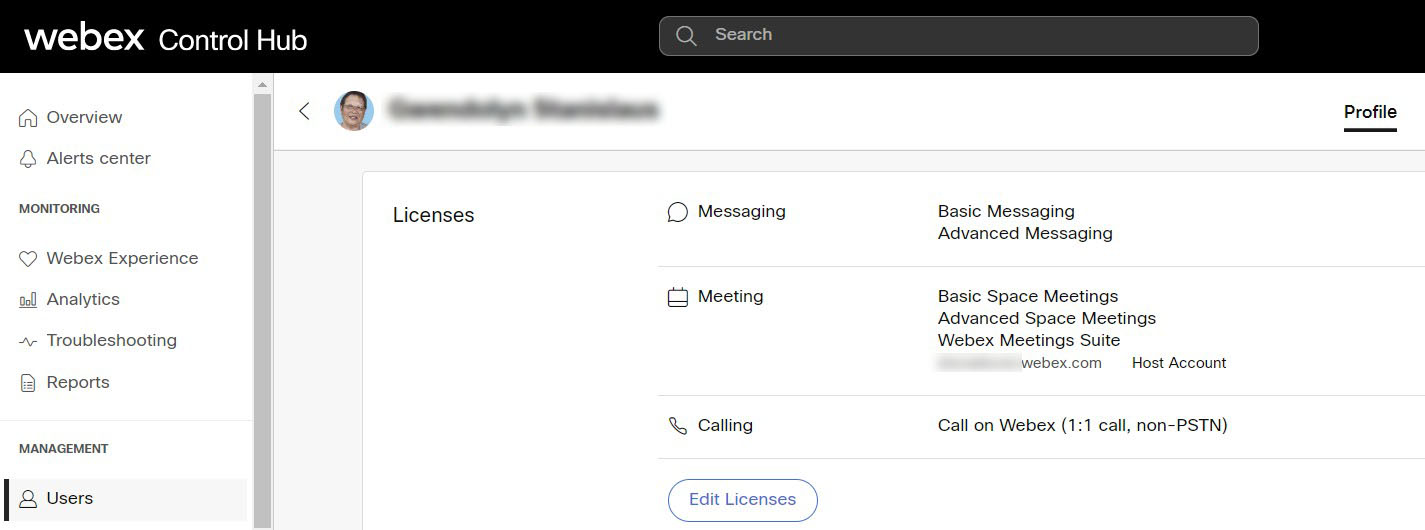
|
| 3 |
Click Edit Licenses. The user's license summary page shows, where you can review the licenses. |
| 4 |
Click Edit Licenses, then work through all the sections and uncheck all the boxes. 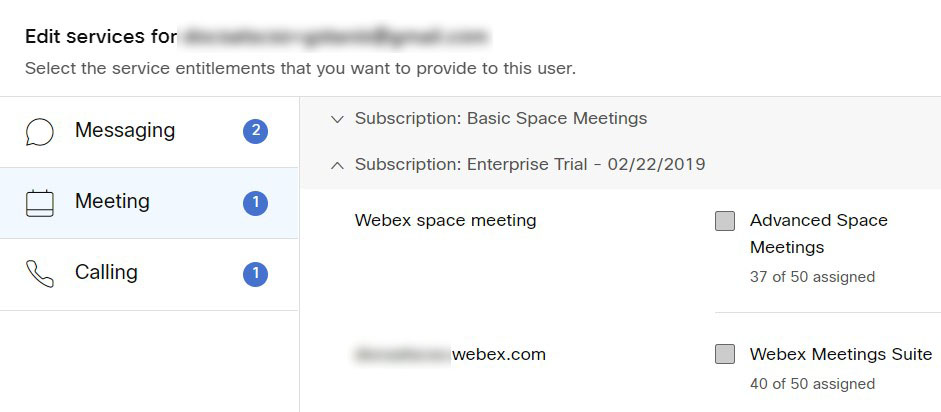
|
| 5 |
Click Save. |
| 1 |
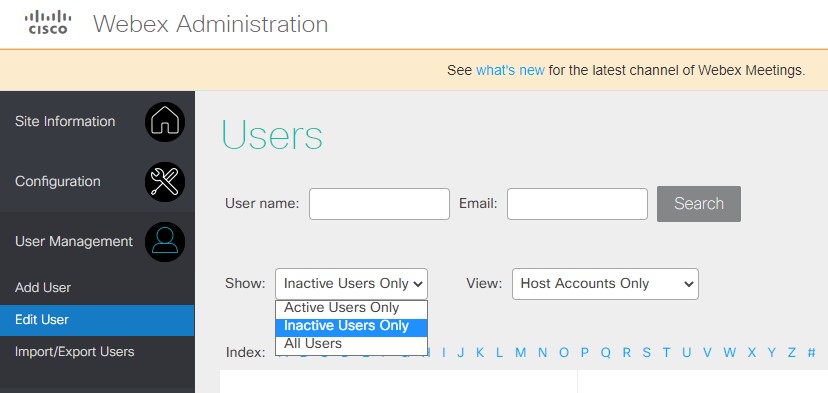
Visit your Webex site and sign in |
| 2 |
Click the dropdown on your profile and select "Webex administration" |
| 3 |
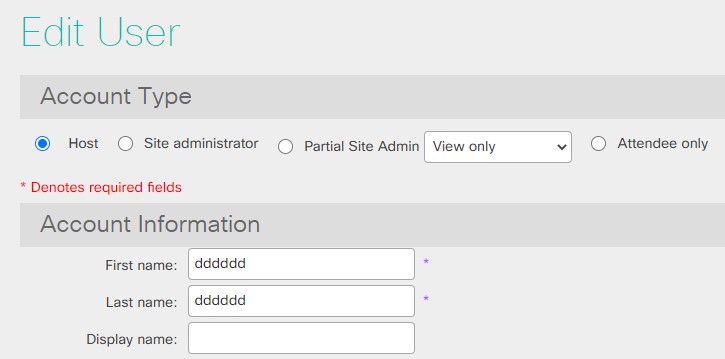
For a single user: |
| 4 |
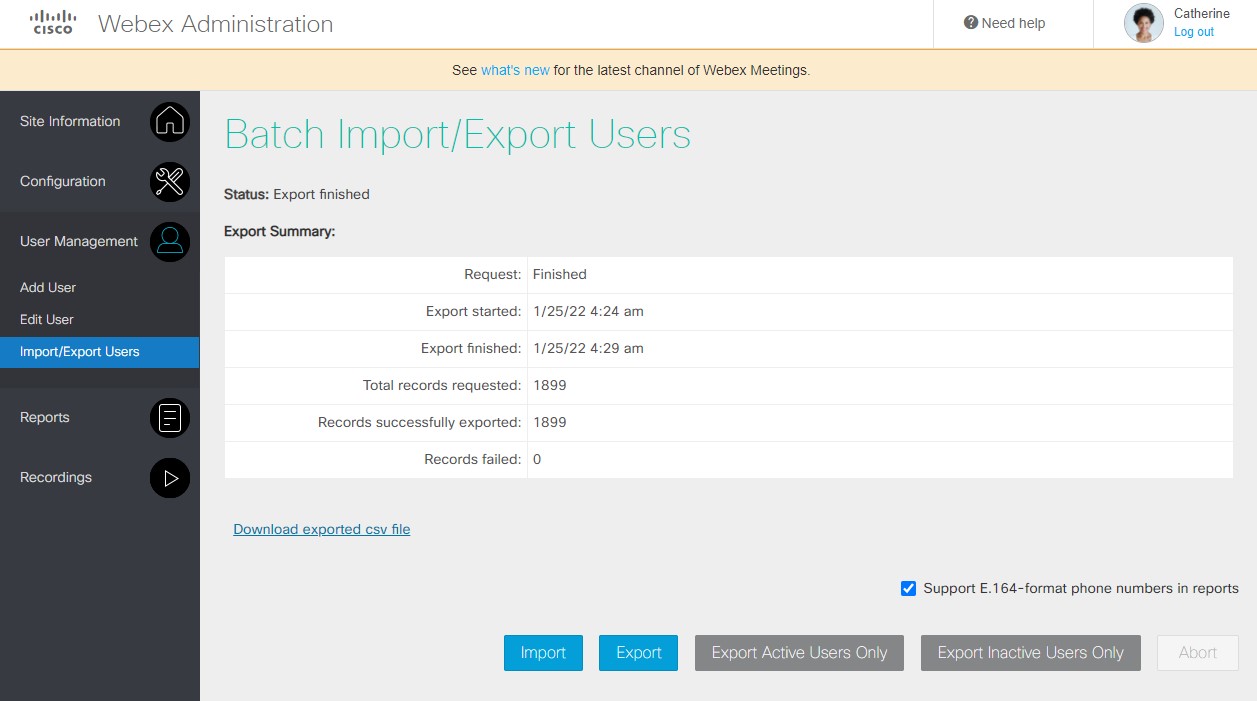
For multiple users: |
| 5 |
Review the results, and verify for one of the imported users that the host privilege has changed |

