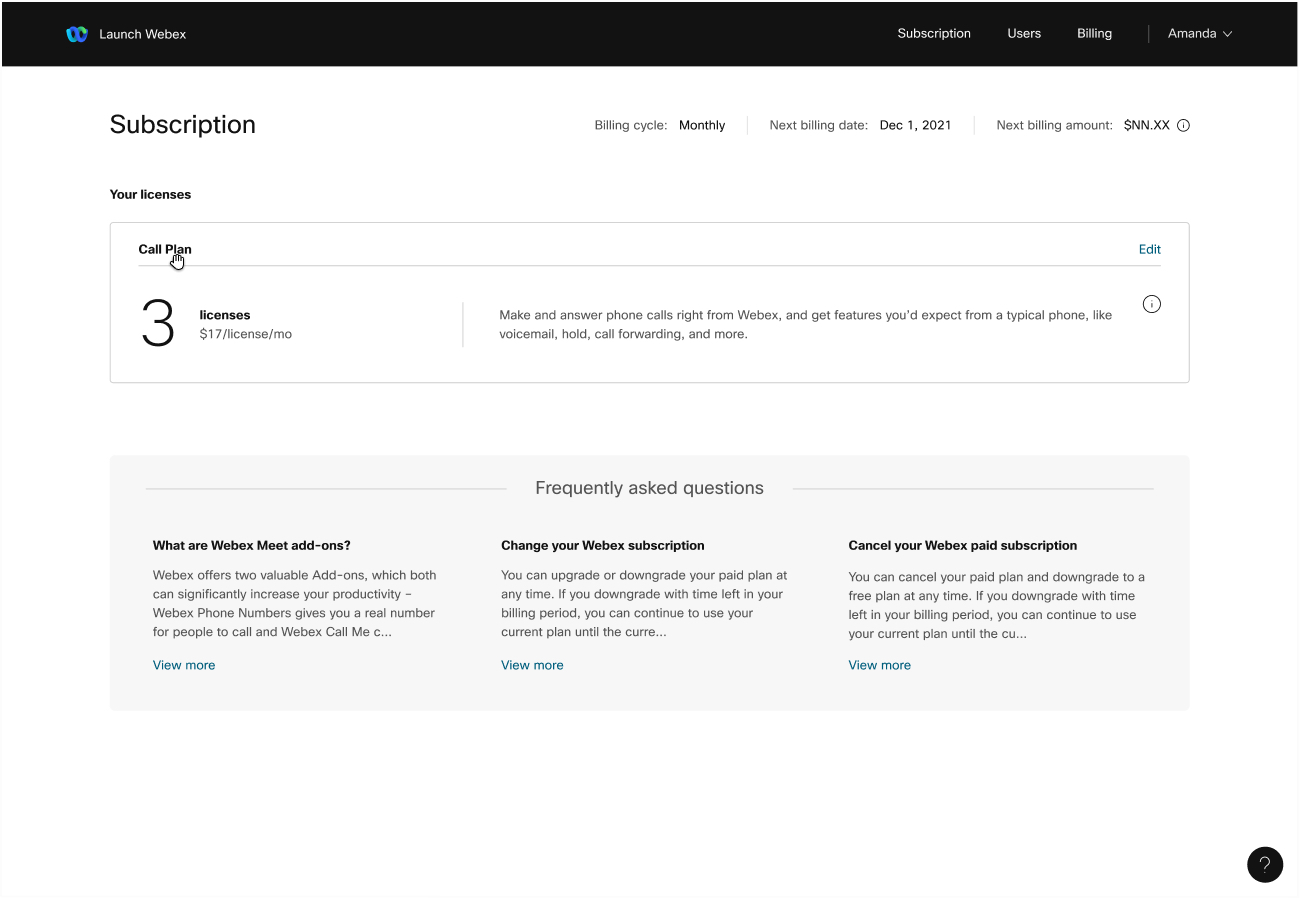
Set up your Webex Calling plan in Account Management
 Feedback?
Check out the feature comparison table for a list of features available in your plan. Advanced calling features, like call recording for example, are only available for enterprise accounts.
Call plans aren't available for purchase in Indonesia, Macau, Philippines, and Saudi Arabia.
Add-ons aren't available in India.
Details about your call plan
Here's some important details to guide you through setup.
Call plan owner
The person who purchased a call plan from webex.com becomes the administrator for the account.
Check your email for the 6-digit validation code to fill in the pop-up window after you complete your purchase. You become the account manager after your email address is validated.
Don't see the activation email? Check your junk folder in case you missed it, or contact support if you still can't find it.
Phone numbers
As you go through setup, choose the main number, other phone numbers, and extensions. If you purchased more than one call license, you get a free main number to use.
The main number is what people dial to call your organization and the first thing you must set up. Then, invite more users and assign them a phone number too. They either get calls at their own number, or through your main number and an extension.
Toll-free numbers aren't supported for call plans.
Phone menus
Phone menus, sometimes referred to as auto-attendants, give your callers options to choose from when they dial your main number. Customize the options and give instructions like, "Press 1 for sales" or "Enter the person's extension that you're trying to reach."
Number transfers
Sometimes called number porting, transferring numbers lets you take your existing phone numbers with you when you switch providers. If you chose to transfer phone numbers during the ordering process, use them with your call plan after they port.
The porting process takes 7–10 business days after you complete the steps to request.
Webex App download
To set up your call plan, go to: web.webex.com to access Account Management.
After you finish setup, your users get an email with a link to download Webex App, available for desktop and mobile devices. Make and answer calls, send messages, and meet with other people in your organization.
To learn more about Webex Calling features and how to use them, check here for all the information you need.
Having trouble signing in?
Here's your one-stop shop for finding the help that you need.
After you completed your purchase, a pop-up window requesting a code validates your new account. Check your email for Your Cisco Webex activation code to begin.
| 1 |
Paste the 6-digit code into the pop-up window. You're immediately signed into your Dashboard.
|
| 2 |
From the Dashboard, click Complete setup to edit licenses in Account Management. You can also get to Account Management by selecting your profile avatar. |
| 3 |
Click Select your main number, and choose your main number. This step is required before you can move on to the next steps. |
| 4 |
In the Existing users section, assign yourself a phone number and an extension, then select Add users. |
| 5 |
Add the Email Address, Phone Number, and Extension for each person you want to add. If you're transferring phone numbers, then select Transfer instead of a phone number for the users whose numbers you’re going to transfer. |
| 6 |
Select Invite. |
What to do next
After you invite people to join your Call plan, you'll see a pop-up window prompting you to set up your main numbers. You can set up your main number to go to a specific person or extension, or to a phone menu.
| 1 |
Click Set up main number on the pop-up window. You can also select Users form the Subscription page in account management and click Finish setting up your main number. |
| 2 |
Choose what happens when people call the main number:
|
What to do next
Before you begin
Only the account owner can sign the Letter of Agency (LOA) to request a number transfer. As the account owner, you need the following informaton ready to ensure a successful port:
-
A list of all the phone numbers that you want to transfer (non toll-free)
-
Last month's bill from your current PSTN provider, in PDF or PNG format, showing:
-
Your name as the account owner
-
PSTN provider account information
-
Current ownership of the phone numbers
-
The account PIN if applicable
-
Customer Service Record (CSR) if applicable
-
By default, the Emergency Service Address (ESA) entered for a location during your Call Plan setup is applied to all phone numbers for that location.
Additionally, we recommend that you consider any number that receives inbound calls. See Cisco Calling Plan Number Policy for more information.
| 1 |
After you finish setting up your main number, select Transfer my numbers. |
| 2 |
Click Next. |
| 3 |
Enter the phone numbers that you want to transfer separated by commas, and click Next. |
| 4 |
Verify your account information, enter you account number, and click Next. |
| 5 |
Upload your bill from the last 30 days and then click Next. |
| 6 |
E-sign the LOA and then click Download Webex. |
What to do next


