
Thanks for your feedback.
Add users manually in Control Hub
 Feedback?
You can manually add up to 25 users at a time if your organization hasn't marked user attributes as required, including user profile or custom attributes. If your organization marked a user attribute as required, then you can only add 1 user at a time.
-
If you're synchronizing your users from a directory such as Active Directory, you can’t add users manually in Control Hub. Use Directory Connector to add your users.
-
If you've purchased a subscription through Webex Online (my.webex.com), you need to add users through Webex User Hub.
Before you begin
If you get an error when trying to add users who used their email address to create a trial account, have the users delete their organization first before adding them to your organization.
| 1 |
Sign in to Control Hub. |
| 2 |
Click . |
| 3 |
Choose one of the following:
|
| 4 |
Create a list: Create a list of users you want to add or modify, then click Next. If you're just using email addresses, you can separate them with commas. If you're adding names as well, click + after each entry to add it to the list. You can add users who are eligible to be claimed to your organization. You can’t add existing users in your organization or users that already have a Webex account. |
| 5 |
Assign licenses:
|
| 6 |
Assign tracking codes: If you gave your new users Meeting licenses, and if their Meeting sites require tracking codes, add those tracking codes to the users on the next screen of the wizard: 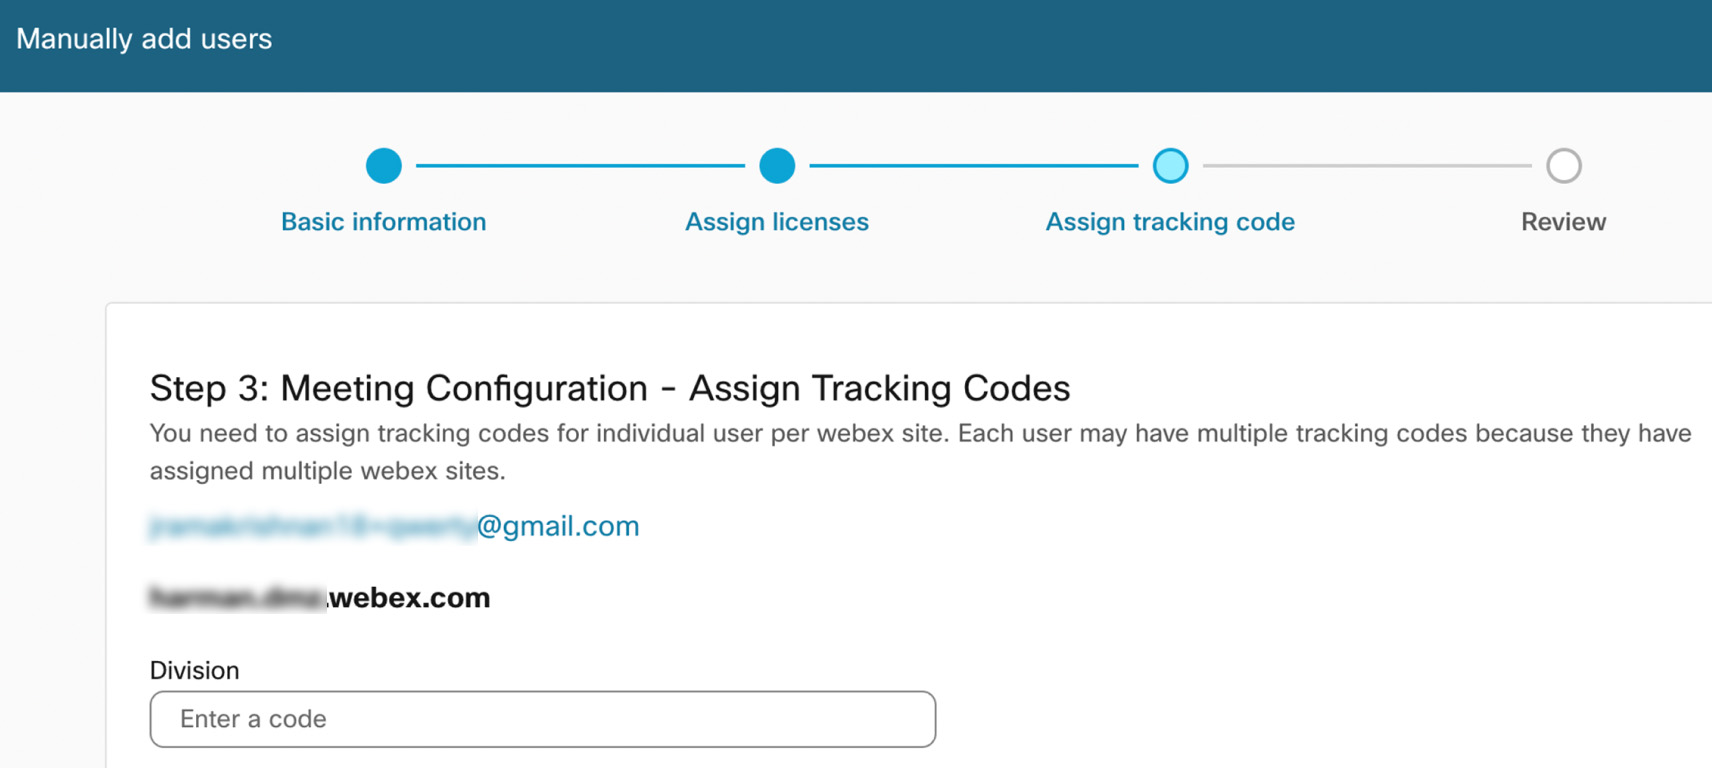
Read about managing tracking codes. |
| 7 |
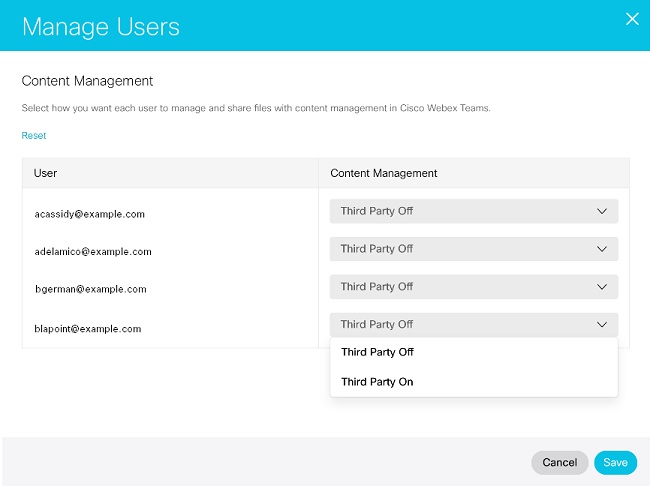
Assign content management:
|
| 8 |
Review the list of users and services when you see the Review screen. |
| 9 |
Click Add Users.
|
| 10 |
Review the summary page of records processed, and click Finish to exit the wizard. You may get an error when trying to access Calling Settings for a newly added user. We recommend that you remove the Webex Calling license and then reassign the calling license to the user. |
What to do next
You can assign administrative privileges to people in your organization. See Assign organization account roles in Control Hub.
You can assign host or attendee Webex Meetings licenses to users outside of your organization. To do this, navigate to the external users tab and either add them or select existing external users to edit them. Users may already exist in the external users list if they already have a Webex Meetings license for a site in your organization.
Invitations to accept or reject a license expire after 15 days. If users outside of your organization reject the invitation or 15 days have passed, those users will disappear from the external users list, unless they have another Webex Meetings license in your organization.
If a meeting invitation expires, then you can choose to send them another invite by assigning them a Webex Meetings license again.
Webex Meetings licenses aren't consumed until the user accepts the invitation.
If you don't want your users to get a host or attendee account on sites managed by other organizations, then you can disable this setting.
Webex Meetings policies that apply to external users
Currently, external users follow their own organization's collaboration restriction policies. In the future, external users will get the most restrictive value of the policies set by their own organization and the site-owning organization.
Before you begin
The organization that the external users are in must allow cross-organization licensing before you can add those users to your organization.
| 1 |
From the customer view in https://admin.webex.com, go to Users, and then select External users. |
| 2 |
Select Add external user. |
| 3 |
Enter up to 25 email addresses. You can only add email addresses that are associated with an account in Webex. Email addresses that aren't associated with a Webex account will be rejected. |
| 4 |
Select the licenses to assign, and click Next. |
| 5 |
Select which account type to assign, and then click Save. An email is sent to each external user with an invite to join.
|
Add external users with a CSV file
The CSV template enables you to add a large number of external users and assign services all at the same time.
| 1 |
From the customer view in Control Hub, go to . |
| 2 |
Select the drop-down arrow next to Add external user and select Manage external users by CSV. |
| 3 |
Click Download CSV or Download CSV template. |
| 4 |
Enter new users' information in new lines in the CSV file.
|
| 5 |
Click Import, select your updated CSV file, and click Next. |
| 6 |
Click Submit. |
Remove external users
You can remove an external user who has accepted a license by removing all the licenses assigned to that user from your organization.
Before you begin
You can’t remove a user who has a pending invitation. You may need to wait up to 15 days until their invitation expires before that user is removed from your organization. If a user only has a license invitation from your organization and the invitation expires, then that user is automatically removed from your organization.
| 1 |
From the customer view in https://admin.webex.com, go to Users, and then select External users. |
| 2 |
Click on an external user and select Edit licenses. |
| 3 |
Uncheck all the assigned licenses and click Save. |


