
Thanks for your feedback.
Webex Device Connector
 Feedback?
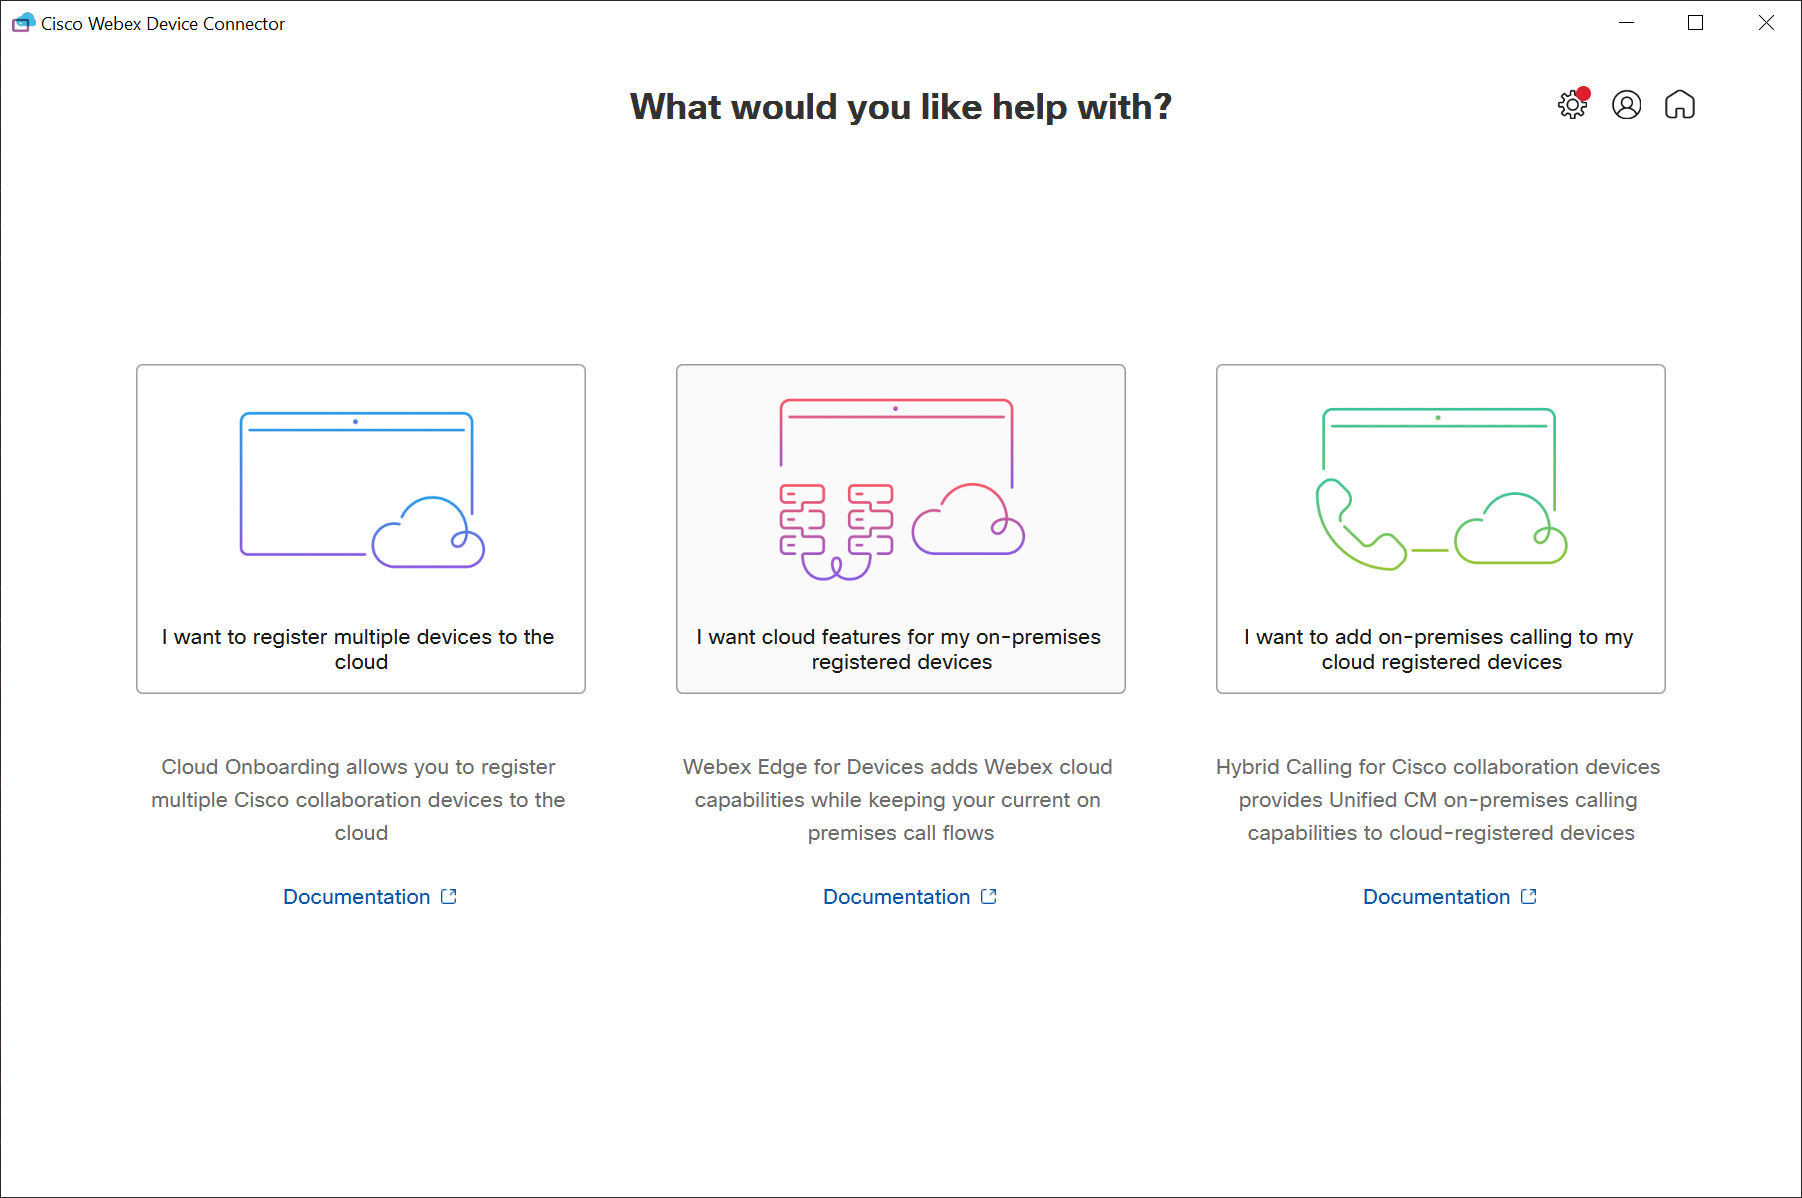
After you sign in, the splash screen on the Device Connector presents the following device management options:
-
I want to register multiple devices to the cloud—Use a simple CSV file to bulk register Webex devices to the cloud in one step. See Cloud Onboarding for Devices for more information.
-
I want cloud features for my on-premises registered device—With Webex Edge for devices, get access to Webex cloud capabilities, and keep your calling and media on-premises. See Webex Edge for Devices for more information.
-
I want to add on-premises calling to my cloud registered devices—This service provides Unified Communications Manager (Unified CM) on-premises calling capabilities to Webex cloud-registered devices. See the Deployment Guide for Hybrid Calling for Webex Devices at https://www.cisco.com/go/hybrid-call-webex-devices for more information.
Device Connector also provides the following features:
-
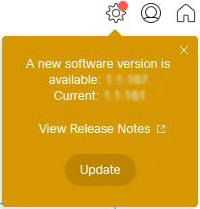
Upgrade notices within the software interface—When a new version of the software is available, Device Connector provides a notification, so you can manually upgrade right away. We recommend that you always upgrade to the latest version.
-
Proxy support—You can connect to a basic auth proxy or TLS intercepting proxy directly by entering the required information in the Device Connector.
-
FedRAMP (Webex for Government) support—From the settings menu, you can configure the Device Connector to point to the FedRAMP Webex cloud instead of the standard Webex cloud.
-
Report an issue—Use the software to submit feedback and automatically upload logs to the cloud.
Installation
You can download Device Connector from Control Hub. Install it on a Windows or Mac device, or a virtual machine that can access your premises environment and the devices.
-
Microsoft Windows 10 or later
-
macOS Big Sur (11) or later
Install the software and perform upgrades using a local account with administrative privileges.
For Hybrid Calling, install the software on a system that has network access to the Unified Communications Manager (Unified CM).
To bulk onboard devices to the cloud, install the software on a machine that can reach the devices directly over HTTP.
Internet proxy
If your organization uses a proxy to access the internet, get the details of the HTTP basic or TLS-intercepting proxy (address, port). If the proxy requires basic authentication, you also need a username and password. Device Connector can’t use other methods to authenticate with the proxy.
-
Device Connector trusts certificates in the
.webexdeviceconnector/certsfolder for calls made to the cloud and to a Unified CM environment. -
For a TLS intercepting proxy, put the CA certificate for that proxy in the certificates folder.
-
We tested and verified Squid 3.1.19 on Ubuntu 12.04.5.
Ports
Set up the following port access for communication from the system that runs Device Connector:
-
TCP port 443 (secure)—HTTPS or secure web sockets outbound to *.wbx2.com, *.webex.com, *.ciscospark.com, and *.cisco.com
-
TCP port 8443—AXL queries to Unified CM
Open the following ports for media traversal between phones, Expressways in the traversal pair, and the Webex cloud:
| Client | Destination | Ports | Protocol | Function |
|---|---|---|---|---|
| Expressway traversal pair | Any | 36000–59999 | UDP | SIP media between phones and Expressways. Open these ports on the Expressways themselves. |
IPv6
By default, Device Connector uses IPv4 addresses. If you want Device Connector to choose IPv6 addresses, you must add java-options=-Djava.net.preferIPv6Addresses=true in the configuration file:
[InstallDir]\Cisco Webex Device Connector\app\Cisco Webex Device Connector.cfg
| 1 |
From the customer view in https://admin.webex.com, go to , and then click Resources. |
| 2 |
Scroll to Tools, click Download, and then choose Download for Mac or Download for Windows, depending on your platform. |
| 3 |
Open the installer file and follow the prompts: For windows:
For Mac:
|
What to do next
-
Sign in to Device Connector with your full or device administrator credentials.
-
You can go to settings and choose Connect to FedRAMP to connect to the FedRAMP cloud instead of the Webex cloud.
-
Device Connector notifies you when an upgrade is available. We recommend that you click Update to remain on the latest version of the software for bug fixes and security enhancements:
Problem—Device Connector works with Windows Remote Desktop. If you leave it running and close the remote desktop connection, Device Connector changes to a blank screen and becomes unresponsive when you sign back in.
Solution—Restart Device Connector.
Problem—YubiKey is not supported when signing in with Google SSO.
Solution—Sign in without YubiKey.
Logs
To turn on debug logging for Device Connector, open the Configuration menu and select Enable debug logging.
Device Connector stores logs in the following directories:
-
Windows: [UserDir].webexdeviceconnector\logs
-
Mac: /Users/[username]/.webexdeviceconnector/logs
You can open logs in a text editor, such as Notepad.


