- Home
- /
- Article

Thanks for your feedback.

Manage a shared voicemail and inbound fax box for Webex Calling
 In this article
 Feedback?
You can create a shared voicemail and inbound fax mailbox and assign to users or call routing features. The voicemail group feature allows you to set up message notifications, save messages, and customize the voicemail greeting.
You might use a voicemail group for any of the following scenarios:
-
You need a general purpose voicemail for a department or workgroup.
-
You’d like to add a voicemail option to an auto attendant or hunt group.
-
You’d like to send the overflowed incoming calls from a call queue to a shared voice mailbox.
-
You have users who only need a voice mailbox.
Create a voicemail group with MWI using a virtual line
Virtual line can be used to create a group voicemail. When someone leaves a voicemail, the Message Waiting Indicator (MWI) is enabled on the devices that the virtual line number is assigned to.
Before you begin
To configure a virtual line number as a group voicemail, first configure the virtual line number to more than one user’s device as a shared line. For more information on shared line configuration, see Shared line configuration for Multiplatform Phones (MPP).
| 1 |
Sign in to Control Hub. |
| 2 |
Go to . |
| 3 |
Select a virtual line number that you assigned as a shared line and click Calling. |
| 4 |
From the Voicemail, fax and announcement language section, click Voicemail. |
| 5 |
Toggle on the Voicemail and Send all incoming calls to voicemail. 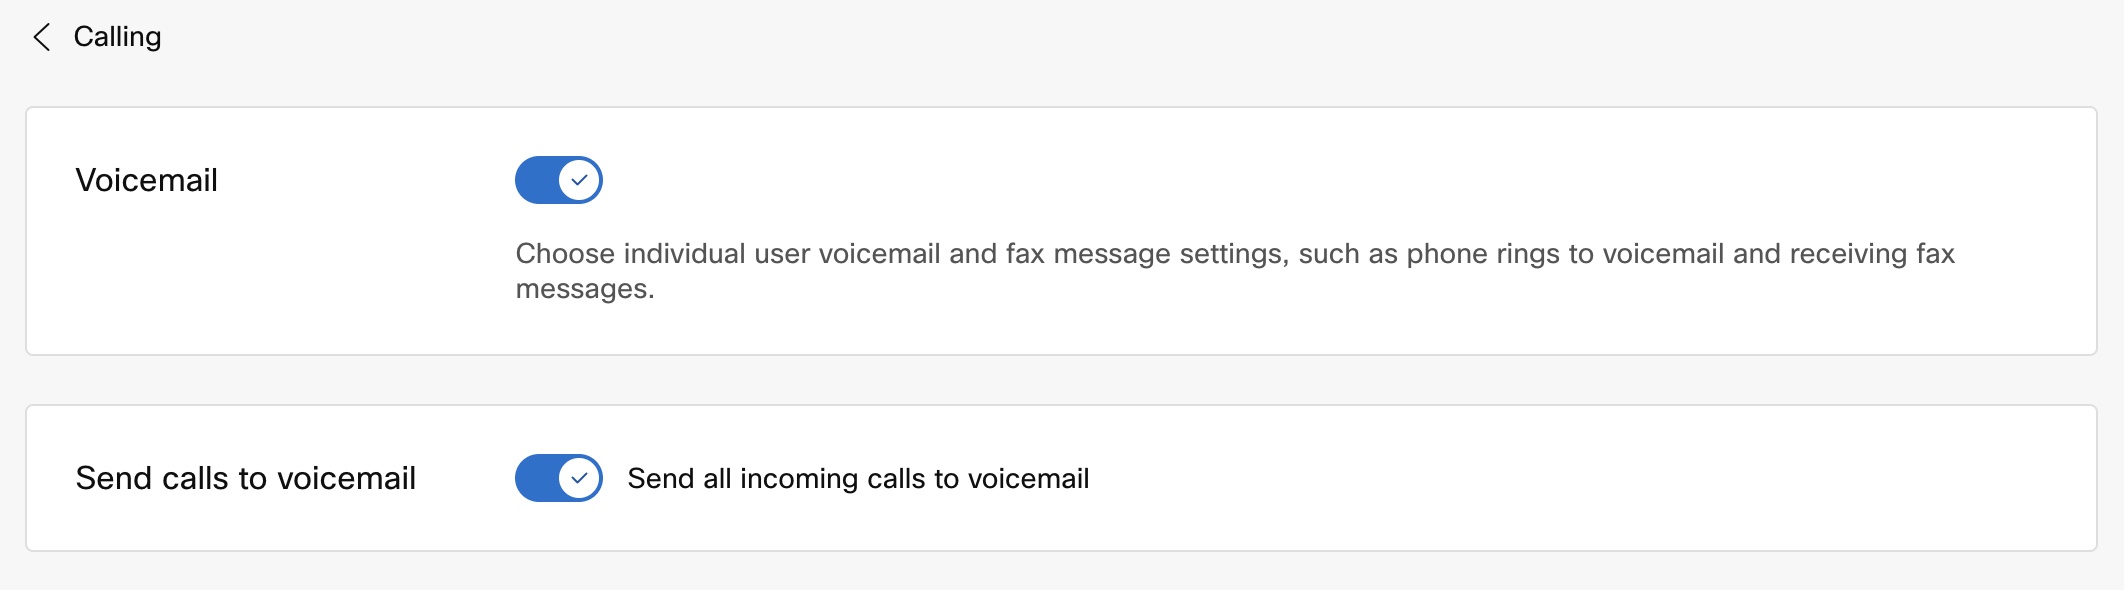
|
| 6 |
Click Save. |
Create a voicemail group using a primary line or extension
You can create a shared voicemail or inbound fax box by creating a new voicemail group in Control Hub.
| 1 |
Sign in to Control Hub. |
| 2 |
Go to . |
| 3 |
Select the Voicemail Group card then click Add new. |
| 4 |
On the Basics page, enter the following information, and then click Next.
|
| 5 |
On the Settings page, enter the following information, and then click Next.
|
| 6 |
On the Review page, under each tab, review your new voicemail group settings to make sure everything is correct. You can click Back to make any changes, or click Create to apply the settings to your new voicemail group. |
| 7 |
Click Done. |
What to do next
If you’ve set up the voicemail group for a specific workgroup or specific users, you need to share the voicemail group number and passcode with these users or groups. You also need to add a phone number or extension to the voice portal, if you haven't done so already.
Enable or disable a voicemail group
| 1 |
Sign in to Control Hub. |
| 2 |
Go to . |
| 3 |
Select Voicemail Group card and click Manage. |
| 4 |
Select a voicemail group to edit. |
| 5 |
In the side panel, click Voicemail. |
| 6 |
Enable or disable the voicemail group service. |
| 7 |
Click Save. |
Edit a voicemail group's settings
You can edit the settings for a previously created voicemail group at any time in Control Hub.
| 1 |
Sign in to Control Hub. |
| 2 |
Go to . |
| 3 |
Select the Voicemail Group card and click Manage. |
| 4 |
Select a voicemail group to edit. |
| 5 |
In the side panel, edit the Phone Number, Extension, Caller ID, and Time Zone. You can't change the location. To change the location, you have to delete this voicemail group and recreate it. |
| 6 |
Click Voicemail to edit the additional voicemail settings. If the voicemail group service is disabled, the additional settings don't appear.
|
| 7 |
Click Save. |
Unassign a phone number and extension
You can unassign a phone number or extension from a voicemail group.
If you’re using the voicemail group feature for fax service, a phone number is required. If you’re using it for voicemail only, a phone number is optional.
| 1 |
Sign in to Control Hub. |
| 2 |
Go to . |
| 3 |
Select the Voicemail Group card and click Manage. |
| 4 |
In the Actions column of a voicemail group, click
Unassign
|
| 5 |
You're prompted to confirm that you want to unassign this phone number from the voicemail group. Click Unassign to confirm. If fax messaging is enabled for this voicemail group, you're prompted to disable a fax message before unassigning the phone number. To confirm, click Okay. Then click Disable and Unassign. |
 .
.Delete a voicemail group
You can delete a previously created voicemail group. When a voicemail group is removed, all messages and related data are deleted, and can’t be recovered. If there’s a phone number or extension assigned, it’s unassigned.
| 1 |
Sign in to Control Hub. |
| 2 |
Go to . |
| 3 |
Select the Voicemail Group card and click Manage. |
| 4 |
In the Actions column of a voicemail group, click |
| 5 |
To confirm, click Delete. |
 .
.


