- 홈
- /
- 문서


임원 및 임원 비서 서비스 구성 및 관리
 이 문서에서
 피드백이 있습니까?
임원으로서 귀하는 전화를 관리하기 위해 임원 풀에 비서를 추가할 수 있으며, 임원 비서로서 귀하는 임원을 대신하여 전화를 걸고, 받고, 가로채고, 연결할 수 있습니다.
경영진 서비스 구성
임원으로서 비서가 처리할 수 있는 통화의 종류와 시기를 설정할 수 있습니다. 보조자는 필요에 따라 참여하거나 참여하지 않을 수 있습니다.

시작하기 전에
-
관리자가 임원 및 임원 비서 서비스를 활성화해야 해당 서비스에 액세스하고 구성할 수 있습니다. 이 설정이 보이지 않으면 관리자에게 문의하세요.
-
임원은 당신을 비서 풀에 배정해야 합니다.
-
사용자 허브에서 를 호출합니다.
통화 옵션은 Webex 통화 라이선스가 있는 사용자에게만 제공됩니다. 통화 옵션이 보이지 않으면 Webex 통화 라이선스가 없다는 의미입니다.
어떤 통화 서비스를 설정했는지 알아보려면 Webex 앱에서 확인하세요. 자세한 내용은 사용 가능한 통화 서비스 알아보기를 참조하세요.
벨 소리 옵션, 롤오버 옵션 및 발신자 ID 프레젠테이션 설정
경고 기능을 사용하여 인바운드 통화, 롤오버 옵션 및 발신자 ID 프레젠테이션에 대해 벨 소리 옵션을 구성할 수 있습니다.
| 1 |
사용자 허브에 로그인하세요. |
| 2 |
. |
| 3 |
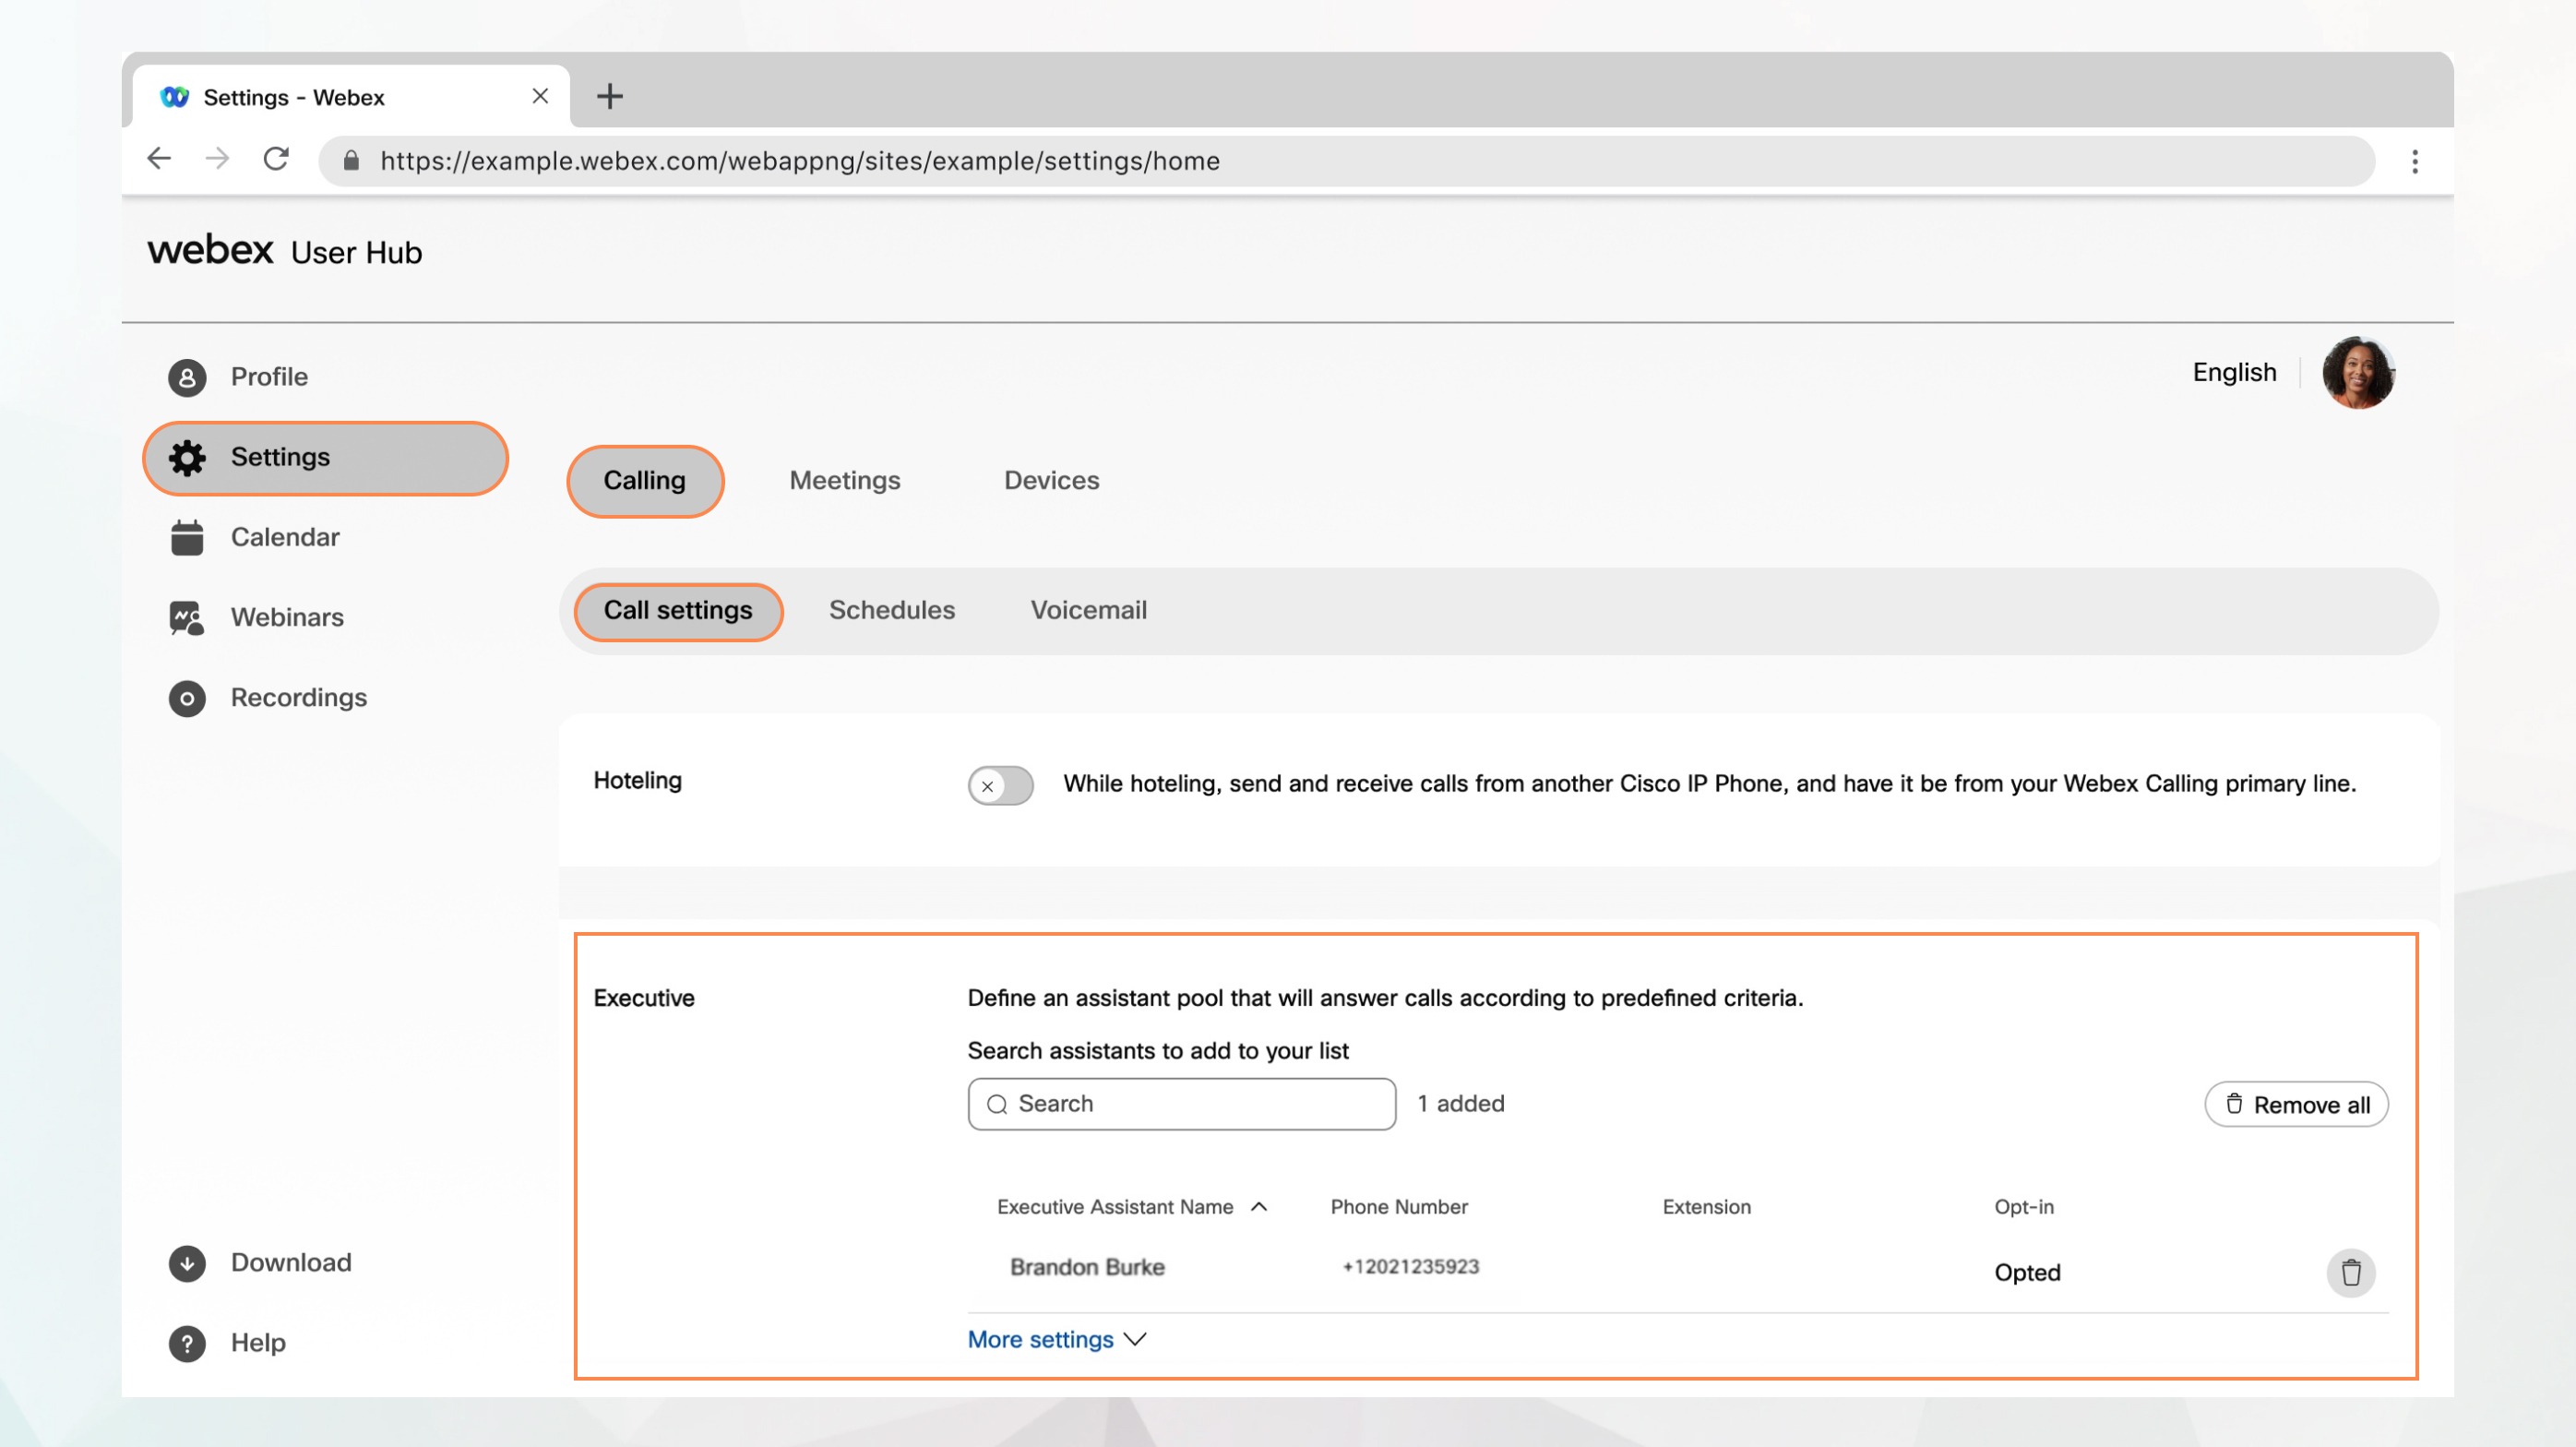
임원 섹션으로 이동하여 추가 설정을 클릭합니다. |
| 4 |
다음 중 하나를 선택하세요 알림 모드:
|
| 5 |
아무도 전화를 받지 않을 경우 전화를 어떻게 처리할지 선택하세요.
응답하지 않은 전화가 전달되는 시간(초)을 지정할 수 있습니다. |
| 6 |
회선에서 걸려오는 전화에 대해 어시스턴트 전화에 나타나는 발신자 ID 이름 및 번호를 선택합니다. |
| 7 |
저장을 클릭합니다. |
다음에 수행할 작업
추가 위치에 통화 알림 활성화
임원 서비스를 사용하여 추가 위치를 알리도록 선택할 수 있습니다. 또한 해당 경고에 벨 소리를 추가하도록 선택할 수도 있습니다.
| 1 |
사용자 허브에 로그인하세요. |
| 2 |
. |
| 3 |
임원 섹션으로 이동하여 추가 설정을 클릭합니다. |
| 4 |
위치를 켜서을 울리세요. |
| 5 |
드롭다운 메뉴에서 알림 유형 을 선택하세요.
|
| 6 |
알림을 받을 위치를 선택하세요:
|
| 7 |
저장을 클릭합니다. |
어시스턴트에 발송된 통화 필터
통화 필터링을 사용하여 어떤 통화를 비서에게 전달해야 할지 결정하세요.
| 1 |
사용자 허브에 로그인하세요. |
| 2 |
. |
| 3 |
임원 섹션으로 이동하여 추가 설정을 클릭합니다. |
| 4 |
통화 필터링을 켜세요. |
| 5 |
다음 옵션 중 하나를 선택하십시오.
|
| 6 |
저장을 클릭합니다. 데스크 폰을 사용하여 통화 필터링 옵션을 활성화하거나 비활성화할 수 있습니다. 전화기 키패드를 통해 입력하여 특정 기능을 제어하고, 사용자 허브에서 설정한 통화 필터링 옵션을 활성화하거나 비활성화할 수 있는 다음 기능 액세스 코드(FAC)를 사용하세요.
|
어시스턴트 풀에 어시스턴트 지정
| 1 |
사용자 허브에 로그인하세요. |
| 2 |
. |
| 3 |
임원 섹션으로 이동하세요. |
| 4 |
보조자 풀에 추가할 사용자를 검색하여 선택하세요. |
| 5 |
저장을 클릭합니다. |
경영진 지원자 서비스 관리
관리자가 임원 비서 기능(상사-관리자라고도 함)을 갖춘 비서로 설정한 경우, 상사를 대신하여 전화를 걸고 받을 수 있습니다. 관리자가 두 명 이상인 경우, 전화를 걸 때 적절한 회선을 선택할 수 있습니다.
임원 비서 기능 참여 또는 참여 거부
| 1 |
사용자 허브에 로그인하세요. |
| 2 |
. |
| 3 |
임원 비서 섹션으로 이동하세요. 비서로 지정된 임원 목록이 표시되며, 참여 또는 참여 거부 옵션도 함께 제공됩니다.
|
| 4 |
임원 비서 서비스를 이용하려면 임원을 선택한 후 참여를 선택하세요. 옵트아웃하려면 옵트아웃을 선택하세요. |
| 5 |
저장을 클릭합니다. 전화기 키패드에서 각각의 기능 액세스 코드(FAC)를 입력하여 임원 비서 서비스를 선택하거나 선택 해제할 수 있습니다.
|
임원 비서의 전화를 전달하세요
| 1 |
사용자 허브에 로그인하세요. |
| 2 |
. |
| 3 |
임원 비서 섹션으로 이동하세요. |
| 4 |
전화번호 설정 필드에 통화를 전달할 전화번호를 입력하고 필터링된 통화 전달을 선택합니다. |
| 5 |
저장을 클릭합니다. |


