- Accueil
- /
- Article


Configurer et gérer les services de direction et d'assistant de direction
 Dans cet article
 Un commentaire ?
En tant que cadre, vous pouvez ajouter des assistants à votre pool de cadres pour gérer les appels à votre place, tandis qu'en tant qu'assistant de direction, vous pouvez passer, répondre, intercepter et acheminer les appels de manière appropriée au nom de votre cadre.
Configurer votre service exécutif
En tant que cadre, vous pouvez définir quand et quels types d'appels un assistant peut gérer. Les assistants peuvent s'inscrire ou se désinscrire selon leurs besoins.

Avant de commencer
-
Votre administrateur doit avoir activé les services exécutif et assistant exécutif pour que vous puissiez y accéder et les configurer. Si vous ne voyez pas ce paramètre, vérifiez auprès de votre administrateur.
-
Le dirigeant doit vous affecter à son bassin d’assistants.
-
Vous pouvez configurer tous les paramètres d'appel depuis le hub utilisateur en accédant à .
L'option Appel est disponible uniquement pour les utilisateurs disposant d'une licence Webex Calling. Si vous ne voyez pas l'option Appel, cela signifie que vous n'avez pas de licence Webex Calling.
Si vous souhaitez savoir quel service d'appel vous utilisez, vous pouvez le vérifier à partir de l'application Webex. Pour plus de détails, voir Découvrez quel service d'appel vous avez.
Configurer les options de sonnerie, les options deover et la présentation de l’ID de l’appelant
Avec la fonctionnalité d’alerte, vous pouvez configurer les options de sonnerie pour les appels entrants, les options deover et la présentation de l’ID de l’appelant.
| 1 |
Connectez-vous à User Hub. |
| 2 |
Accédez à . |
| 3 |
Accédez à la section Exécutif et cliquez sur Plus de paramètres. |
| 4 |
Choisissez l'un des modes d'alerte suivants :
|
| 5 |
Choisissez comment les appels sont traités si personne ne répond.
Vous pouvez spécifier le délai (en secondes) après lequel les appels sans réponse sont transférés. |
| 6 |
Choisissez le nom et le numéro d’ID appelant à afficher sur le téléphone de l’assistant pour les appels entrants à partir de votre ligne. |
| 7 |
Cliquez sur Enregistrer. |
Que faire ensuite ?
Activer les notifications d’appel dans d’autres emplacements
Vous pouvez choisir d’alerter d’autres sites par le service de direction. Vous pouvez également choisir d’ajouter une sonnerie à ces alertes.
| 1 |
Connectez-vous à User Hub. |
| 2 |
Accédez à . |
| 3 |
Accédez à la section Exécutif et cliquez sur Plus de paramètres. |
| 4 |
Activez Localisation pour faire sonner. |
| 5 |
Sélectionnez le Type d'alerte dans le menu déroulant :
|
| 6 |
Sélectionnez les emplacements que vous souhaitez alerter :
|
| 7 |
Cliquez sur Enregistrer. |
Filtrer les appels envoyés à votre assistant
Utilisez le filtrage des appels pour décider quels appels doivent être adressés à votre assistant.
| 1 |
Connectez-vous à User Hub. |
| 2 |
Accédez à . |
| 3 |
Accédez à la section Exécutif et cliquez sur Plus de paramètres. |
| 4 |
Activer Filtrage des appels. |
| 5 |
Choisissez l’une des options suivantes :
|
| 6 |
Cliquez sur Enregistrer. Vous pouvez activer ou désactiver l’option de filtrage d’appel en utilisant téléphone de bureau. Utilisez les codes d'accès aux fonctionnalités (FAC) suivants, qui peuvent être saisis via le clavier du téléphone pour contrôler certaines fonctionnalités, pour activer ou désactiver les options de filtrage des appels que vous avez configurées dans User Hub.
|
Affecter des assistants à votre pool d’assistants
| 1 |
Connectez-vous à User Hub. |
| 2 |
Accédez à . |
| 3 |
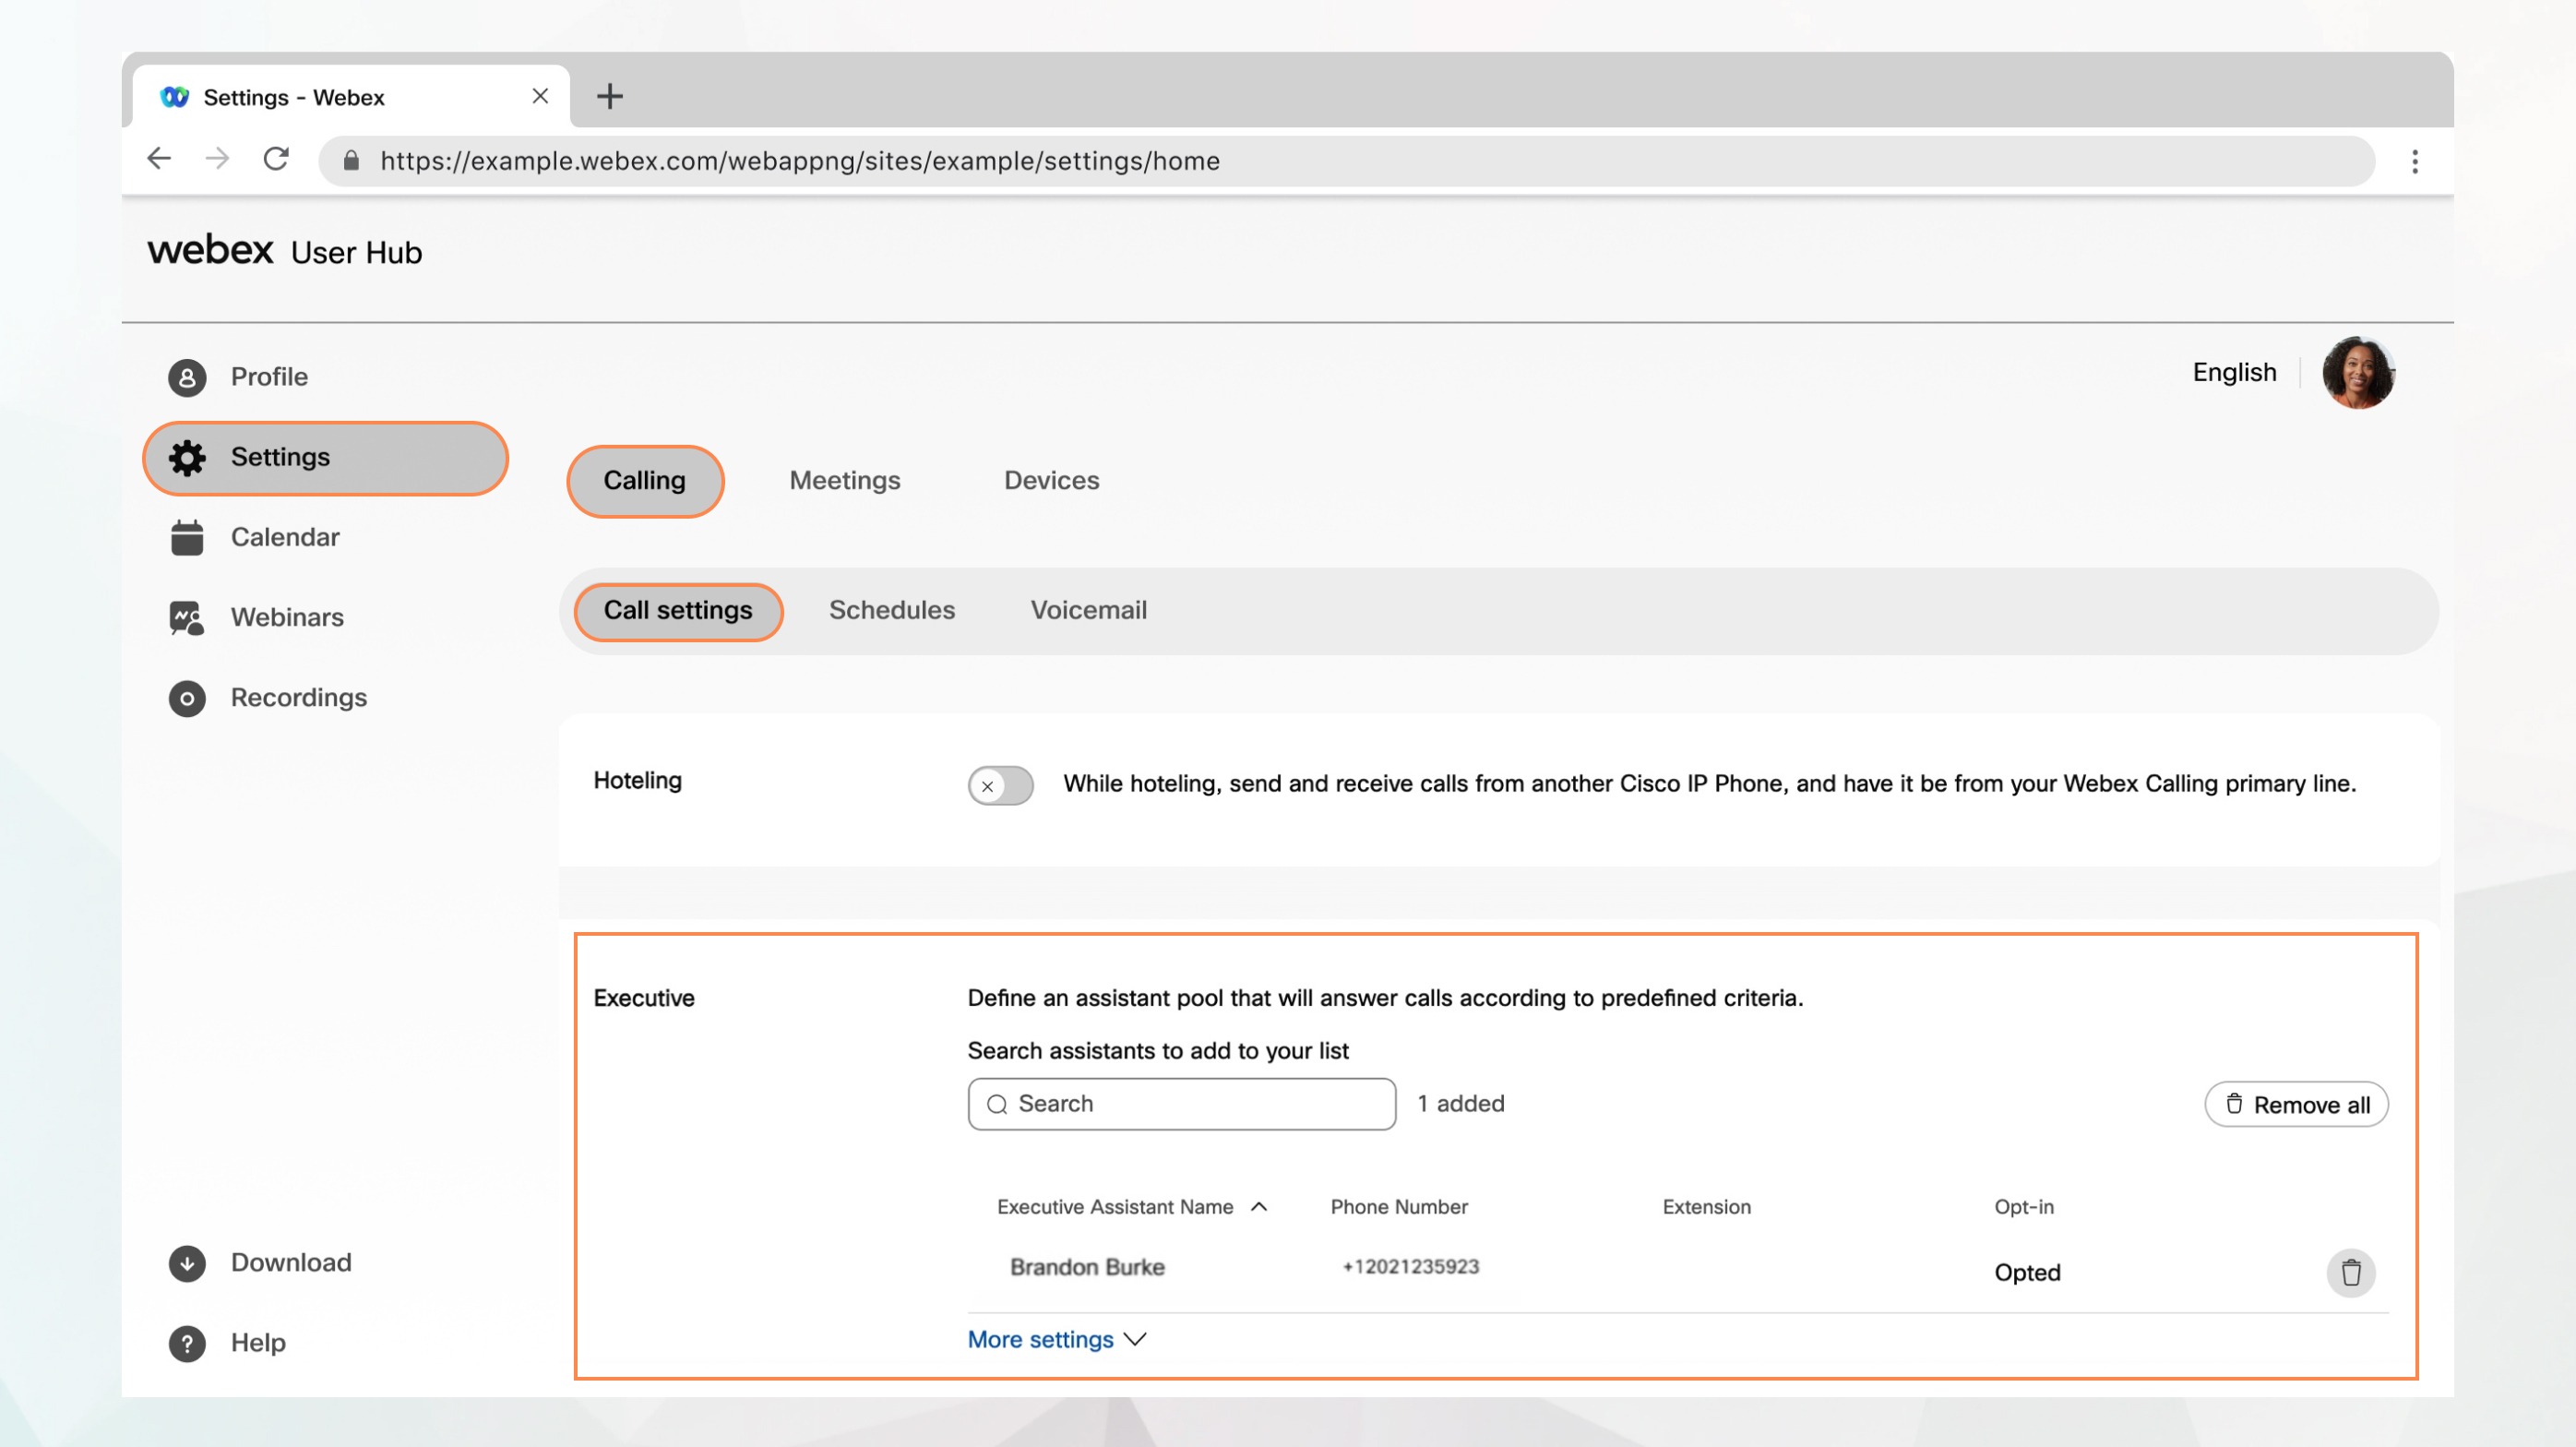
Accédez à la section Exécutif. |
| 4 |
Recherchez et sélectionnez les utilisateurs à ajouter à votre pool d’assistants. |
| 5 |
Cliquez sur Enregistrer. |
Gérer votre service d’assistant exécutif
Si votre administrateur vous a configuré comme assistant avec la fonction Assistant exécutif (également appelée Boss-Admin), vous pouvez passer et répondre à des appels au nom de votre responsable. Si vous avez plusieurs responsables, vous pouvez sélectionner la ligne appropriée lors d'un appel.
Activer ou désactiver la fonction d'assistant exécutif
| 1 |
Connectez-vous à User Hub. |
| 2 |
Accédez à . |
| 3 |
Accédez à la section Assistant exécutif. La liste des cadres auxquels vous êtes affecté en tant qu'assistant s'affiche, ainsi que la possibilité d'accepter ou de refuser.
|
| 4 |
Pour adhérer à un service d'assistant exécutif, sélectionnez le cadre, puis cochez Opt-in. Pour vous désinscrire, cochez Opt-out. |
| 5 |
Cliquez sur Enregistrer. Vous pouvez opter pour ou contre le service d'assistant exécutif en saisissant les codes d'accès aux fonctionnalités (FAC) respectifs sur le clavier du téléphone.
|
Transférez les appels de votre assistant exécutif
| 1 |
Connectez-vous à User Hub. |
| 2 |
Accédez à . |
| 3 |
Accédez à la section Assistant exécutif. |
| 4 |
Saisissez le numéro de téléphone vers lequel les appels doivent être transférés dans le champ Définir le numéro de téléphone et sélectionnez Transférer les appels filtrés. |
| 5 |
Cliquez sur Enregistrer. |


