- Home
- /
- Article

Thanks for your feedback.

Shared line appearance for Webex App
 In this article
 Feedback?
Shared line feature is about assigning one phone number to multiple devices. Users can answer the calls made to that phone number from multiple devices. They can hand off answered calls to other devices sharing the same phone number.
Shared line appearance is the ability to provision other users' lines as shared lines on the end-user device. This specific feature allows you to assign and manage shared line appearances to the end user's Webex App in Control Hub. The shared line configuration for the Webex App is similar to the shared line configuration for the Multiplatform Phones (MPP) in Control Hub. The end users can access the shared lines through the desktop, mobile, and tablet versions of the Webex App.
Benefits
-
Users can handle calls on other user's extension directly from the Webex App.
-
Users can manage multiple shared lines efficiently using multi call window (supported on Windows) in Webex App.
-
Users can use all the mid-call features such as hold and call transfer for the shared line similar to the primary line.
Limitations
Here are some known limitations of shared line appearance:
-
In Control Hub, you can add a maximum of 15 lines including the primary line to Webex App. However, the Webex App currently shows only 10 lines. The future release enables the Webex App to show all 15 lines.
-
You can add additional lines to a workspace phone. However, you can add only the workspace phone with professional license as a shared line.
-
You can't configure the shared line appearance for the browser version of the Webex App.
Configure shared line appearance
You can assign numbers from different Webex Calling locations to Webex App in a different location. For example, you can assign a number (user or virtual line) from the UK location to a Webex App that is assigned to a user in the U.S. location.
For more information on shared line across locations, see Configuration of shared lines and virtual lines across locations.
| 1 |
Sign in to Control Hub. |
| 2 |
Go to . |
| 3 |
Select a user whom you want to assign the shared line for and click Calling. |
| 4 |
Go to User call experience and click Application line assignment. |
| 5 |
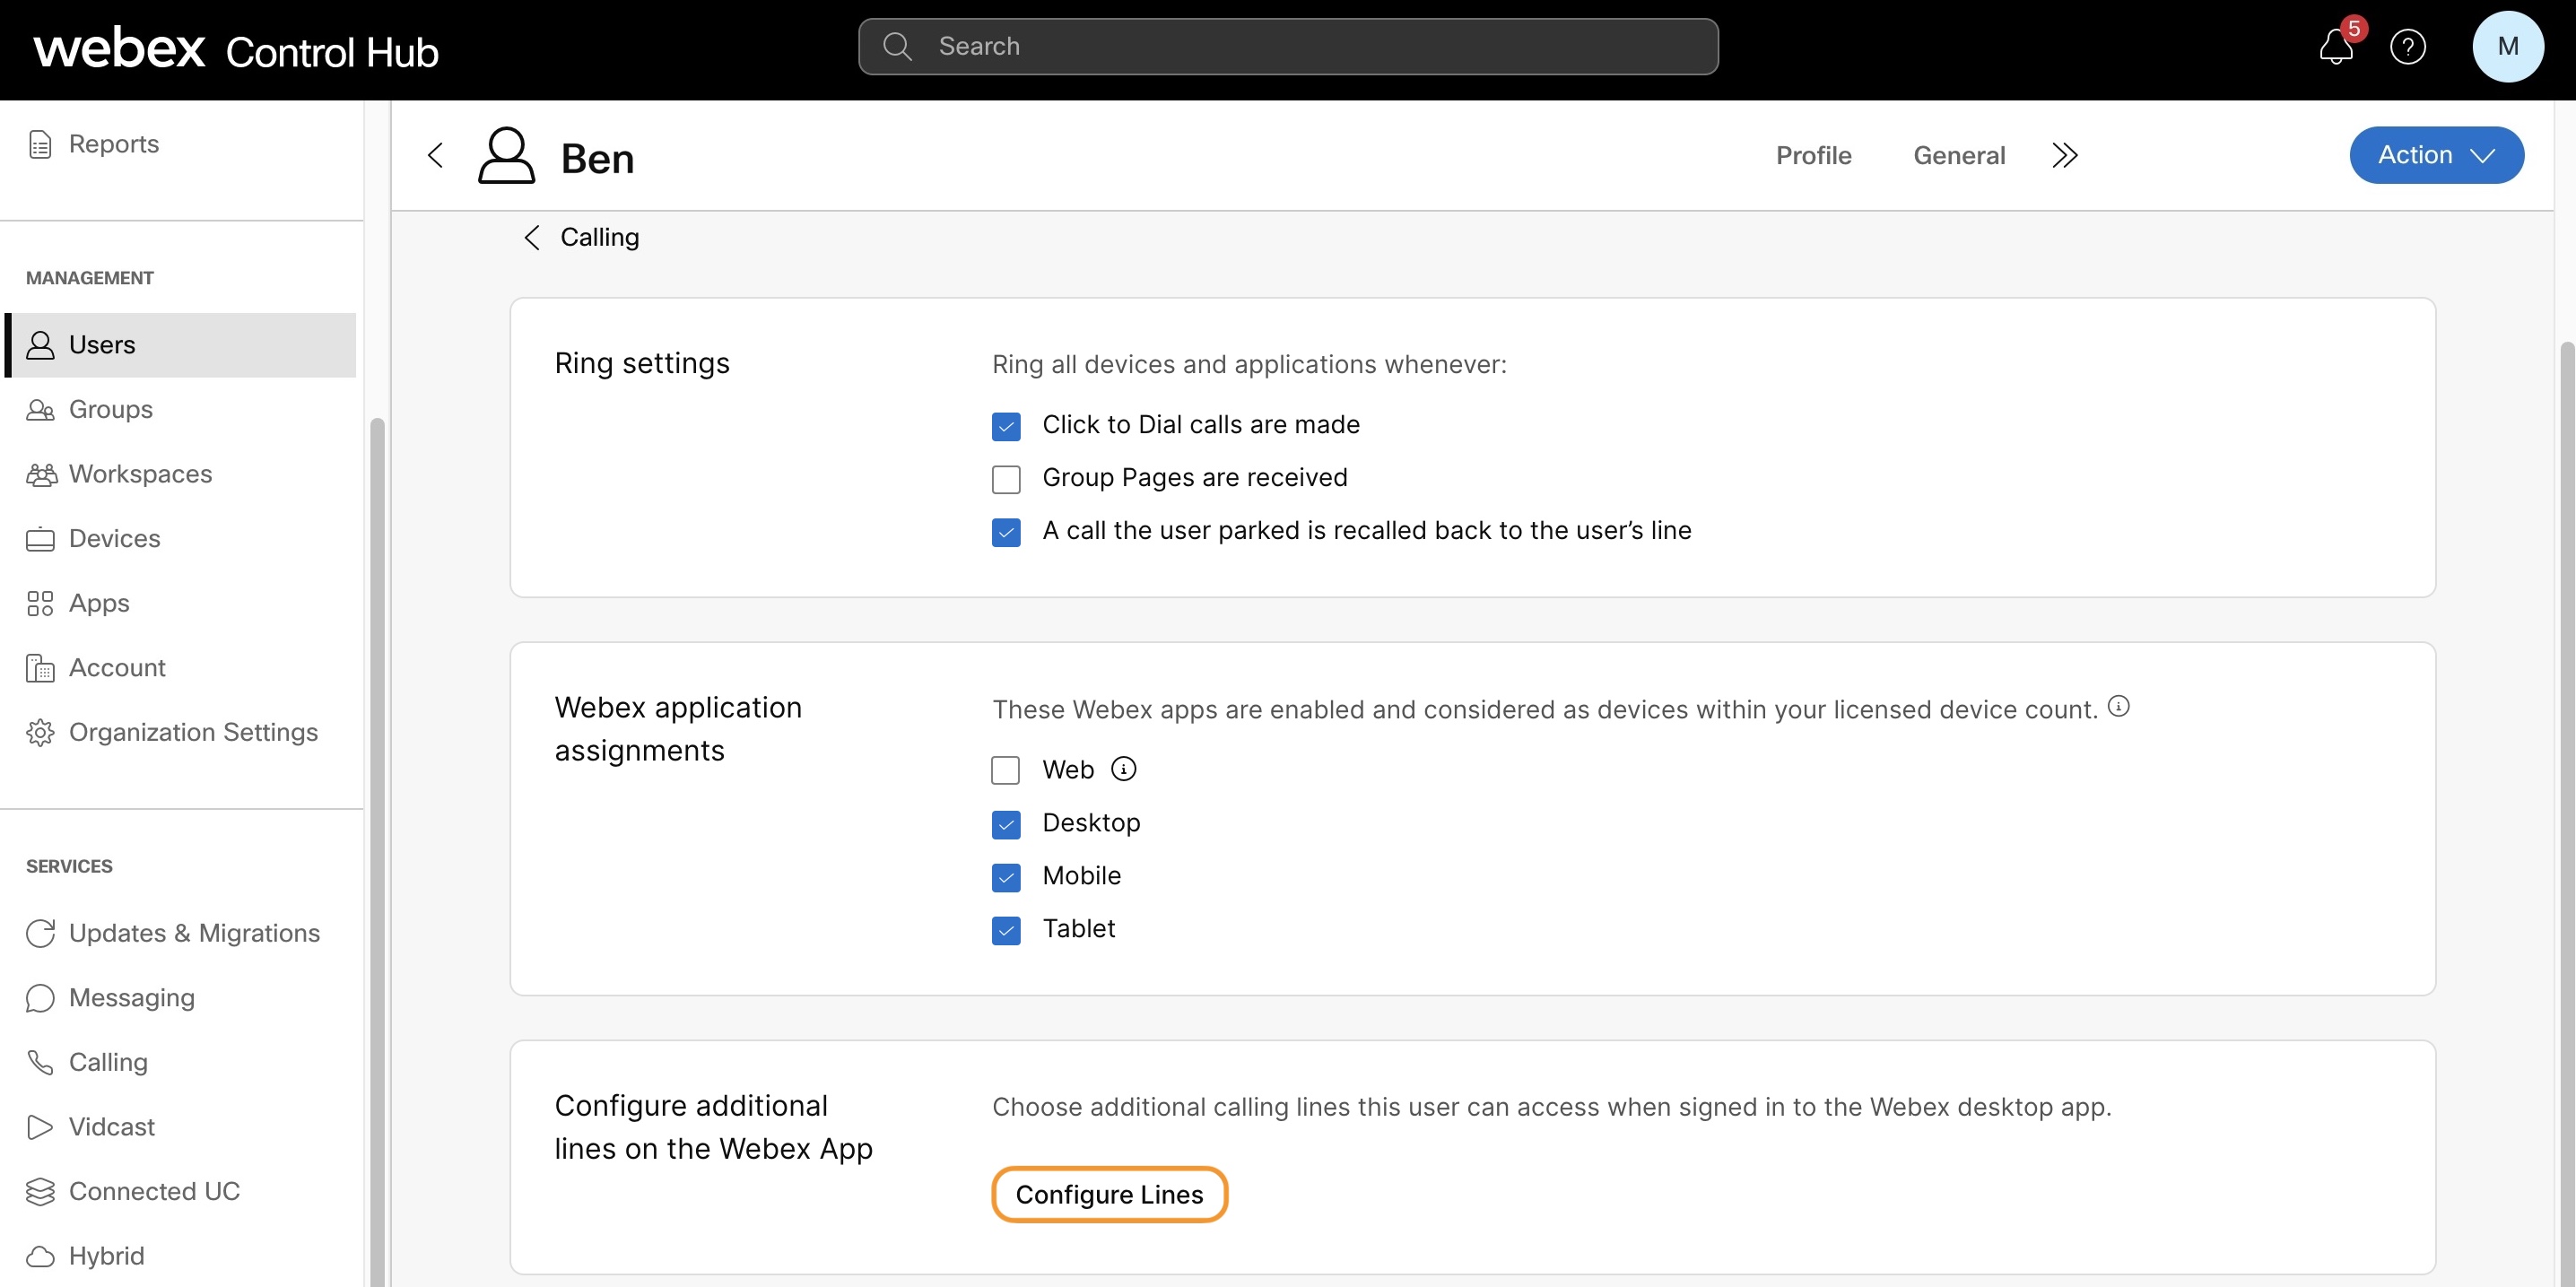
Go to Configure additional lines on the Webex App and click Configure Lines. The Configure Lines option is disabled if none of the desktop, mobile, or tablet options are enabled under Webex application assignments. Assignment of multiple lines isn’t supported on the Web client. For more information on the application ringing and assignments, see: Manage application services for a Webex Calling user.
|
| 6 |
To add a shared line appearance, click the Only users who haven’t exceeded the maximum number of shared lines as per their license appears as assignable users to a Webex App shared line. For more information on adding and assigning the device to a user, see Add a phone to a user. Add the lines in the order in which you want them to appear on the user's Webex App. The primary line of the user is always the first line and you can't change its order. If a user has numbers from other users/groups configured on their Webex App, you can add a custom label for the shared line. This custom label helps the user to identify one shared line appearance from the other. |
| 7 |
From the Call Decline drop-down list, select the option needed:
For more information on call decline settings, see Decline a ringing call on all devices for a user. To remove a shared line, click the |
| 8 |
Click Save. |
 icon, search by name or phone number, and choose a line.
 icon. You can't remove the primary user on line 1.
Once you've added, removed, or changed a shared line, the Webex App detects the update and the users get the notification on Webex App to restart for the changes to reflect.
Once you've configured the shared line, users can initiate the call bridge using the FAC for call bridge.


