- Home
- /
- Article

Thanks for your feedback.

 In this article
 Feedback?
How to record your first Vidcast using your camera, screen share or a combination of both.
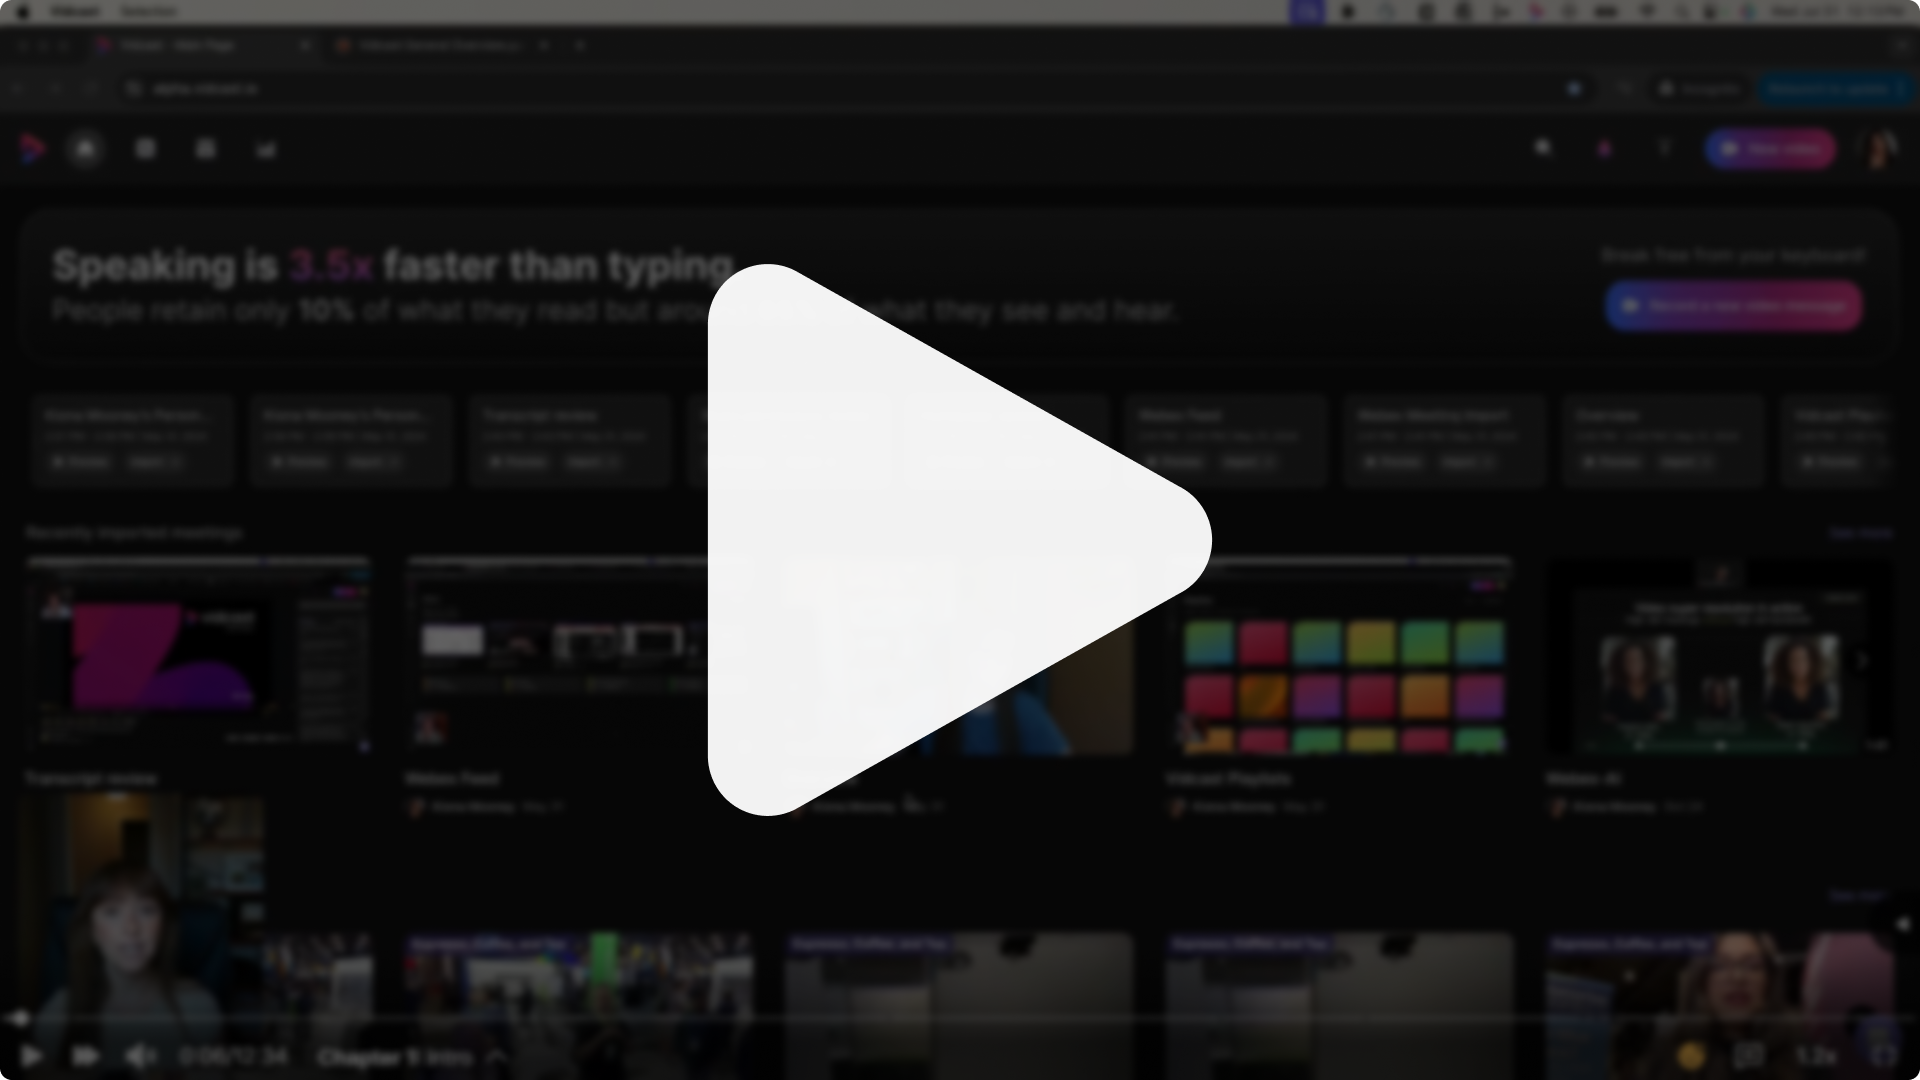
To get a demo on how to record a Vidcast step-by-step, click on the thumbnail above!
Recording setup
To create your first Vidcast click on the New Video button in the top right of your screen.
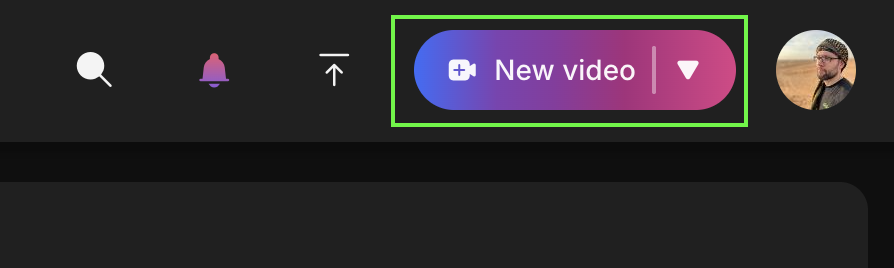
Note: Video recording is currently available only in desktop Chrome/ Edge browsers or via Webex. Other browsers support Vidcast playback, however, "New video" button will not be available.
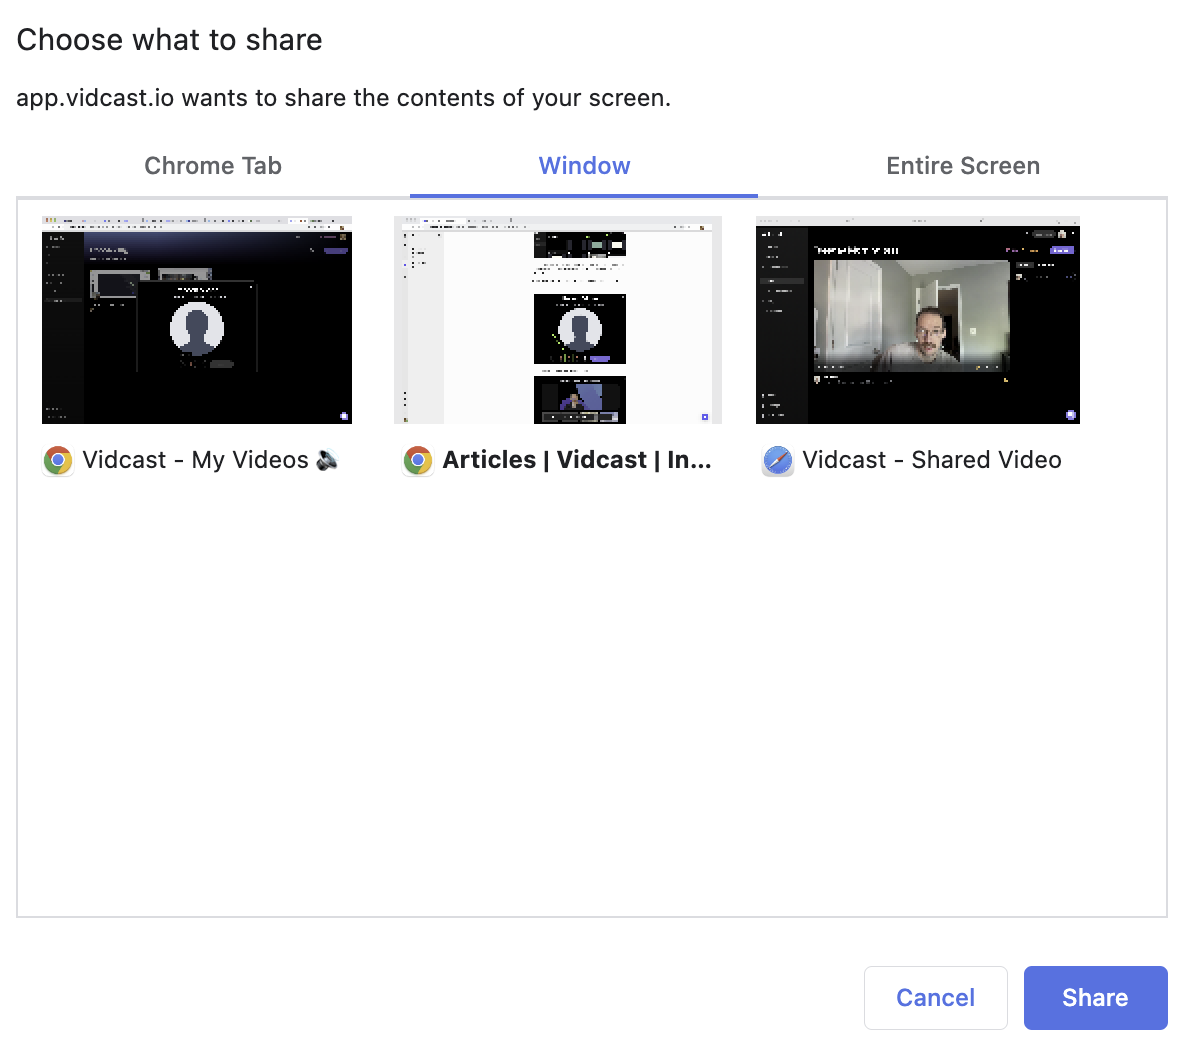
You can adjust your settings based on your needs - your camera and audio will be on by default, click on the screen share button to select which screen, window or tab you want to share.
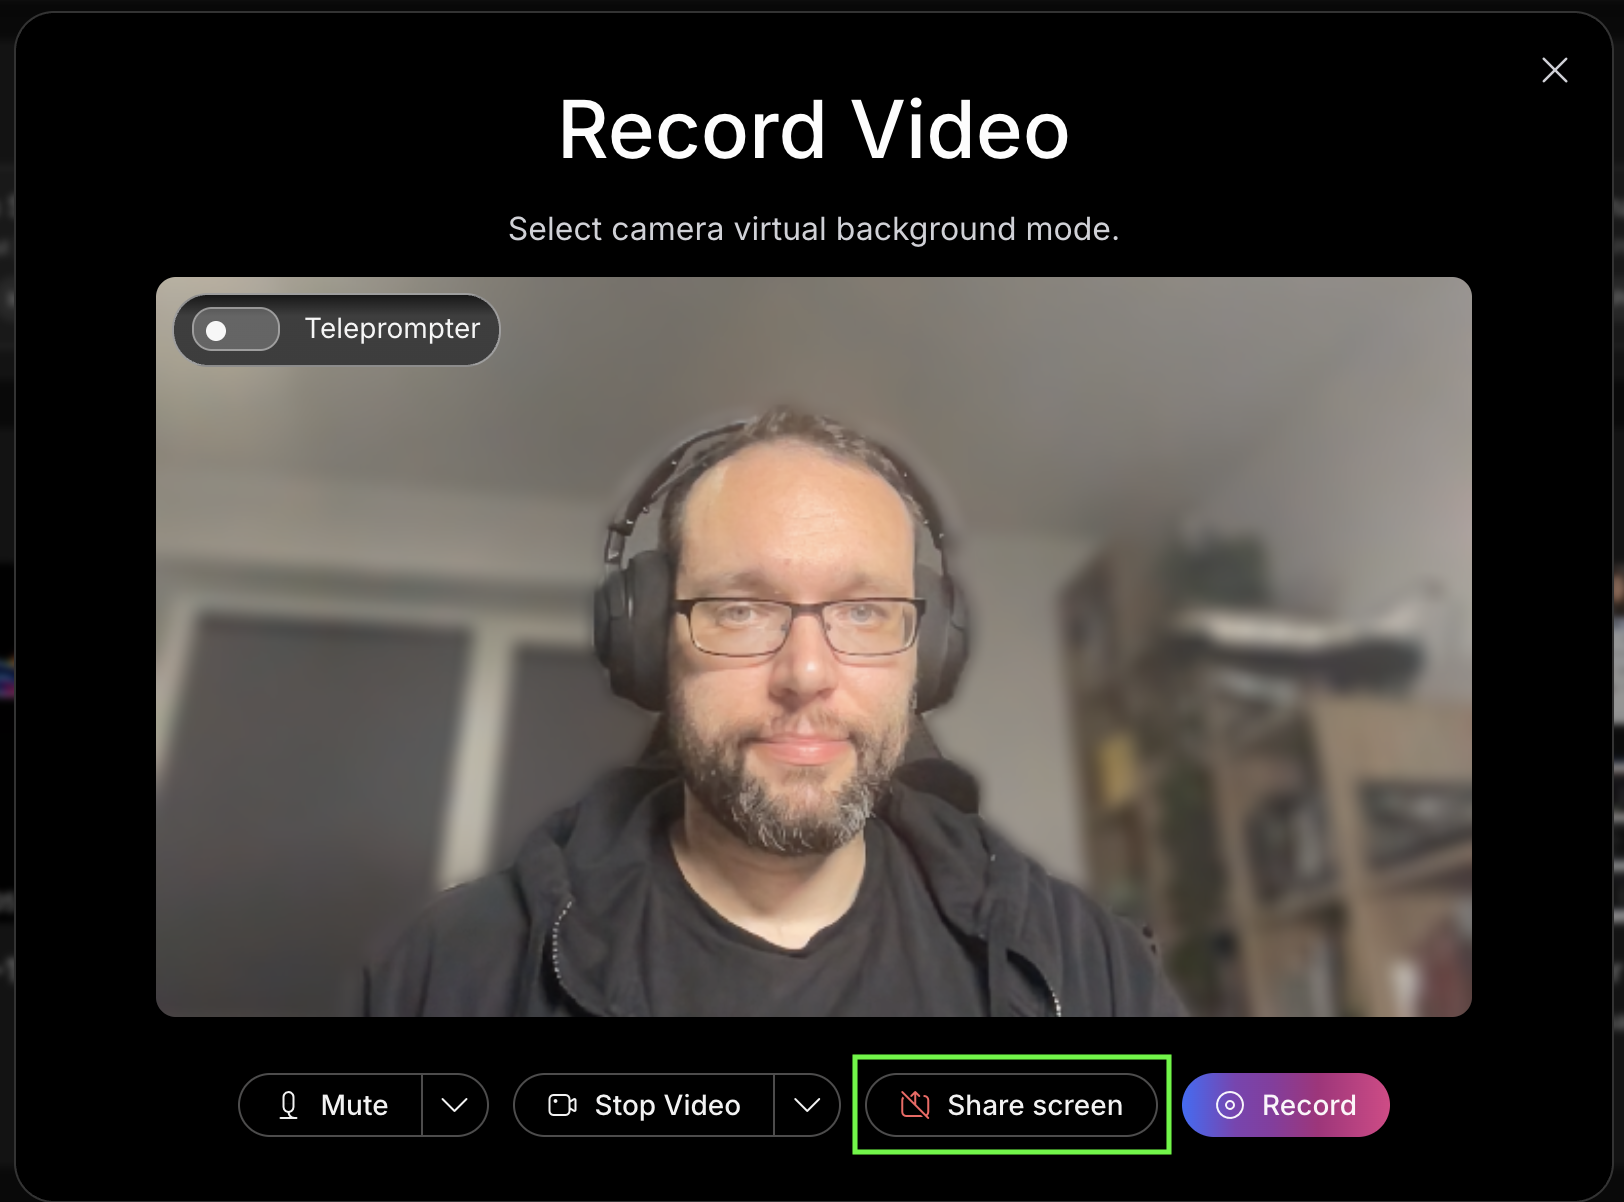
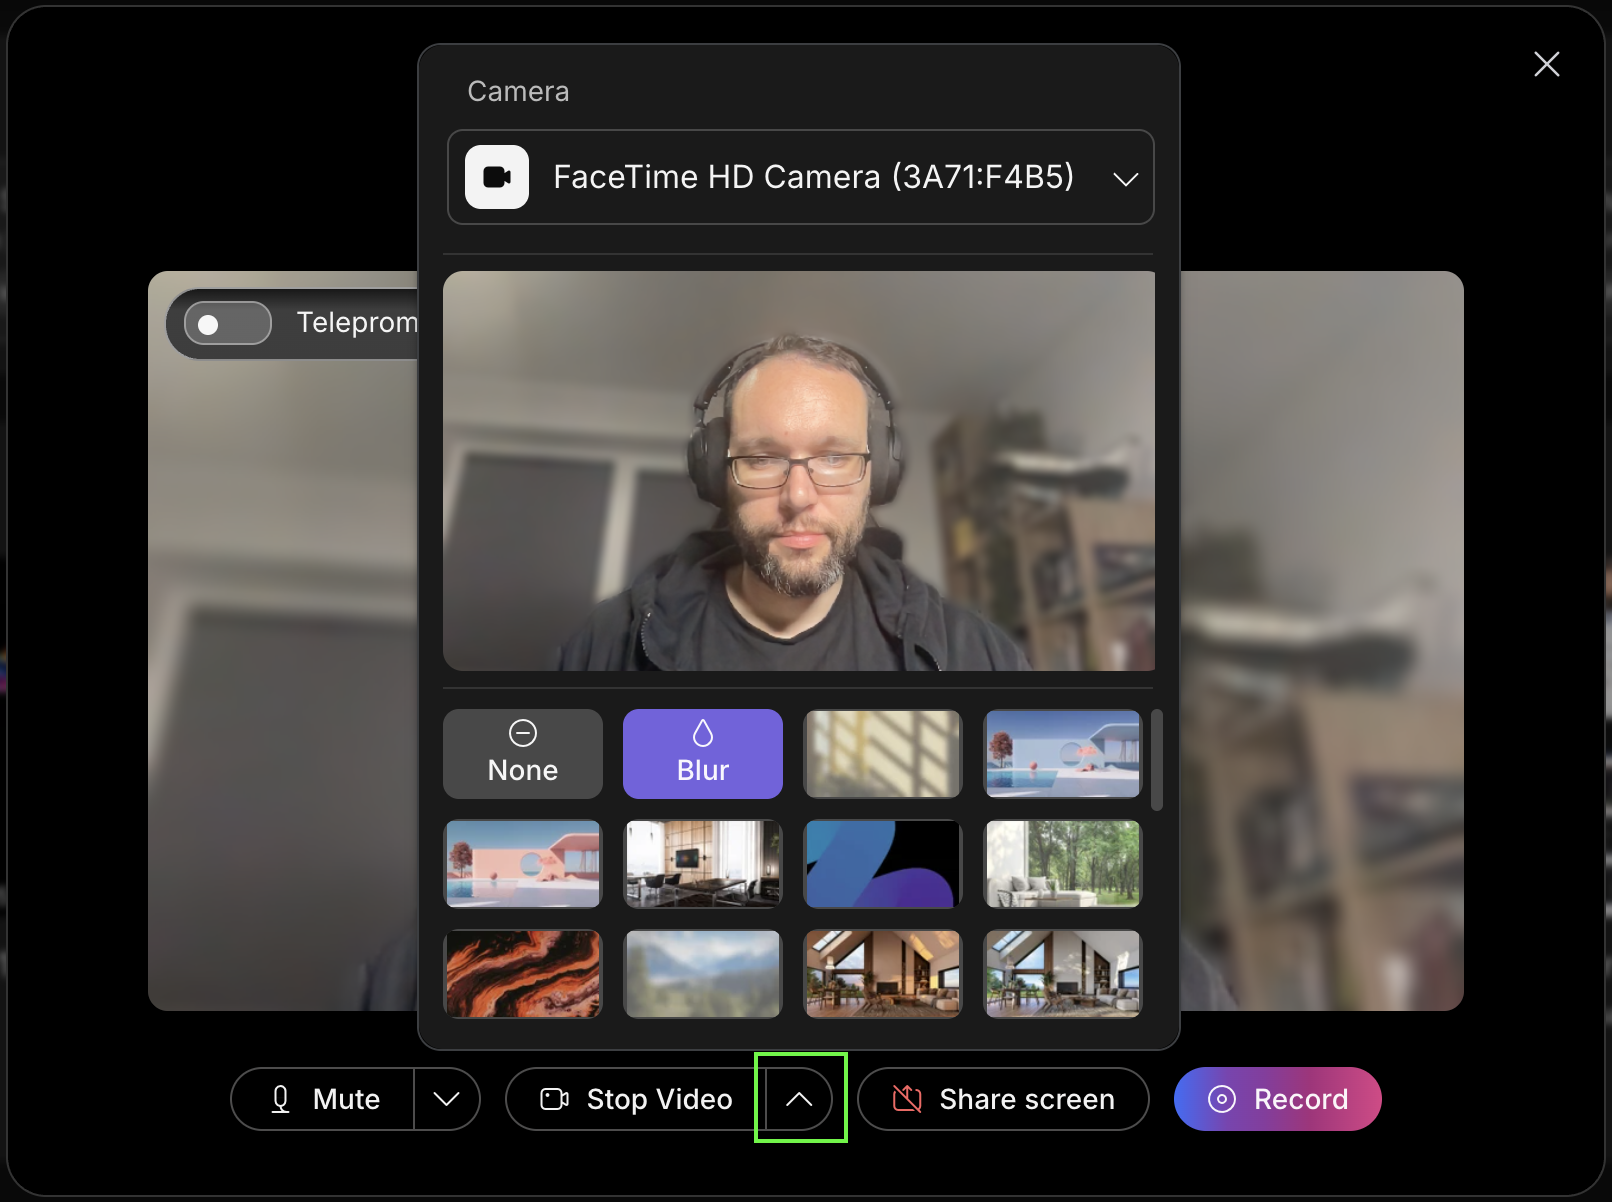
You can choose a virtual background for your camera feed and select your camera source by clicking on the "arrow up" button next to Start/Stop video button.
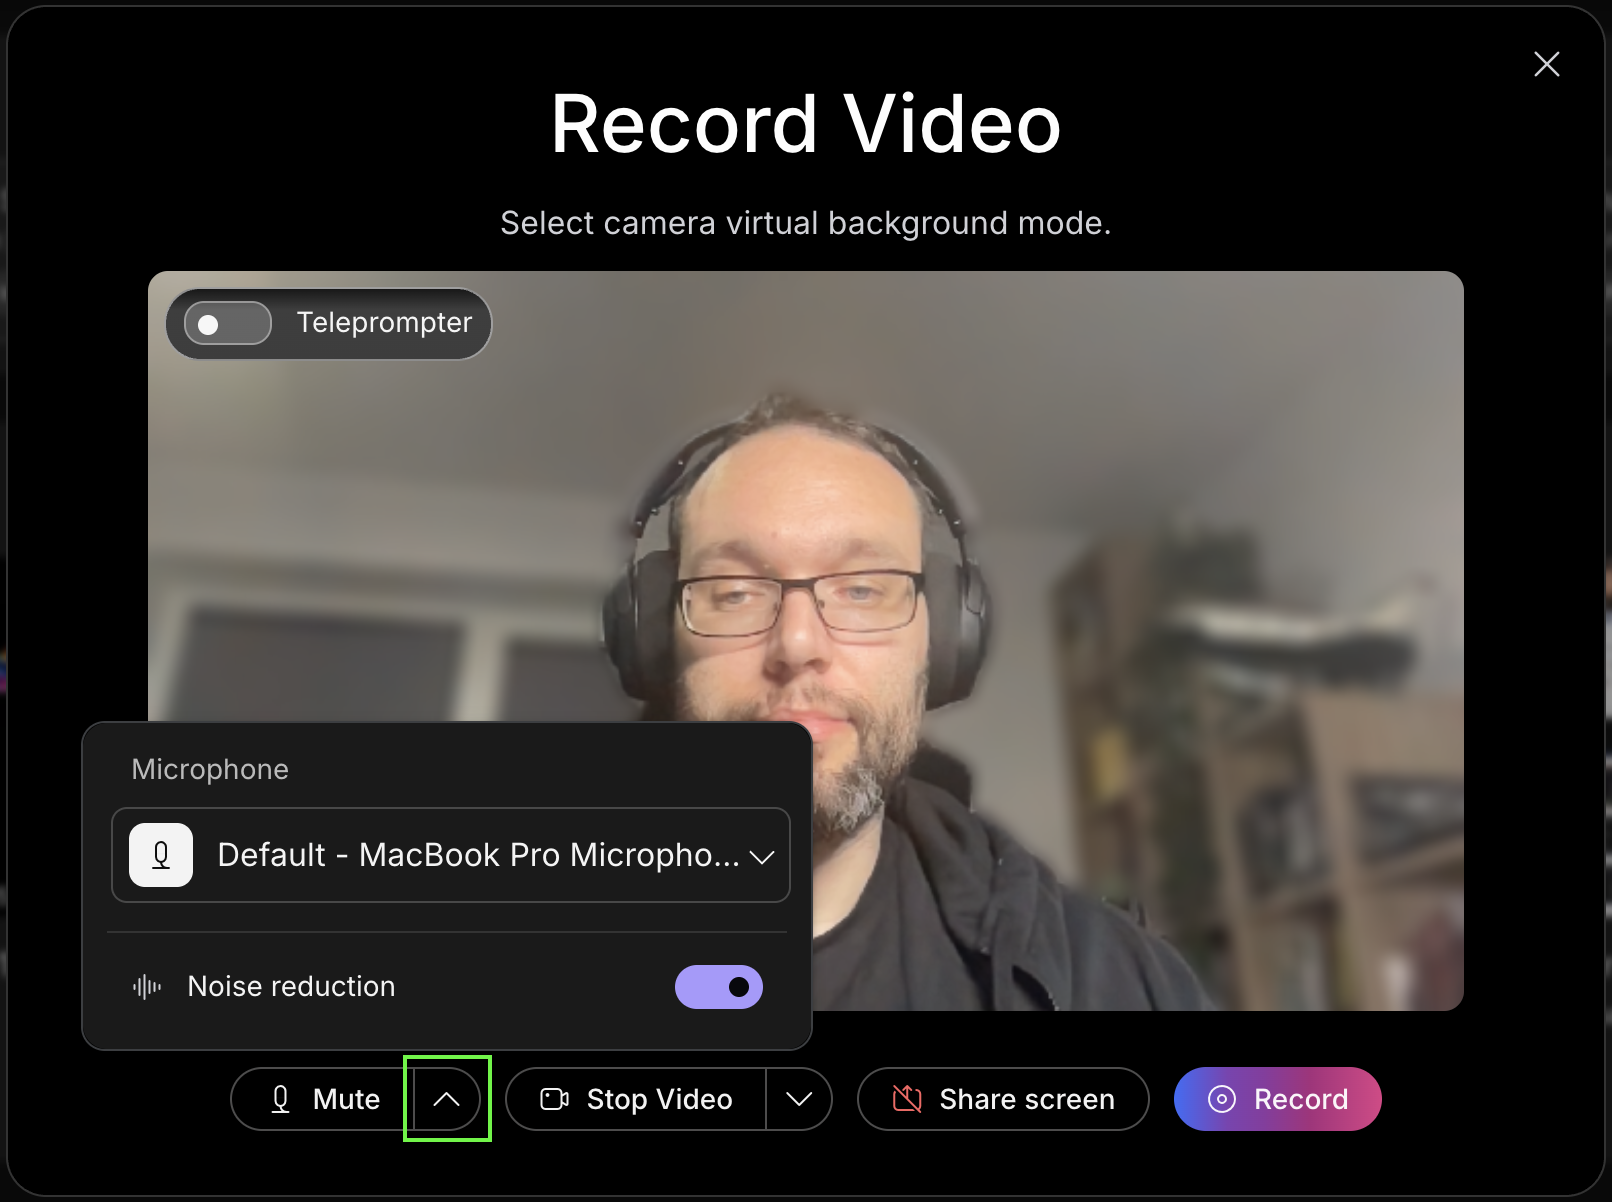
You can also select your preferred microphone and turn Noise reduction on/off by clicking on the "arrow up" button next to the Mute/Unmute button.
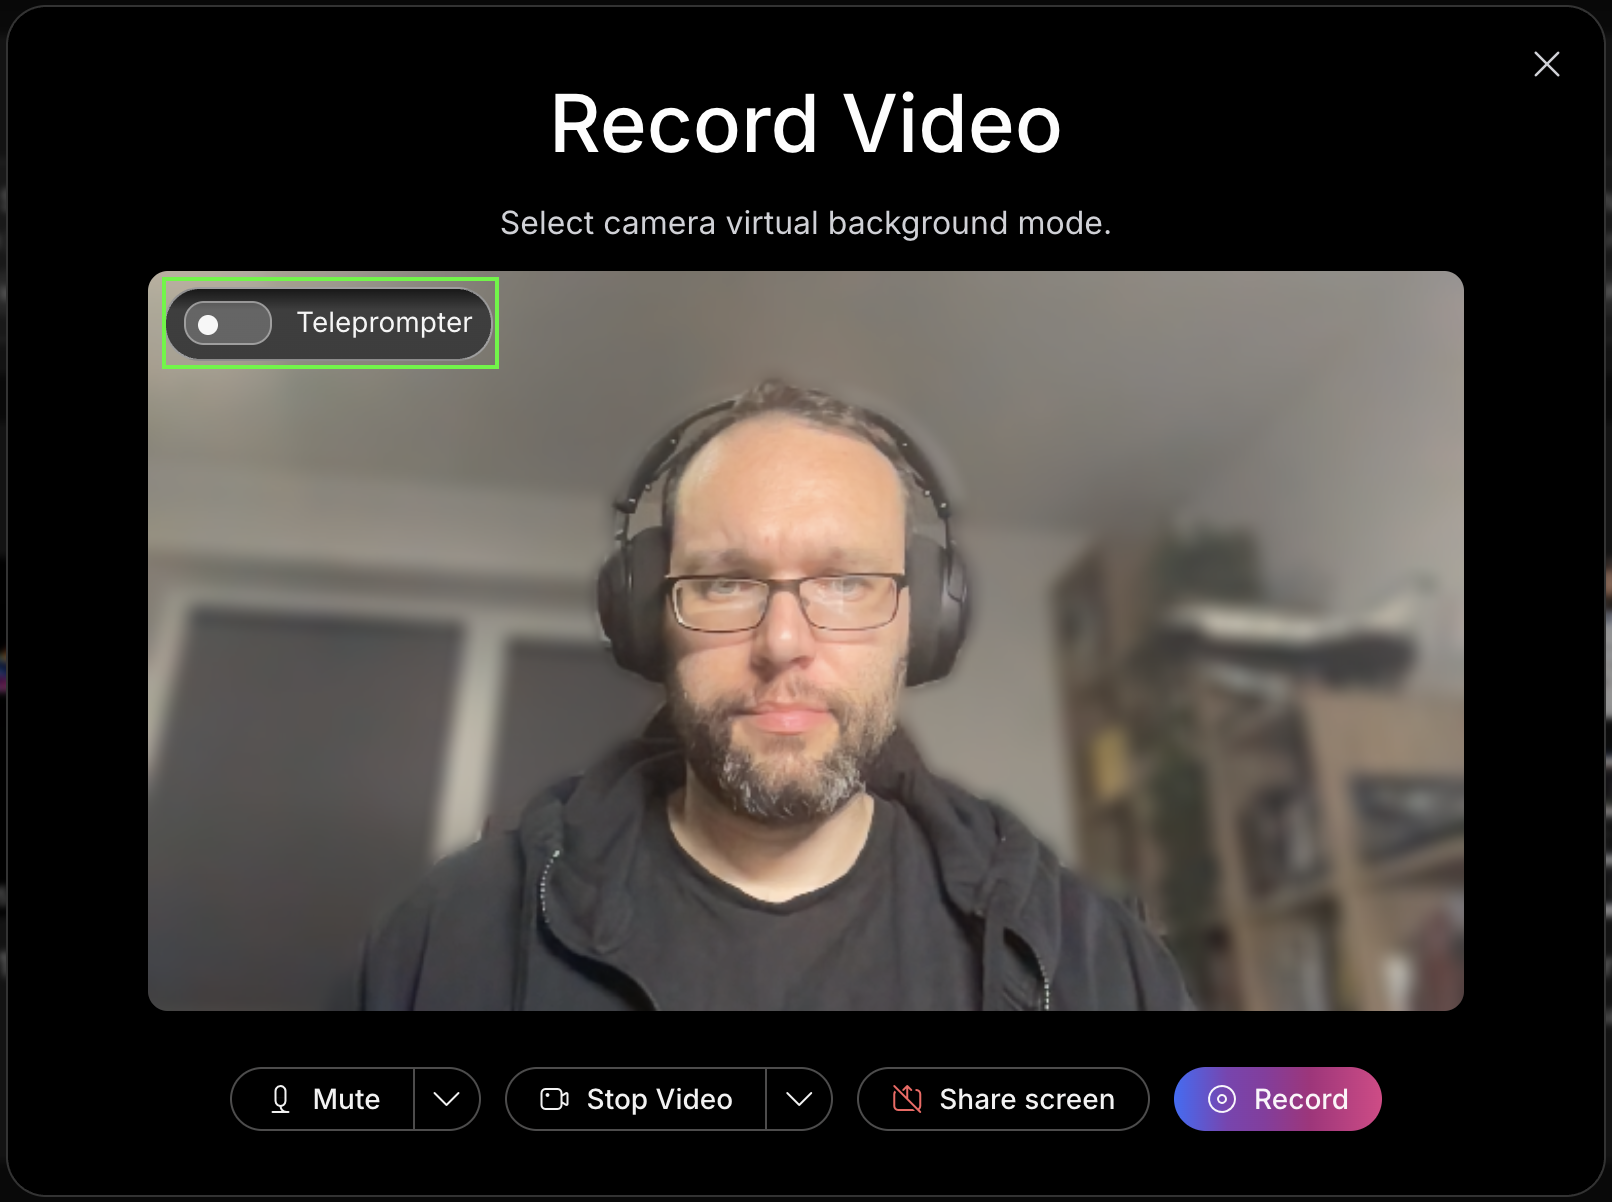
And finally, you can opt to use the teleprompter for your video.
Teleprompter feature is available only in a browser. Vidcast Webex integration or Vidcast desktop app currently do not support teleprompter.
Toggling on the teleprompter will open a separate window that will always be on top of your browser tabs and other programs or applications. It will allow you to copy/ paste your script directly to this window.
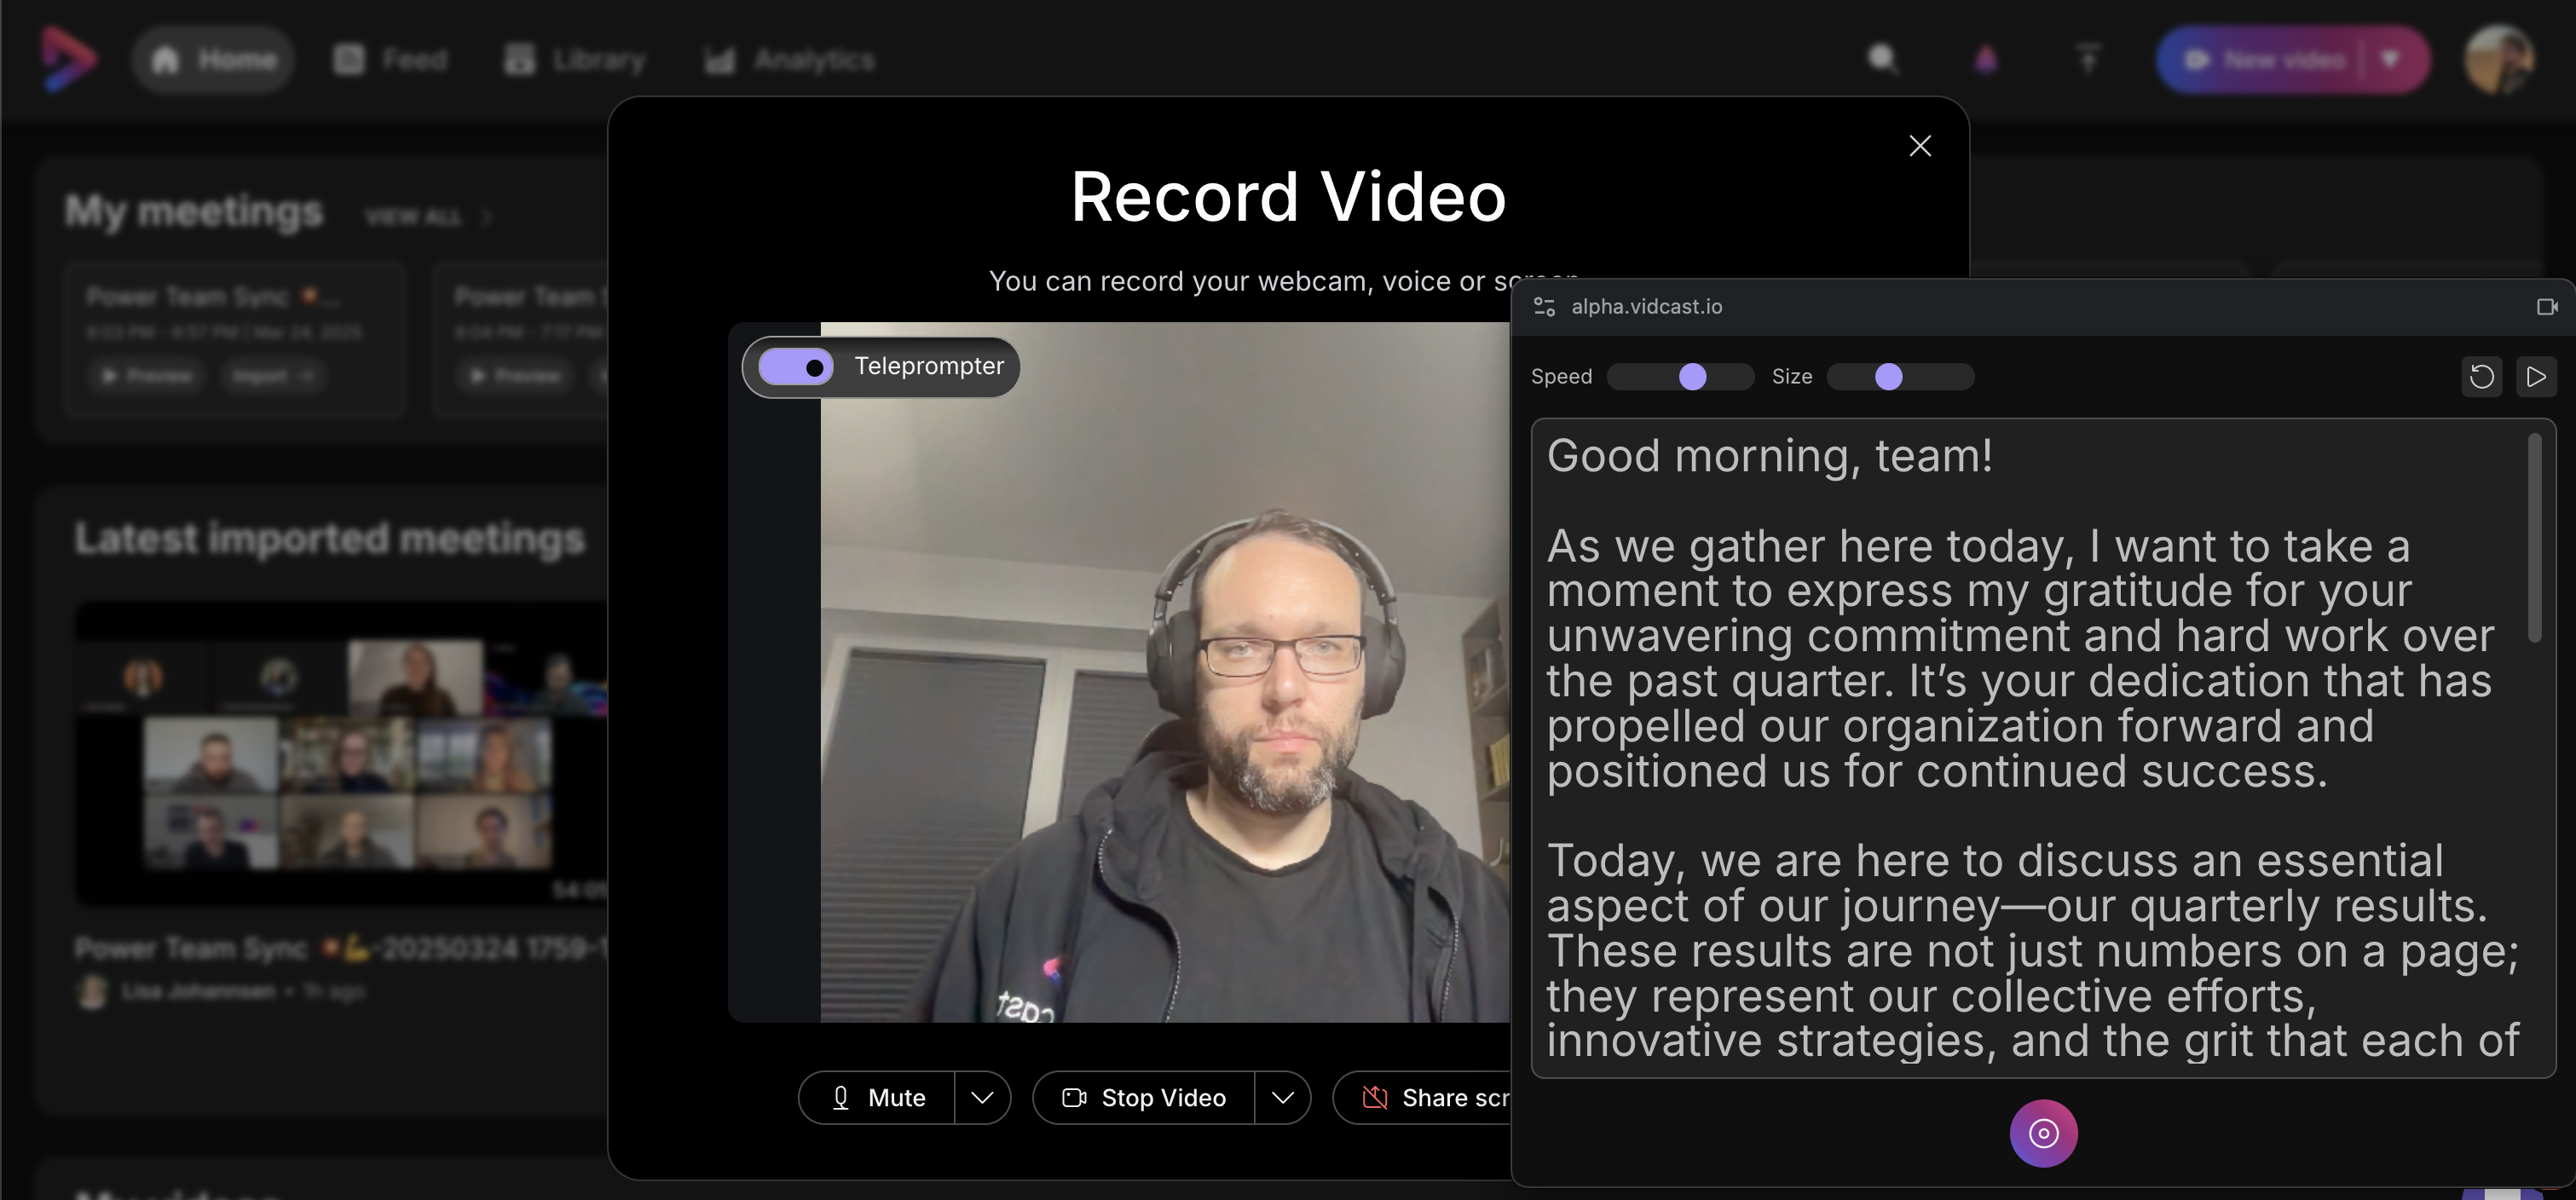
When you start the recording, the teleprompter will automatically scroll down through your script. At the top of the window, you can change the scrolling speed and size of the text , restart the script or pause scrolling altogether.
Please note that the text inserted into the teleprompter does not save after the recording session has been completed.
Bottom controls will allow you to pause, resume and end recording directly from the teleprompter window.
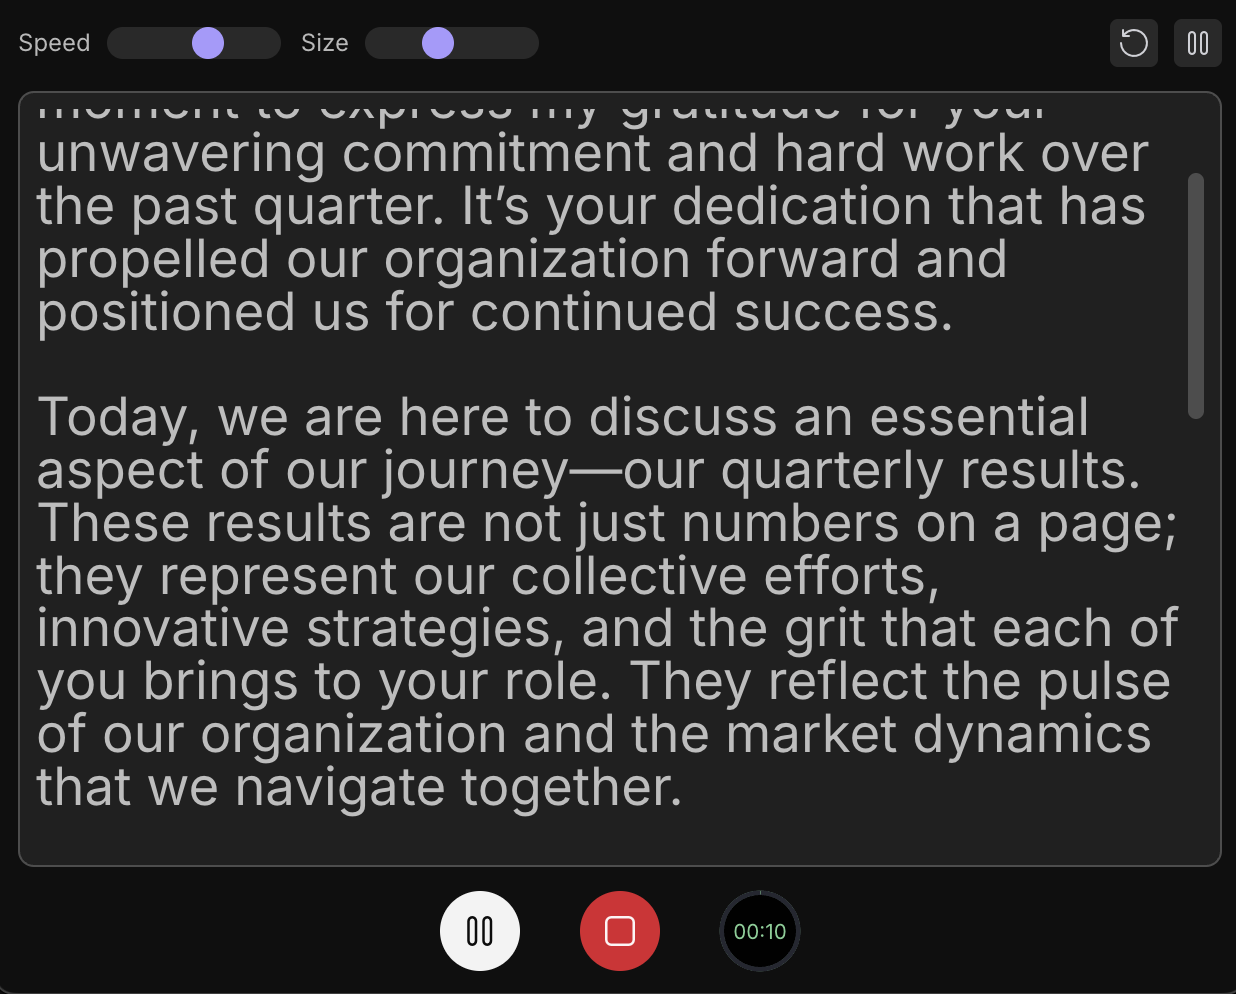
Since the teleprompter will always be on top of the content, it will be visible on the recording if you decide to record your full screen. Should you want to screen share with the teleprompter on, we recommend sharing a specific tab or window, or having the teleprompter on a different screen (when using multiple monitors).
Recording
Recording with our iOS app allows you to utilize both front and rear facing cameras, screenshare your device's screen, or only record audio.
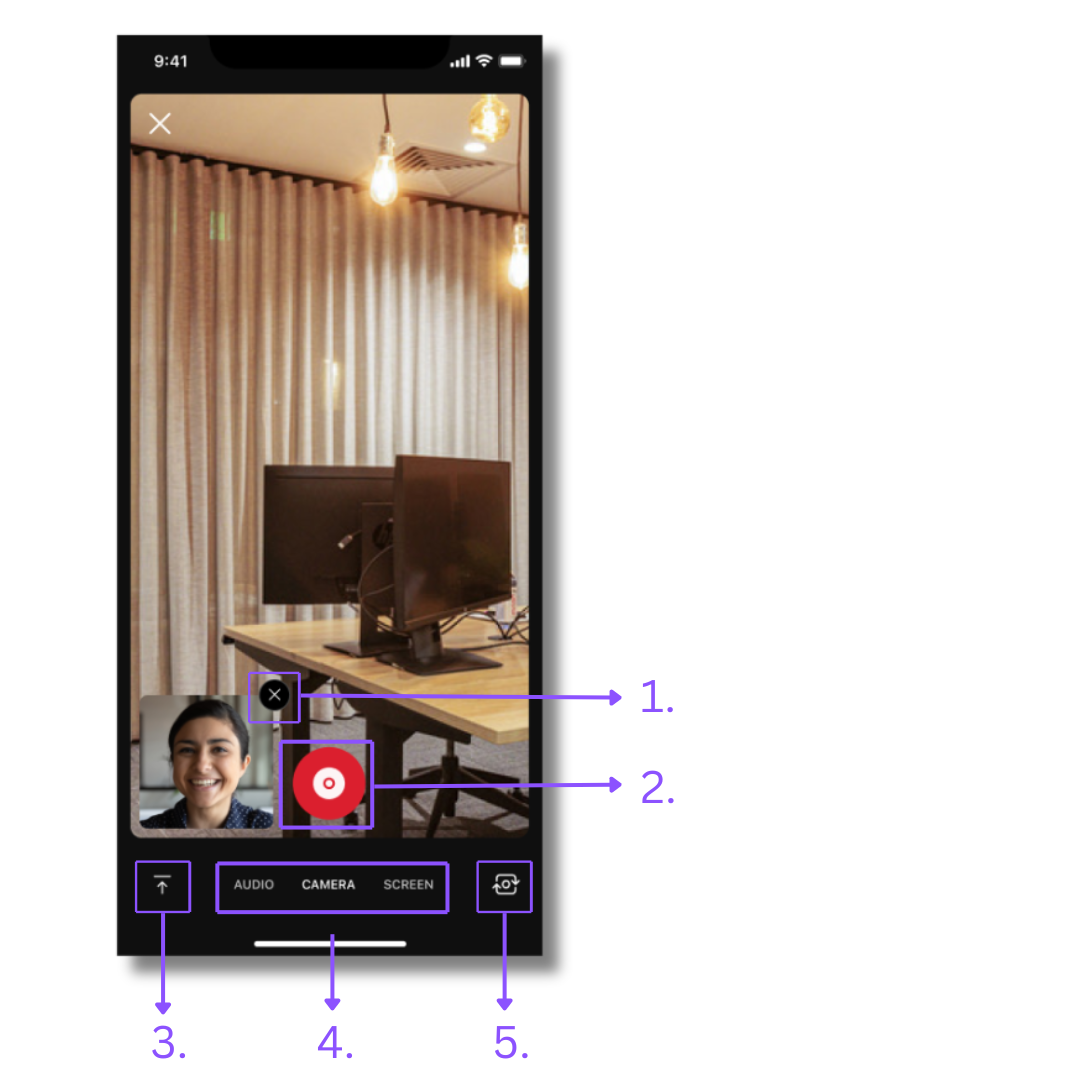
Tapping on the Record button will open a recording setup, defaulting to dual camera view, where frontal camera of your device record you in the " camera bubble" and rear camera records the main content. You can change the recording layout as needed by tapping following buttons:
-
The X button at top of your camera bubble will disable it. You can restore the camera bubble by tapping on the Dual camera button that replaces the bubble during recording setup in such cases.
-
This is the Record button. Once you are happy with the recording layout, press recording button and after a short countdown, your content will get recorded.
-
This is the Video upload button. You can use it to upload already existing video content from your gallery into Vidcast.
-
You can also choose whether you want to record just audio , use your cameras or record your device's screen.
-
This button will allow you to switch cameras. If you have dual camera setup enabled, it will switch cameras for the bubble and the main recording. If you are using only single camera recording, this button will allow you to choose the camera for the main recording.
A few points to remember:
-
Orientation of the final video depends on position of your device when you start recording. If you'll hold your device horizontally, the output video will be in the landscape mode. If you start recording when your device is vertical, final video will default to vertical aspect ratio.
-
Once you start recording, we are not able to switch to another layout. The workaround would be to stop the recording and start another one with a different layout. You can always stitch those two together!
-
Final position of the camera bubble will always be at the bottom left, regardless of where it is during the recording.
-
Recording camera bubble while screen sharing is currently not supported.


