- Home
- /
- Article

Thanks for your feedback.

 In this article
 Feedback?
As an agent, use Webex App to carry out your daily work. Join or unjoin queues, choose from multiple lines, and manage your calls. Use the screen pops to view relevant customer information to assist you with your calls.
Sign in to Webex App
| 1 |
Open Webex, or download the app. |
| 2 |
Click Sign in, enter your email address, and then click Next. Follow the steps for your organizations sign in. |
View all queues
| 1 |
Click Customer Assist
|
| 2 |
Choose how you want to view the queues:
|
 .
.
Sign in and join a queue
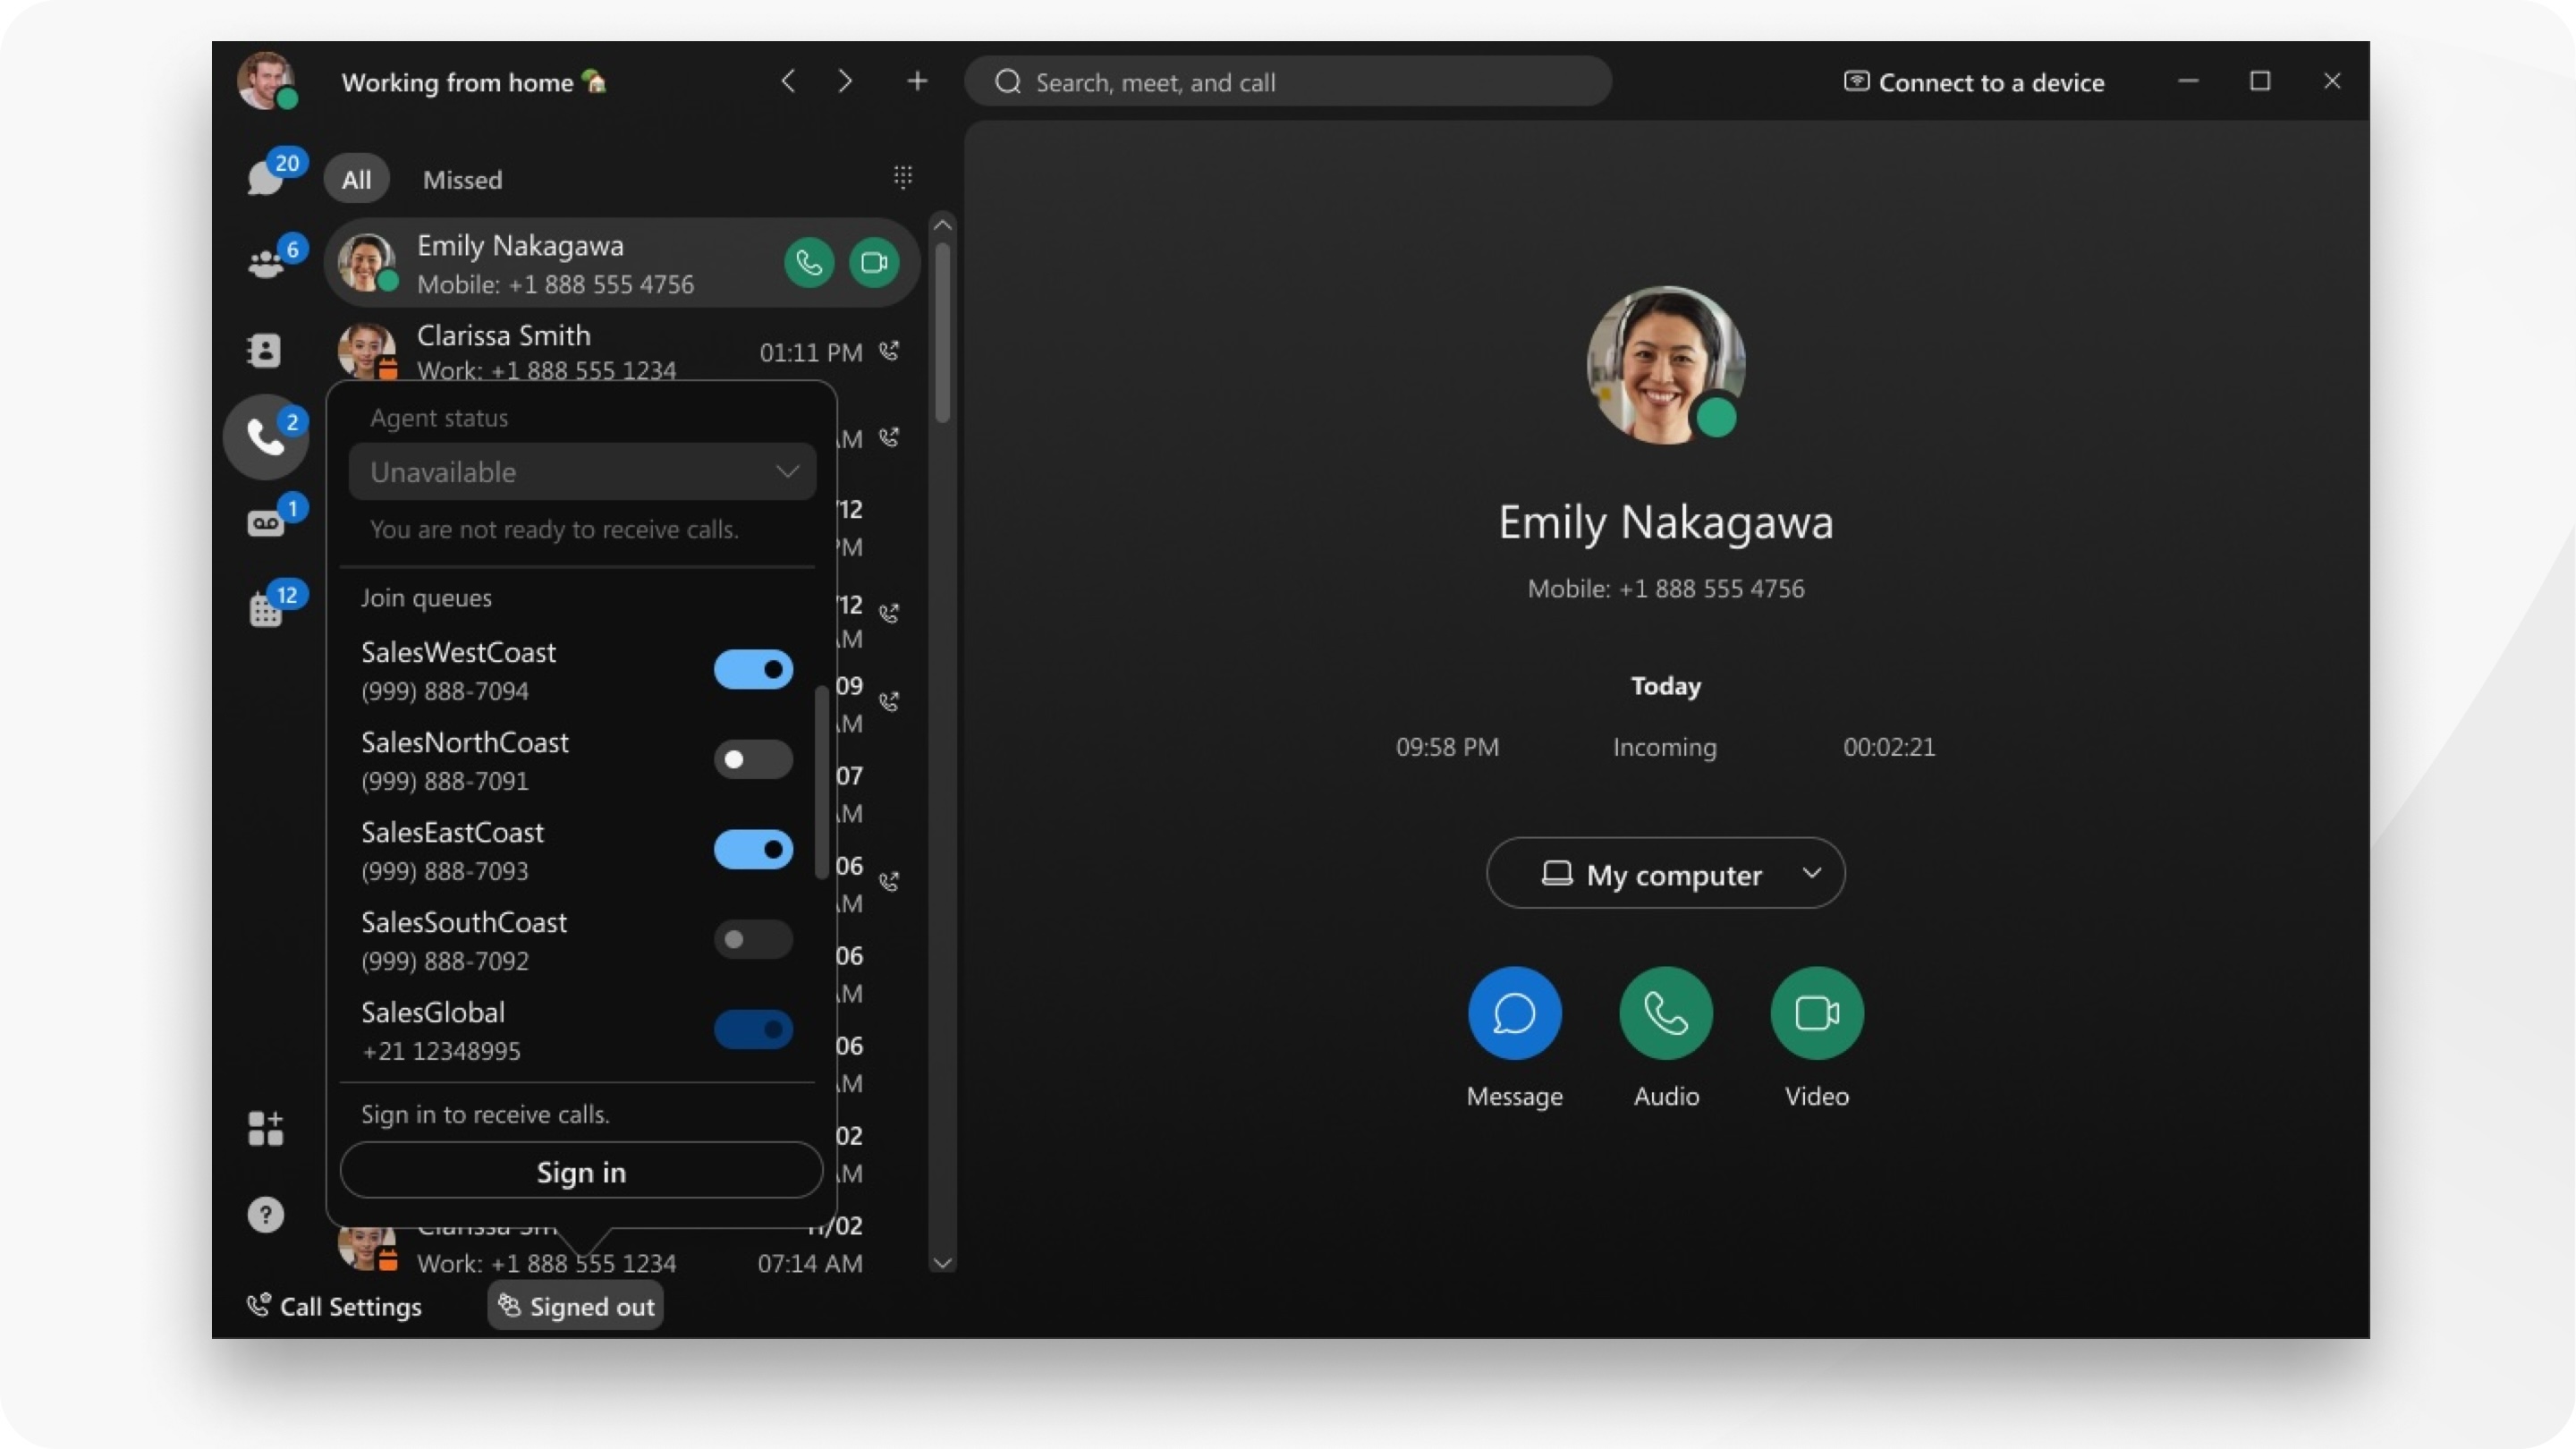
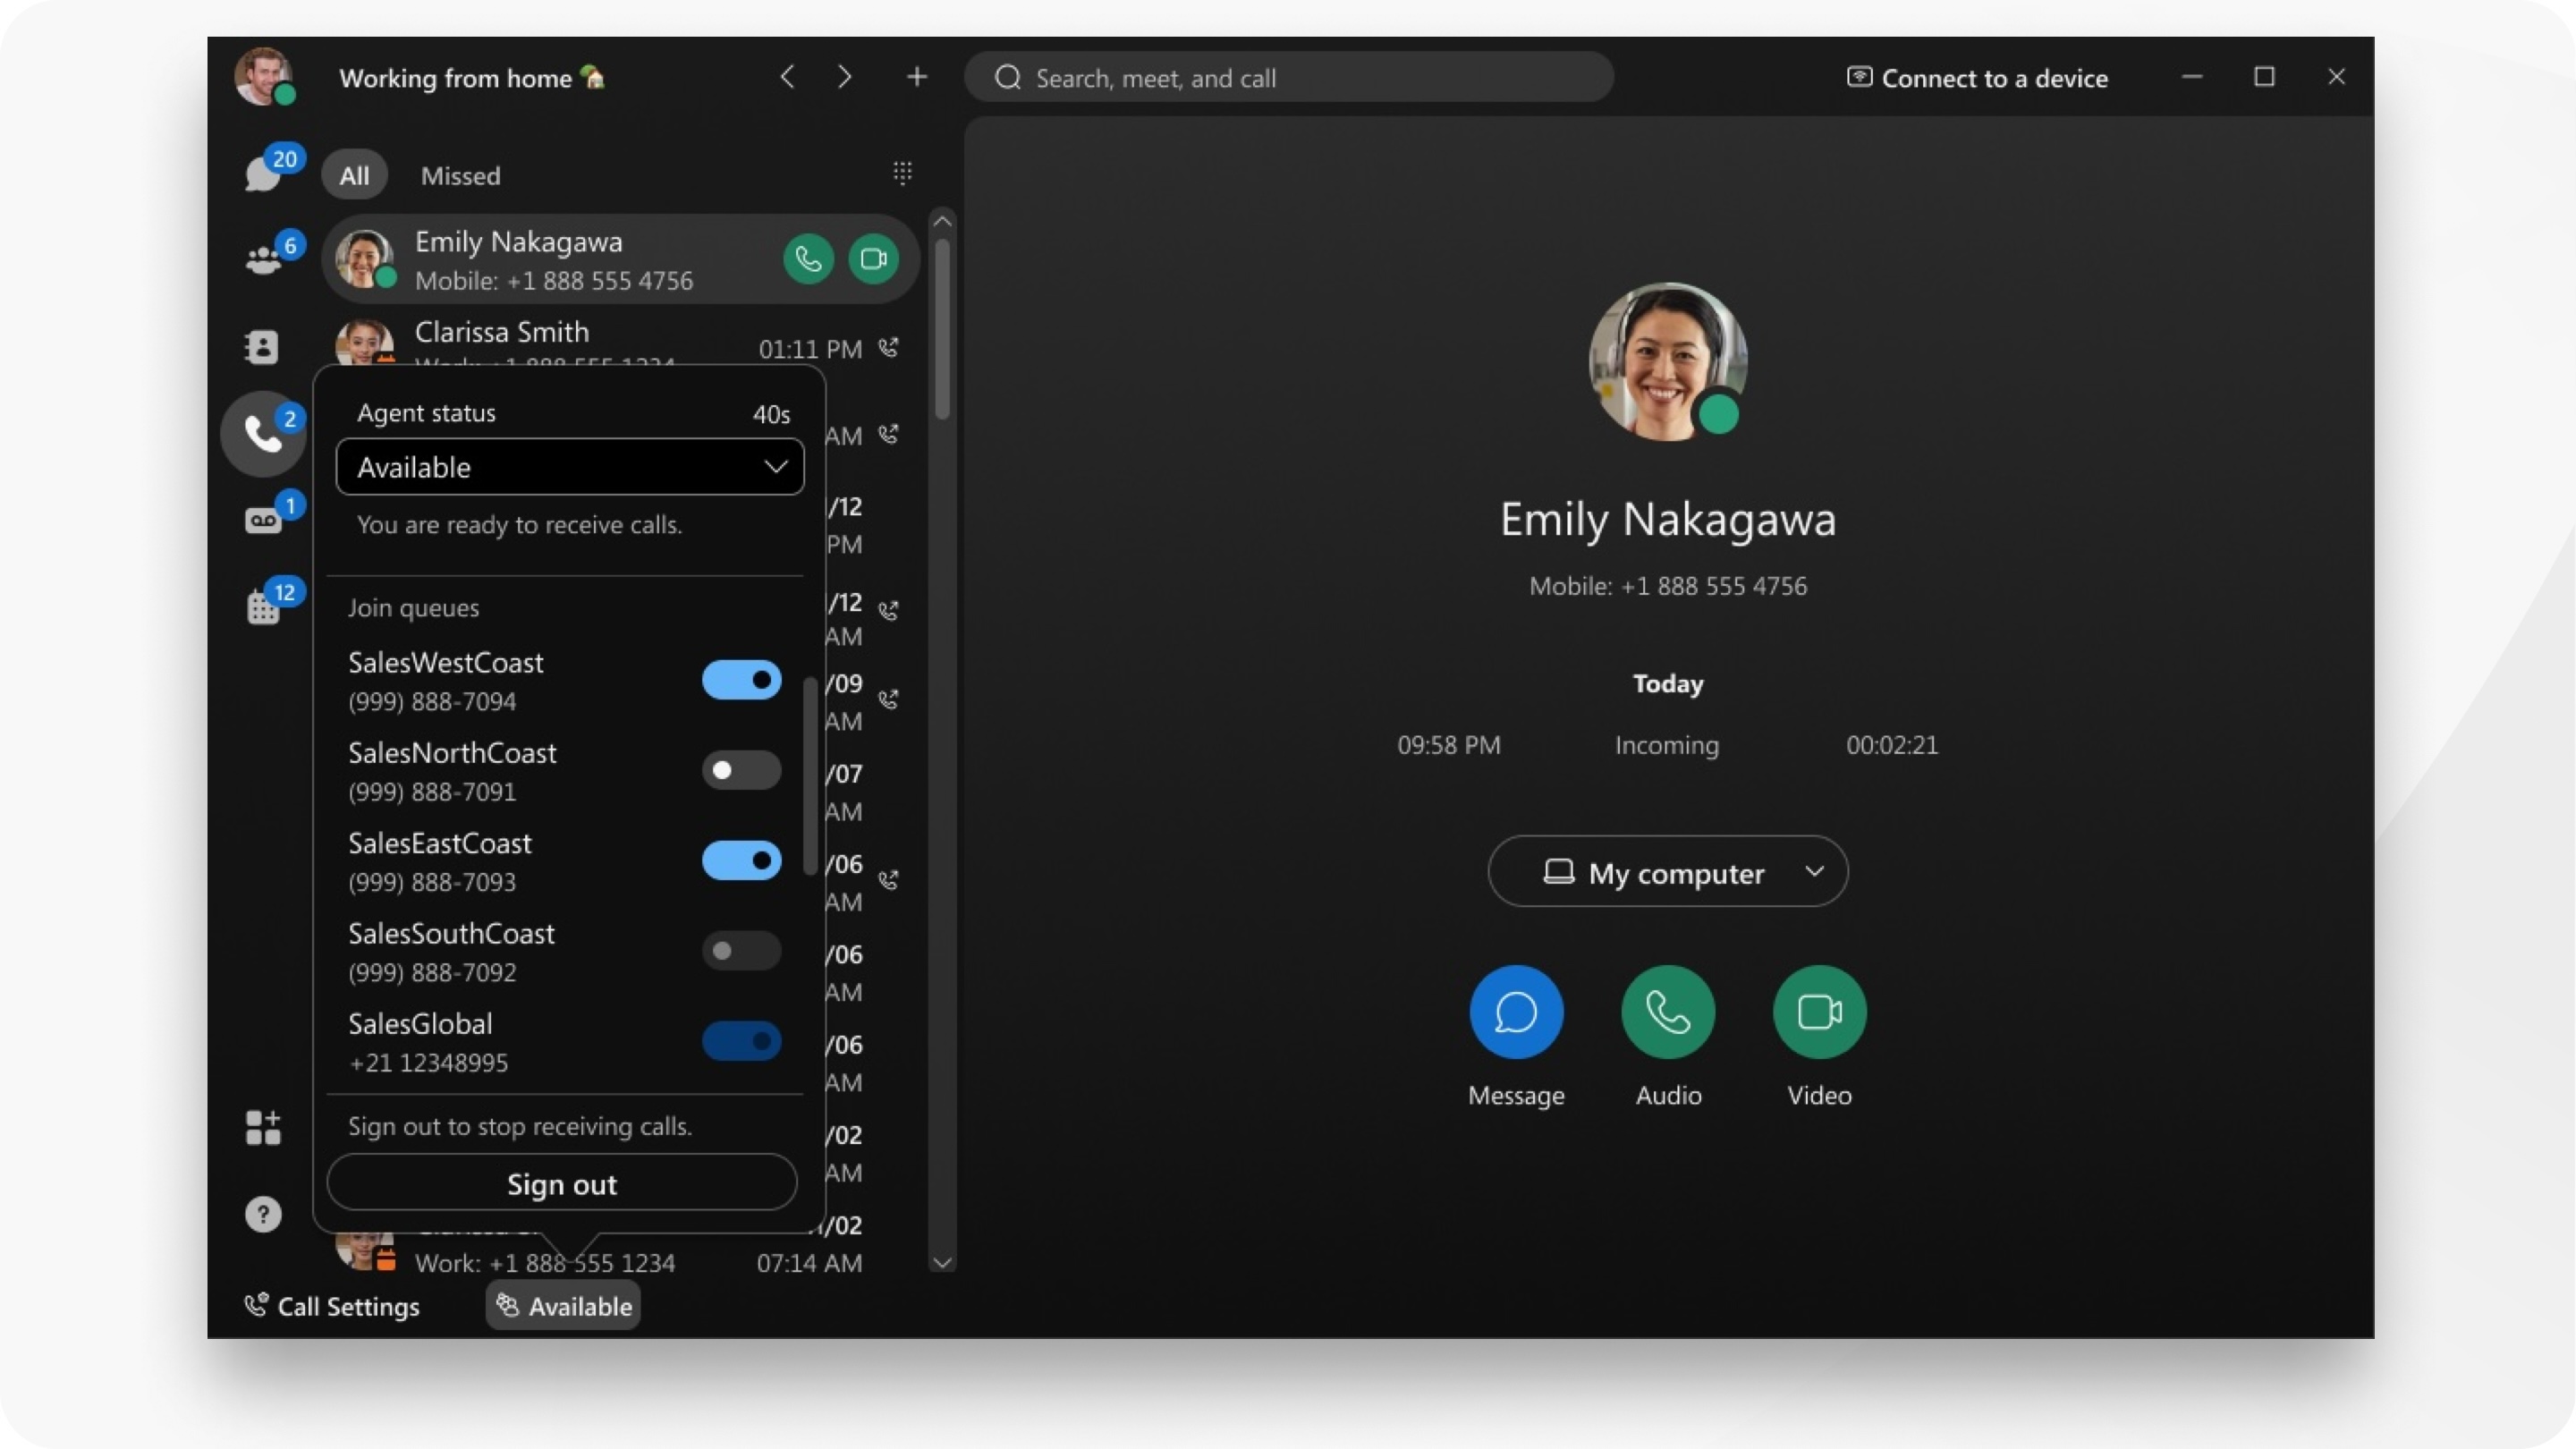
When you sign in, you can join any queues that you're added to by your supervisor. When you join a queue, you'll start to receive calls for the call queue.
| 1 |
In the app footer, click |
| 2 |
Under Sign in to receive calls, click Sign in. |
| 3 |
(Optional) Under Join queues, toggle on the queues you want to join. To receive calls on these queues, ensure your Agent status is set to Available. |

When you sign in, your agent state determines whether you can receive calls from the call queues, as described in the following table.
| Agent State | Description |
|---|---|
| Available | You are ready to receive calls from the call queues. |
| Unavailable | You will not receive calls from the call queues. |
| Wrapping Up | You have completed a call and are finishing any post-call tasks. You will not receive new calls during this time. |
Answer calls
As a member of a queue, you receive notifications for incoming calls on those queues. On Windows, you'll receive a notification on the calling dock, or if you're using Mac you'll receive an incoming call alert window.
|
Click Accept. If your administrator sets up screen pop, a screen opens automatically with additional information for the customer you are talking to. 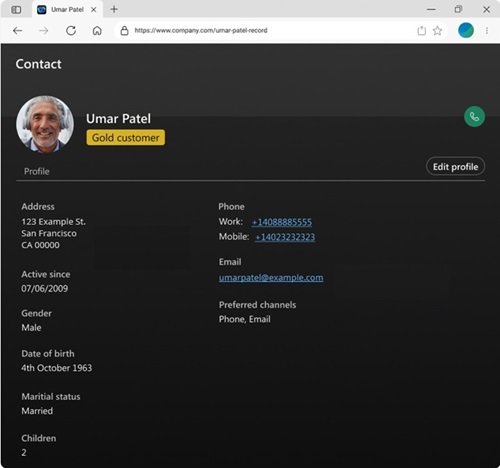
Your supervisor can monitor your call, you hear a notification tone when they join your call. |
Read and accept a new SMS message
If your administrator has setup your organization for business texting, you can read and accept those messages.
| 1 |
Select You see messages that have been sent to the queue for all agents, but are not answered. |
| 2 |
Click on a message to open the message preview. |
| 3 |
Click Accept to reply to the message. Clicking on the Accept button removes the message from the inbox queue from all agents, and is now claimed by the user. The message is moved to your Live tab. You can now manage the text, and the interaction duration timer starts. For more information on how to manage sms interactions, see Manage SMS messages
for Webex Calling Customer Assist for Agents.
|
Add a wrap-up reason
Before you begin
Your administrator can configure a list of wrap-up reasons or they can configure a timer for how long you have to apply a wrap-up reason. If neither of these options are configured, you can manually change your status and complete the wrap-up for your call.
| 1 |
When the call ends, your status automatically changes to Wrapping up or you can manually change your status to Wrapping up. |
| 2 |
If a timer is configured, you’ll see the timer counting down. |
| 3 |
If a list of wrap-up reasons is configured, you’ll see a list of wrap-up reasons that you can choose from and then click Submit. Your status automatically changes to Available or you can manually change your status and then you can receive calls again. |
Sign out to stop receiving calls
Choose to sign out, you're still a member in the call queues but you no longer receive calls.
| 1 |
In the app footer, click |
| 2 |
Under Sign out to stop receiving calls, click Sign out. |


