- Home
- /
- Article

Thanks for your feedback.

 In this article
 Feedback?
After your administrator integrates Webex Contact Center with Microsoft Dynamics 365, you can launch the gadget from within the Dynamics CRM.
Access Webex Contact Center within Microsoft Dynamics 365
This section provides instructions on how to access the Webex Contact Center after it is integrated within the Microsoft Dynamics connector.
| 1 |
Sign in to your Microsoft Dynamics account. |
| 2 |
Switch to the Customer Service workspace application if necessary. |
| 3 |
Select SIGN IN on the Webex Contact Center within Dynamics gadget: 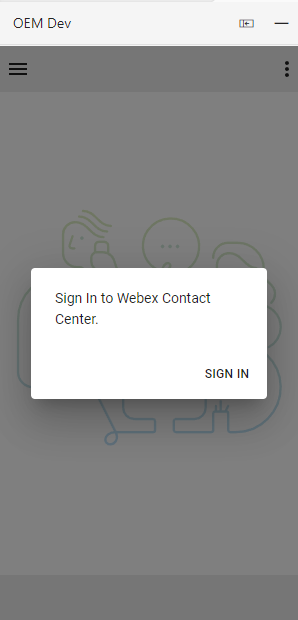
|
| 4 |
A popup window appears showing the Webex login page. Enter your email address and login to Webex. 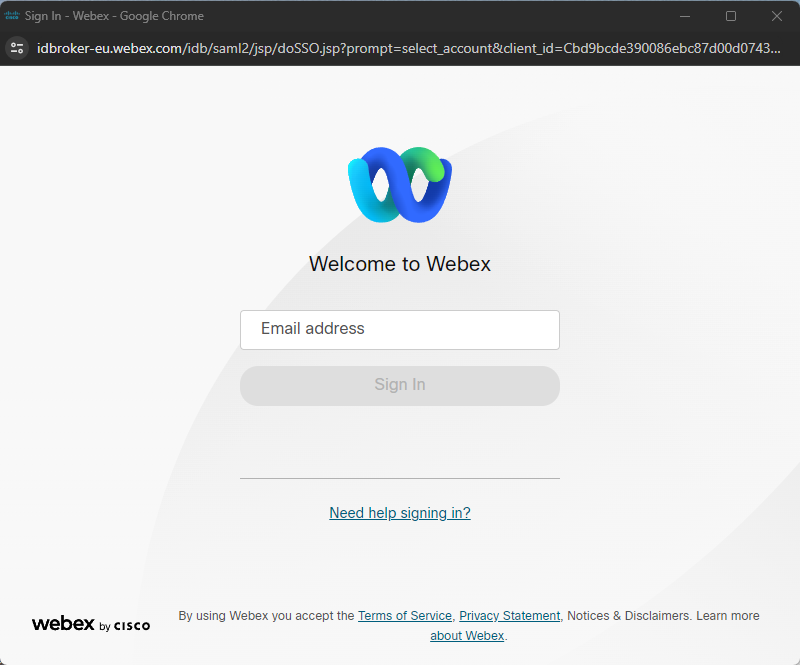
|
| 5 |
Accept the request to access Webex Connect. 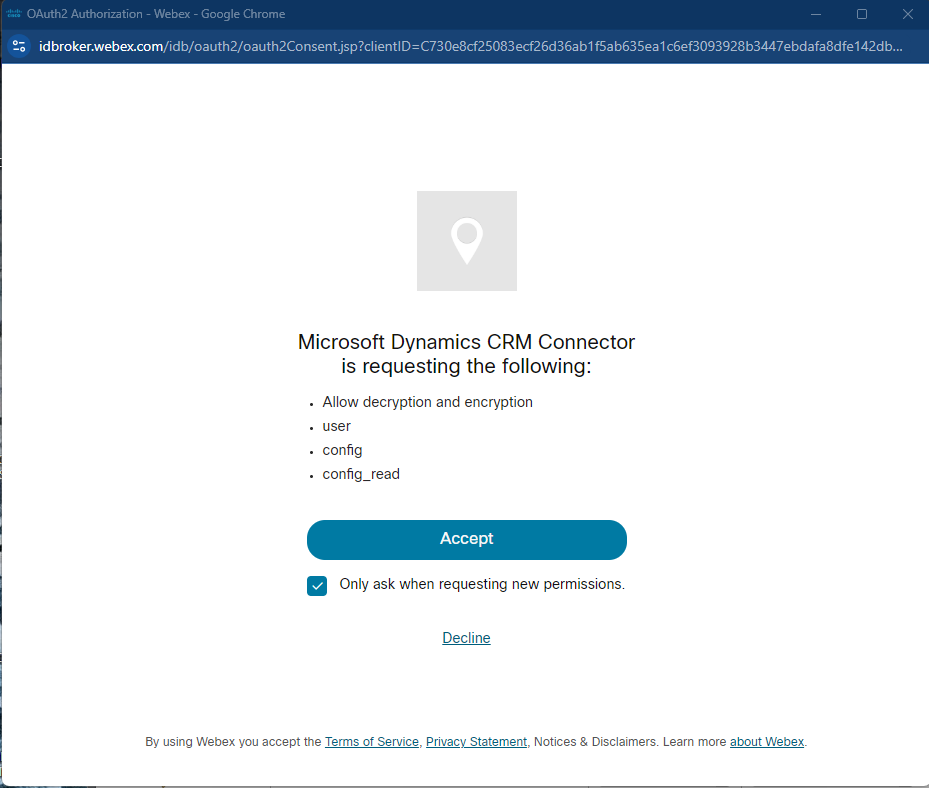
|
| 6 |
Enter your Station Credentials for 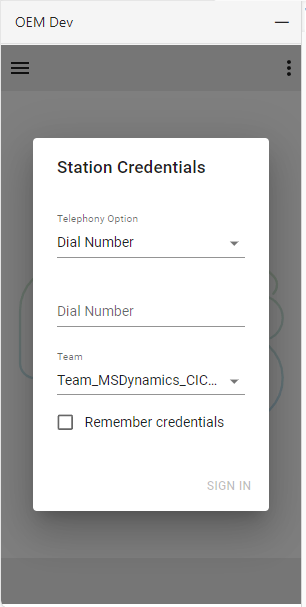

|
| 7 |
The agent should now be logged in and in a Not Ready status, as indicated by the circle with the horizontal line status icon. 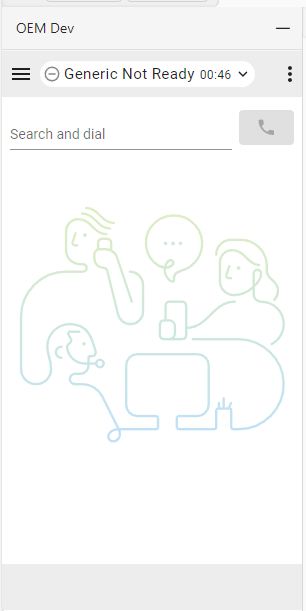
|
| 8 |
By clicking on the status icon, the agent can change to Ready or select a different NotReady reason code. 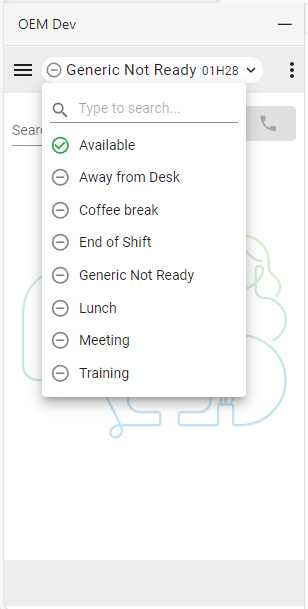
|
| 9 |
The agent is ready to take calls after selecting the Available status. |
Manage incoming calls
| 1 |
Click the state button to change the agent state to 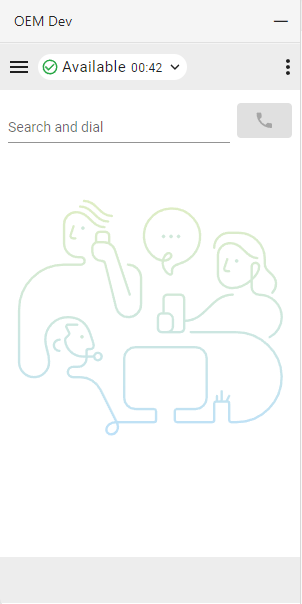
|
| 2 |
Answer the incoming call on your ringing device. When logging in with the telephony option “Desktop,” calls can be accepted or rejected in the connector. 
|
| 3 |
While in the 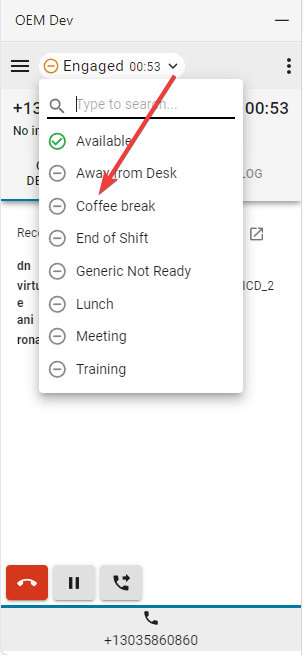
|
| 4 |
Click the Pause button to put the call on hold. 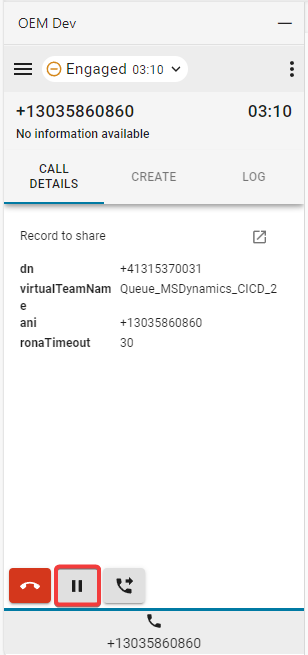
|
| 5 |
To resume, click the Play button. 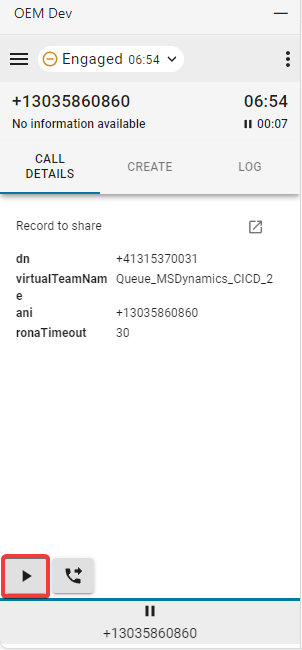
|
| 6 |
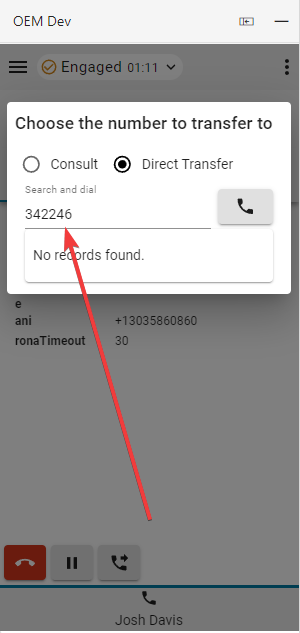
Select the Transfer button to initiate a Consult or Direct Transfer call. 
|
What to do next
Consult
- Type the number or extension in the Search and dial field or the dial pad and click the Dial button.
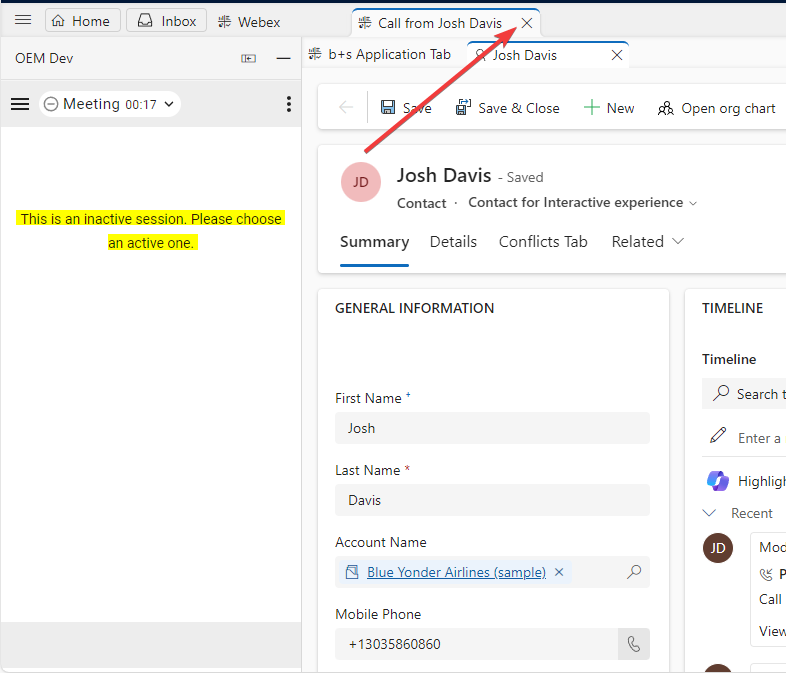
- The customer call is put on hold. At the bottom of the gadget, a ‘pause’ icon appears on the customer call’s tab button. Next to it, a new consultation call tab button appears. This allows agents to manage the consultation call and customer call separately. Agents can switch back to the original call at any time to access its control buttons. The currently active call is highlighted by a blue line directly above its tab button. Please note that all actions (CTI data changes, lookups, record mappings, creation actions, etc.) performed on a specific call use that call’s associated data.

- Once the call is established, click the Call through button.
- Choose either Transfer or Conference option and click OK to initiate the call.
Direct Transfer
- Type the number or extension in the Search and dial field and click the Dial button.
- When the call has ended, choose and set a Wrap-up reason.
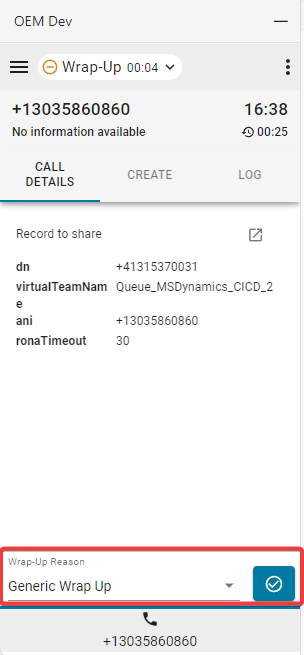
If the Auto Wrap-up extension is enabled, click X on the blue timer button to cancel the auto wrap-up timer.
- After the call is disconnected, the inactive session tab must be closed.
Manage outgoing calls
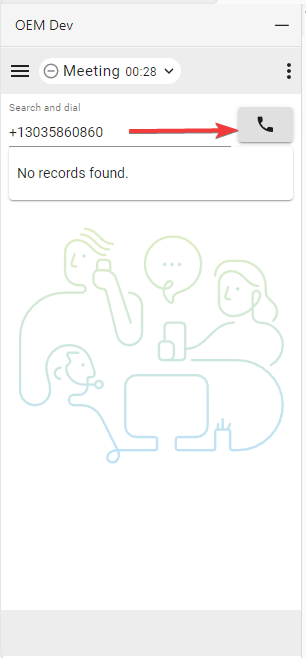
| 1 |
Using manual dial:
|
| 2 |
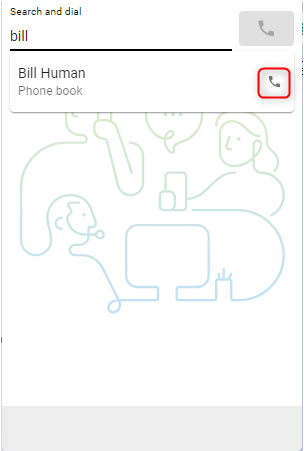
Phonebook:
It is only possible to use the Webex Phone book (buddy list) to search for contacts. No CRM records will be displayed. |
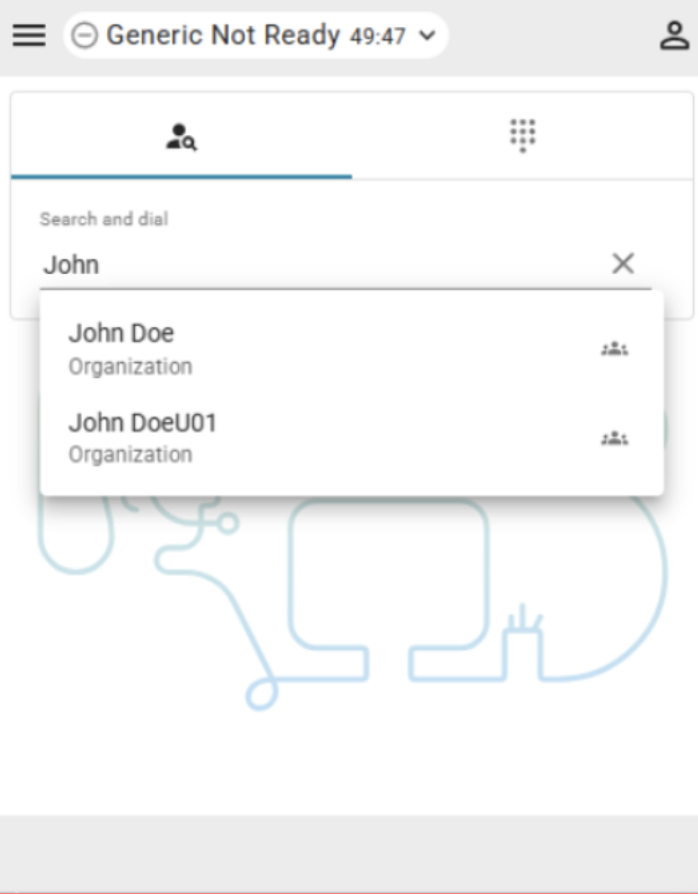
Webex Directory Search
Agents can search the Webex directory directly from the connector to find and call other organization members.
Clicking a phone number in the directory search results in an outbound call.
Limitations
- Presence information is not displayed.
- When you call an organization members, the connector checks whether the phone number belongs to a contact center agent who is currently logged in. If the number can be matched to an agent, the call is handled and shown inside the connector and on the device.
- If the number cannot be matched to a logged in agent, the call is still placed successfully, but is handled on the device, and no active call is shown in the connector.
- Direct transfers are not displayed as contact center calls when the target agent is not in an available state. In this case, the call is routed to the target agents device but is not visible in the connector.
- Directory search is not supported on other tabs than the main tab. When multiple connector tabs are open, directory search is only available in the main tab.
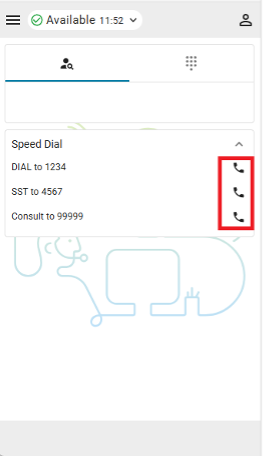
Speed Dial Card
On the home screen (no active customer call), clicking on the phone button within the speed dial cards will initiate an outbound call.
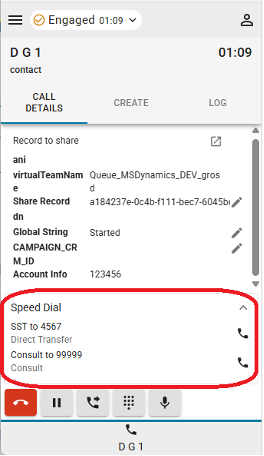
During an active call these buttons will, depending on their configuration, turn either to a single step transfer, single step conference, consult button or won’t be shown at all.
Interface Options
| 1 |
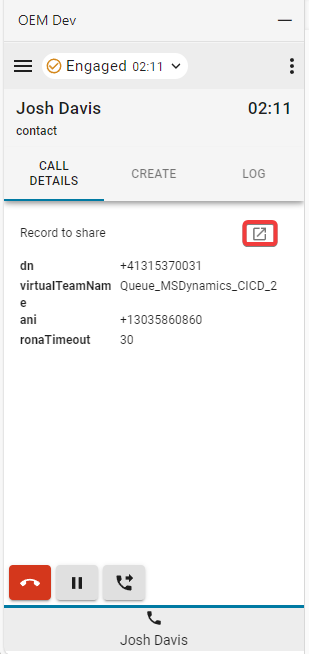
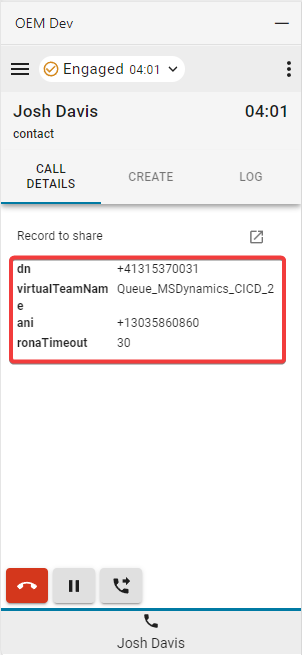
Call details—This section will display your available CTI data and link to phone log.
|
| 2 |
Create—Click Create new Contact or Create new Case to open a new Account or Case in edit mode. The information used to fill out the form automatically will always be based on the currently active call tab's data. Please see the section related to the consultation calls for more details. 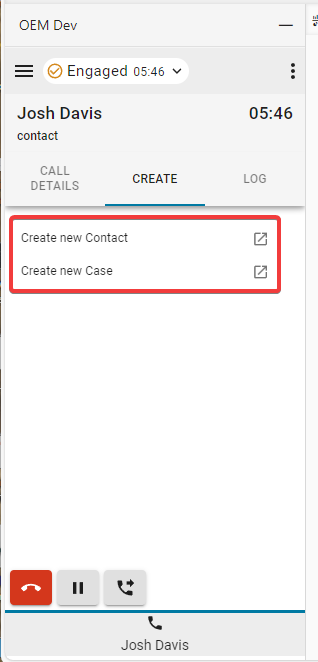
|
| 3 |
Log—Every inbound and outbound call generates a phone log by default. |
| 4 |
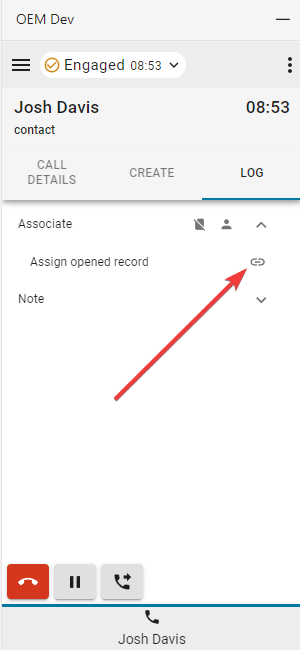
Associate
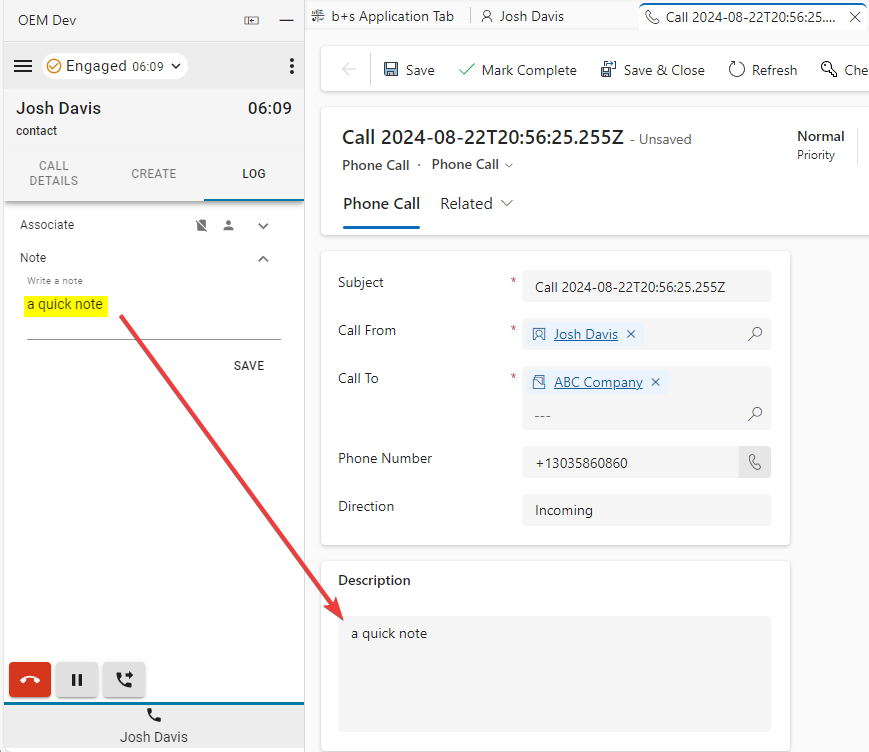
|
Reports menu
Analyzer Reports
| 1 |
Click the menu button to open reports. 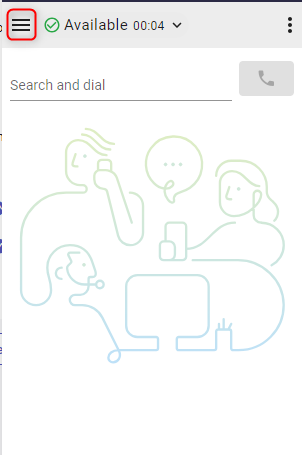
|
| 2 |
Click on a report to open in a new window. 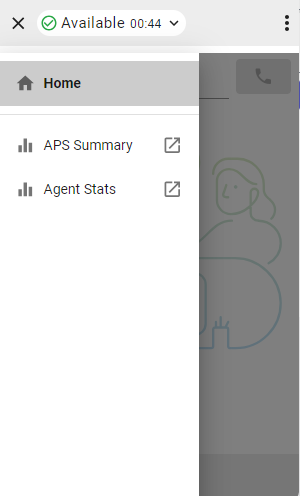
|
Options menu
Click the options menu button to open the sidebar.

This section gives additional information, options and sign out functionality.
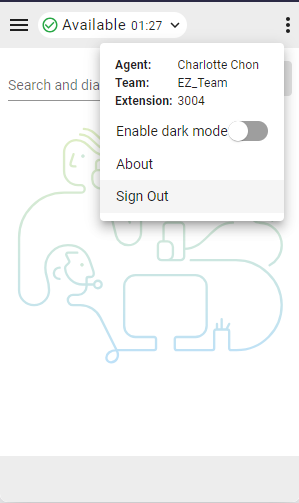
-
Dark mode—Changes them from light to dark.
-
About—Provides additional software information.
-
Sign Out—Logs the agent out of system phone.
-
Dial Number / Extension—Device extension
-
Team—Selected team
-
Profile Settings—Allows agents to change their dial number/extension and team assignment.
WebRTC
Selecting the “Desktop” telephony option when logging in will enable WebRTC — no extra device required for calls.
Speaker and microphone selection
- Click the options menu button to open the sidebar.
- Click the Speaker and Microphone option.

- Select a speaker or microphone. By default, the device currently used by your OS will be selected.

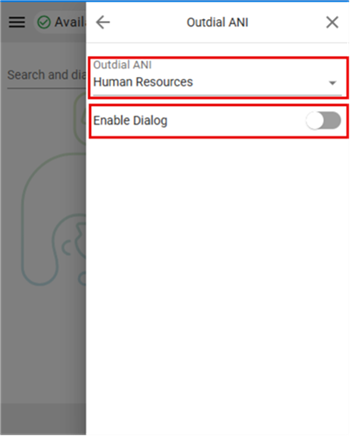
Outdial ANI
If Outdial ANI is configured in the Control hub, agents must select the desired ANI to dial out.

When Outdial ANI is configured and agents want to dial out, the dialog to select an Outdial ANI by default always appears. However, agents can select a default Outdial ANI via the Options menu and choose to disable the dialog for the time being.