- Home
- /
- Article

Thanks for your feedback.


 In this article
 Feedback?
The Business Rules Engine (BRE) in Webex Contact Center enables customers to upload specific data that the system can access during runtime to make routing decisions or display information to call agents.
Cisco Business Rules Engine is an application that helps in quick data lookups within the Webex Contact Center. Using Cisco Business Rules Engine (BRE), you can perform data lookups, custom routing and general implementation. The system retrieves the data at run time and uses it for routing decisions or displaying information to the agent.
For example, a tenant wants to route calls to a specific group of agents based on the Automatic Number Identification (ANI) dialed. In this scenario, the tenant can simply upload a list of ANIs. If the ANI of the incoming call is on that list, the system routes the call to the specified group of agents. If the ANI is not on the list, the system routes the call to the general queue.
A typical BRE implementation involves these major components:
-
BRE DataSync: The BRE DataSync configuration utility provides an interface for defining the Data Sync instances to import data into the BRE database. After the tenant defines the Data Sync instance, the tenant can upload a CSV file. The system converts the uploaded comma-separated value data into records in the BRE database.
-
Business Rules Engine: The Business Rules Engine utility provides an interface for creating domains and rule sets. The BRE requires an incoming decision request to be associated with a domain. The domain contains a set of rules. Each rule is assigned a priority. The BRE tries to match the domain’s highest priority rule with the decision request based on the conditions in the rules.
-
Flow Designer: A drag-and-drop user interface used to define flows that orchestrate and automate the components of the Webex Contact Center. You can create a flow that invokes the BRE activity to perform a simple data lookup similar to the HTTP Request activity. However, in this case, the data resides within the Webex Contact Center.
Data Handling Guidelines
To maintain the integrity and security of the BRE, you must comply with the following data handling guidelines:
-
Permissible Data Types: Upload data that is essential for the operation and functionality of the BRE. This includes, but is not limited to, business rules, configurations, and non-sensitive operational data.
-
Restriction on PII: Do not upload any Personally Identifiable Information (PII) to the BRE except for the ANI data. PII includes, but is not limited to:
- Full names
- Social security numbers
- Email addresses
- Physical addresses
- Financial information
ANI data refers to the telephone number associated with the calling party. ANI data is the only type of PII that is permissible for uploading to the BRE. This exception is to support specific business functionalities that rely on ANI data.
Business Rules Engine consists of a real-time rules engine that gets invoked by the flow associated with an entry point. This rules engine typically consults with a data repository to assess the desired call handling.
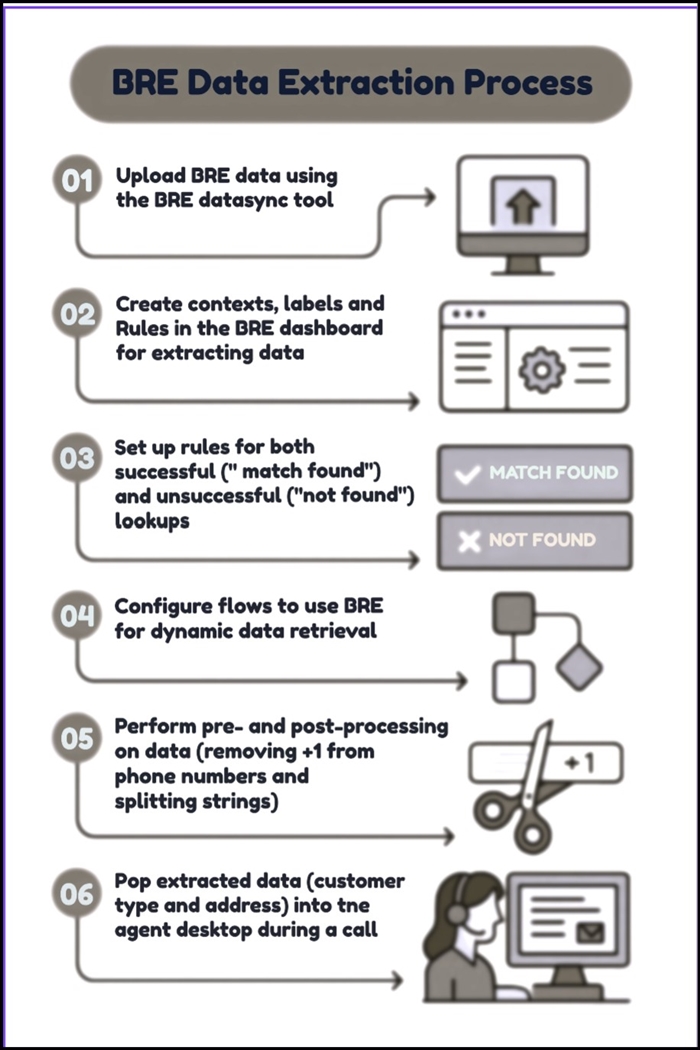
A BRE lookup is a simple data dip within your flow, like an HTTP Request. However, the data for BRE lookup resides within Cisco Webex Contact Center data center. The following image shows the various processes involved in the BRE data lookup.
Before you begin
Before you implement BRE:
- Configure the BRE DataSync instance for your implementation with a clear understanding of the data model.
- Get familiar with the following terminologies used throughout this guide:
Attribute: Anattributeis a named variable or data field created within the BRE utility. It serves as a container for information that the BRE uses to process requests and generate outputs.Context: Acontextis primarily used as an example name for an attribute that specifies the targeted domain for a BRE Request activity.Label: ALabelis a specific type of attribute that is designed to hold the output or result of a rule's evaluation.
See the FAQ section for more details.
Configure a BRE DataSync instance
The BRE DataSync utility accesses a database to make routing decisions. Ensure to periodically update the database with the appropriate information. This section describes how to configure the BRE DataSync utility to update the BRE repository.
The tenant administrator must create a BRE DataSync instance for every data set that the Rules Engines consults during its decision-making process. The administrator can create the data set or upload a CSV file. The data is converted into records in the BRE repository.
Before you begin
Contact Cisco Customer Service Account Manager to get access to the BRE DataSync account.
BRE DataSync is currently enabled only for Full Administrator role. Tenants with the Full Administrator role can upload data either using the CSV file upload or key-value pairs. Users with this role can upload only their organization-specific data.
Partner Administrator, External Administrator, Agents, and Supervisors don't have access to the BRE DataSync utility.
| 1 |
As an administrator, log in to the BRE DataSync utility. In compliance with the recent enhancements in BRE Hosting and Scalability, the URLs for the DataSync utility have changed. Ensure to use the updated URLs to upload data into BRE. The region-specific BRE DataSync URLs are: https://bre-datasync.produs1.ciscoccservice.com/datasync/ https://bre-datasync.prodeu1.ciscoccservice.com/datasync/ https://bre-datasync.prodeu2.ciscoccservice.com/datasync/ https://bre-datasync.prodca1.ciscoccservice.com/datasync/ https://bre-datasync.prodjp1.ciscoccservice.com/datasync/ https://bre-datasync.prodsg1.ciscoccservice.com/datasync/
Click the URLs to navigate to the Login with Common Identity page. For the US region, select the US cluster (not the US second cluster) to proceed further. For the ANZ region, there is no specific URL. Choose your home CI cluster to login. For most users, US and US second cluster links work. The region specific BRE Admin UI URLs are: https://bre.produs1.ciscoccservice.com/bre/ https://bre.prodeu1.ciscoccservice.com/bre/ https://bre.prodeu2.ciscoccservice.com/bre/ https://bre.prodca1.ciscoccservice.com/bre/ |
| 2 |
Select BRE Data List to view all the information that is related to the tenant organization. |
| 3 |
To add data as key-value pairs to the BRE repository: Select Add BRE Data |
| 4 |
To upload a CSV file to the BRE repository: Select Upload BRE CSV Data. |
Accessing the BRE application
You can access the Business Rules Engine application from Webex Contact Center:
- Sign into Control Hub.
- Navigate to .
- Under Quick Links section in the right pane, click
Business Rules Engine.
BRE uses identity service and a Single Sign‐On interaction. If the tenants have already signed in to Control Hub, they can automatically gain access to the BRE utility for their organization.
The system opens the Business Rules Engine (BRE) application in a new browser tab, and you
are automatically signed-in to the application. The Dashboard page appears with a graphical
representation of the number of rules and number of executions.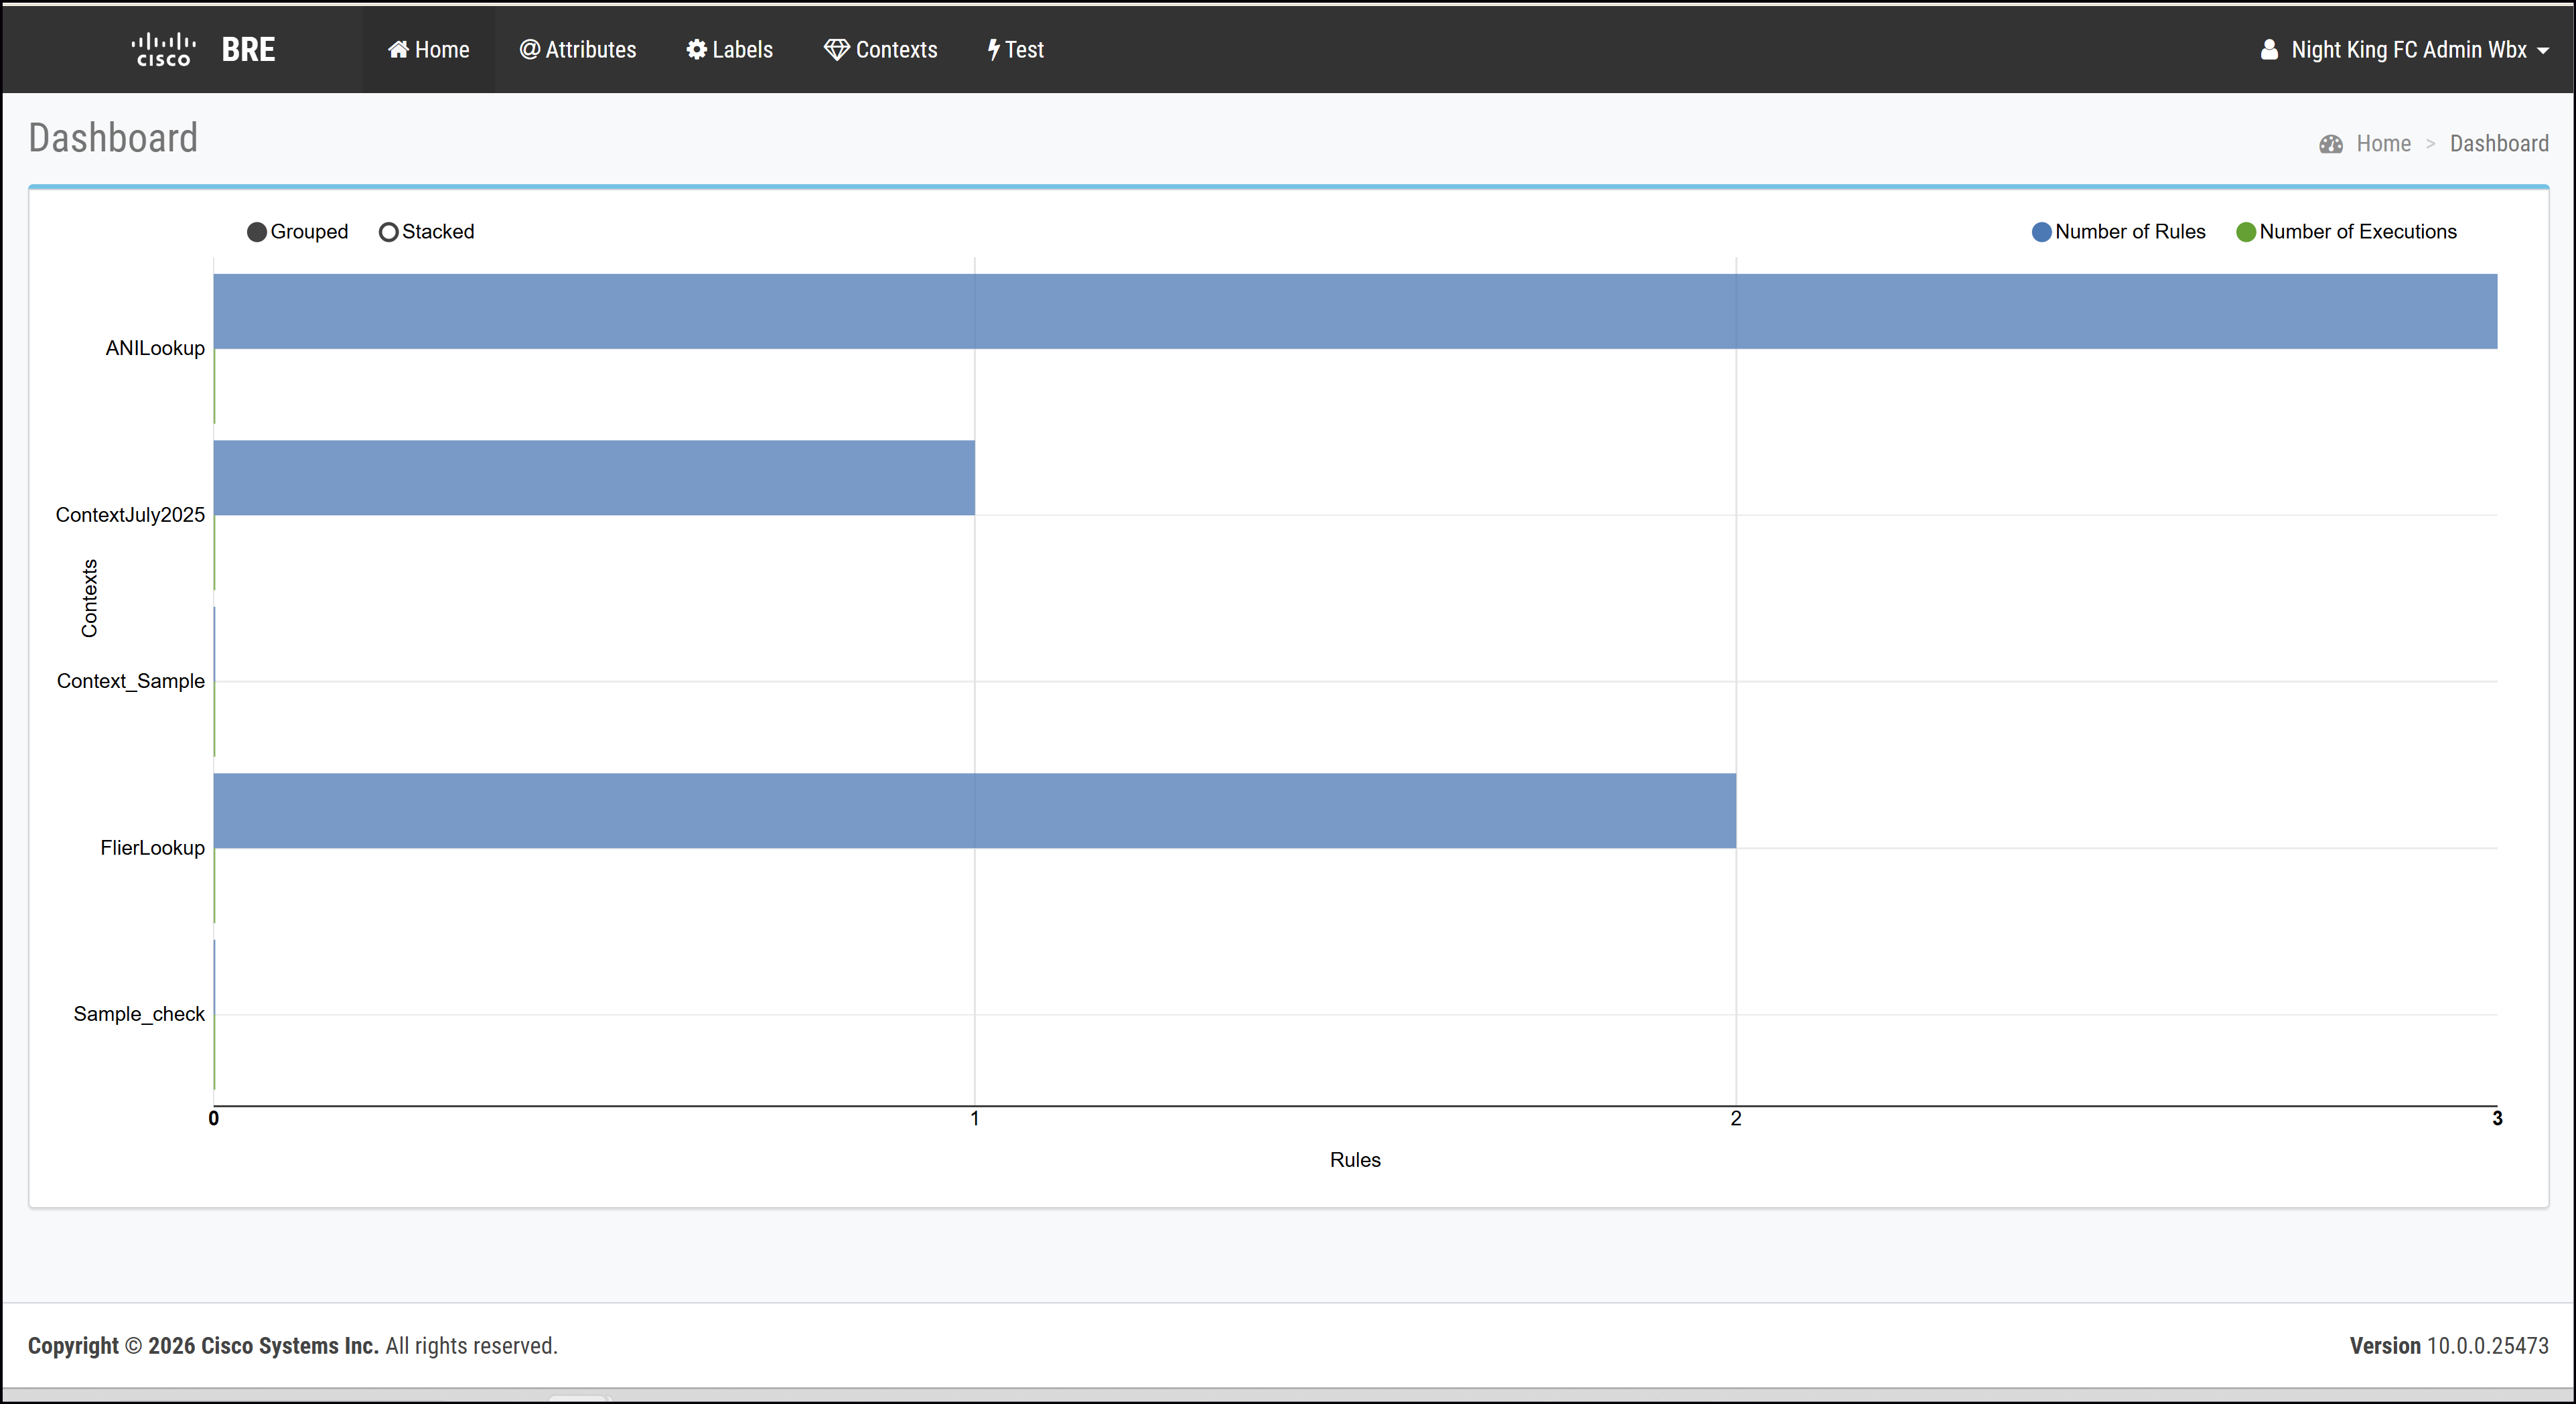
Creating a set of rules
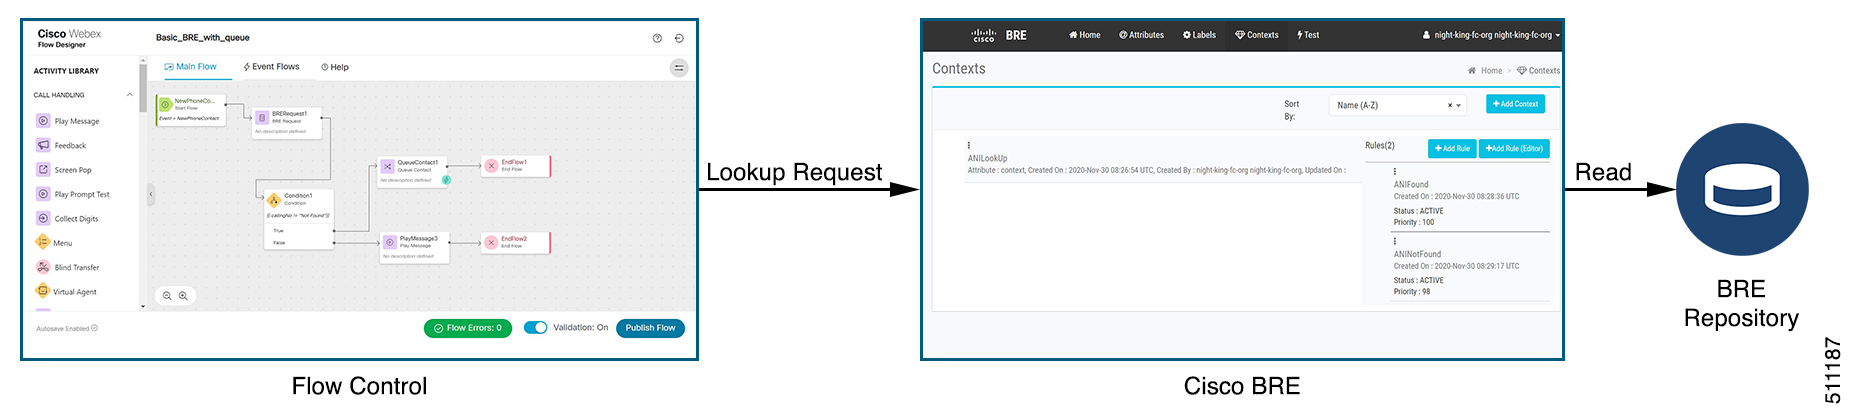
Access the BRE portal and configure the Attribute, Label, Context, and Rules, as described below.
| 1 |
To create an attribute (for associating with your organization): |
| 2 |
Label adds meaning to your data. To create a Label: |
| 3 |
Click Contexts to navigate to the Contexts page. Click +Add Context. |
| 4 |
To create rules, navigate to the Contexts page. Click +Add Rule Editor and configure the following details:
Create two rules: one if the system finds a match and the other when the system does not find a match. The following example code returns the value NotFound for the attribute routeInfo. This occurs if a number that the caller dialed from (ANI) doesn't match an ANI on the list of tenants that are uploaded to the BRE database. Copy and paste the following rule in the Rule Editor: |
| 5 |
Click Save. |
BRE Request
Use the BRE Request activity to retrieve the data from your organization's Business Rules Engine (BRE) to use in the flow. The BRE Request activity uses standard HTTP protocols to fetch data from the BRE.
The following sections enable you to configure the BRE Request activity:
General Settings
|
Parameter |
Description |
|---|---|
|
Activity Label |
Enter a name for the activity. |
|
Activity Description |
(Optional) Enter a description for the activity. |
Query Parameters
As part of the BRE Request, you can pass the parameters that are provided in the API call to the BRE. In the Key‐Value columns, you can enter the key for the query and the associated value to send along with the query. You can also use the double curly braces syntax to pass variable values.
The BRE activity has one predefined Query Parameter: context. This query parameter is passed in the API call to the BRE.
The TenantID is automatically injected as a parameter and does not need to be configured.
|
Parameter |
Description |
|---|---|
|
Context |
Contains the reason for the request. This mandatory parameter can't be edited or deleted. This parameter must contain the same value as the value specified in the Attribute |
|
ANI |
Contains the originating phone number of the call. This is a default parameter that you can edit or delete, based on the rules configuration in the BRE. A sample value for ANI is |
|
Response Timeout | Specifies the connection timeout for the BRE Request. Default is set at 2000 milliseconds. |
|
Number of Retries |
Specifies the number of times the BRE Request is attempted after failure. This parameter is used if the status code is 5xx; for example, 500 or 501. |
To add a query parameter, click Add New. This adds a row where you can enter the key value pairs. You can add as many query parameters as required as part of the BRE Request.
Parse Settings
This section enables you to parse the response from the BRE Request into different variables:
|
Parameter |
Description |
|---|---|
|
Response Variable |
Choose a variable to which you want to extract a particular section from the BRE Request response object. You can choose only Custom Flow variables from the drop-down list. |
|
Path Expression |
Define the Path Expression for parsing the response object. Depending on the kind of data structure of the response object and the use cases for extracting a subset of that information, the Path Expression varies. Data is normalized to an object hierarchy before Path Expression execution, so JSONPath is used in the response object regardless of the configured Content Type. |
Decryption Settings
You can decrypt the output variables of the BRE Request activity. If decryption is enabled at the flow level, users with debug decryption access can view the unmasked output values of the BRE Request activity in the flow debug logs. Turn off the Enable decryption toggle to disable decryption at the activity level for additional protection.
Output Variables
The BRE Request returns two output variables:
-
BRERequest1.httpResponseBody: Returns the response body for the BRE Request. -
BRERequest1.httpStatusCode: Returns the status code of the BRE Request.These response codes are classified into the following categories:
-
Informational responses (100–199)
-
Successful responses (200–299)
-
Redirects (300–399)
-
Client errors (400–499)
-
Server errors (500–599)
-
Content Type Formats
The following examples describe sample input Content Type formats and the JSON response.
Content Type XML
Use this tool to convert XML into JSON format https://codeshack.io/xml-to-json-converter/.
XML Input Format:
<note>
  <to>Tove</to>
  <from>Jani</from>
  <heading>Reminder</heading>
  <body>Test application</body>
</note>
Data/JSON Normalized Response
{
   "note": {
      "to": "Tove",
      "from": "Jani",
      "heading": "Reminder",
      "body": "Test application"
   }
}
Example JSON Path Expression: Use $.note.from to get the value as Jani.
Content Type TOML
Use this tool to convert TOML to JSON format https://www.convertjson.com/toml-to-json.htm.
TOML Input Format:
title = "TOML Example"
[owner]
name = "Tom Preston-Werner"
dob = 1979-05-27T07:32:00-08:00
Data/JSON Normalized Response
{
   "title": "TOML Example",
   "owner": {
      "name": "Tom Preston-Werner",
      "dob": "1979-05-27T15:32:00.000Z"
   }
}
Example JSON Path Expression: Use $.owner.name to get the value as ‘Tom Preston-Werner’.
Content Type YAML
Use this tool to convert YAML to JSON format https://www.convertjson.com/yaml-to-json.htm.
YAML Input Format:
# An employee record
martin:
  name: Martin D'vloper
  job: Developer
  skill: Elite
Data/JSON Normalized Response
{
   "martin": {
      "name": "Martin D'vloper",
      "job": "Developer",
      "skill": "Elite"
   }
}
Example JSON Path Expression: Use $.martin.job to get the value Developer.
Content Type JSON
Use the JSON Expression Evaluator https://jsonpath.com/.
JSON Input Format:
{
   "martin": {
      "name": "Martin D'vloper",
      "job": "Developer",
      "skill": "Elite"
   }
}
Data/JSON Normalized Response
{
   "martin": {
      "name": "Martin D'vloper",
      "job": "Developer",
      "skill": "Elite"
   }
}
Example JSON Path Expression: Use $.martin.job to get the value Developer.
Creating a Flow with BRE Request Activity
You can create flows using the Flow Designer interface available in the Webex Contact Center. Create a flow with the BRE Request activity in the Webex Contact Center Flow Designer.
For more information about configuring the flow, see the BRE Request.
Frequently asked questions
- What is the purpose of an
attribute?Attributesare fundamental for linking incoming BRE lookup requests to specific rule sets defined within BRE, and for storing the results of rule evaluations. - How do you create
attributes?Create
attributesunder in the BRE utility. For example, you might create an attribute namedcontext. - What is the purpose of a
context?Contextdefines the specific scenario or lookup type that BRE applies. When a flow invokes the BRE Request activity, it needs to tell the BRE which set of rules to evaluate. An attribute, often namedContextis set to the name of the specific domain. - What is a
domain?A
domainis the table within BRE that contains the relevant data. The domain's name guides BRE to the correct data and its corresponding rule set. - What is a
label?After BRE evaluates its rules, it must communicate the outcome back to the calling system (for example, a Webex Contact Center Flow containing BRE Request activity). Rules are configured to set the value of a designated label attribute based on their conditions.
- What is the relationship between an attribute, context, and a label?
You can create an
Attribute, for example, namedcontext. You can associate this attribute with adomain(the actual table like ANILookup). When invoking the BRE Request activity, the flow sets the value of this attribute (that is,domain= ANILookup) to specify the context (which domain's rules to use).Within that
domain, rules are written in Drools Syntax to evaluate conditions and set the value of anotherattribute, often referred to as alabel(for example,label= "MatchFound"). This represents the rule's outcome that is returned as a Response to the Flow. -
How are attributes, contexts, and labels related to query parameters of the request?
The BRE is invoked by a Flow, typically through an API call (BRE Request activity) to a hardcoded internal URL. This is a REST API that enables lookup of BRE values uploaded in CSV (key/value pairs). The data required for the BRE to make a decision is passed as part of this request, similar to how query parameters or a request body would function in a regular REST API call.
Input Data: Information from the incoming call (like the caller's ANI, account number, and other similar data) is captured as Call Associated Data (CAD) variables in the Webex Contact Center call flow.BRE Configuration Data: Other necessary parameters, such as context and the attribute specifying the domain (e.g., domain = ANILookup), are also set as variables in the Flow's BRE Request node.Request Variables: In the BRE Request step of the Flow, the CAD variables and configured variables are selected as variables in the BRE Request configuration. These variables are then sent to the BRE's execution backend engine.Function: Essentially, the 'Request Variables' act as the 'query parameters' or input payload for the BRE. The BRE uses these incoming values to evaluate the conditions defined in its rules.


