- Home
- /
- Article

Thanks for your feedback.

Configure and manage executive and executive assistant services
 In this article
 Feedback?
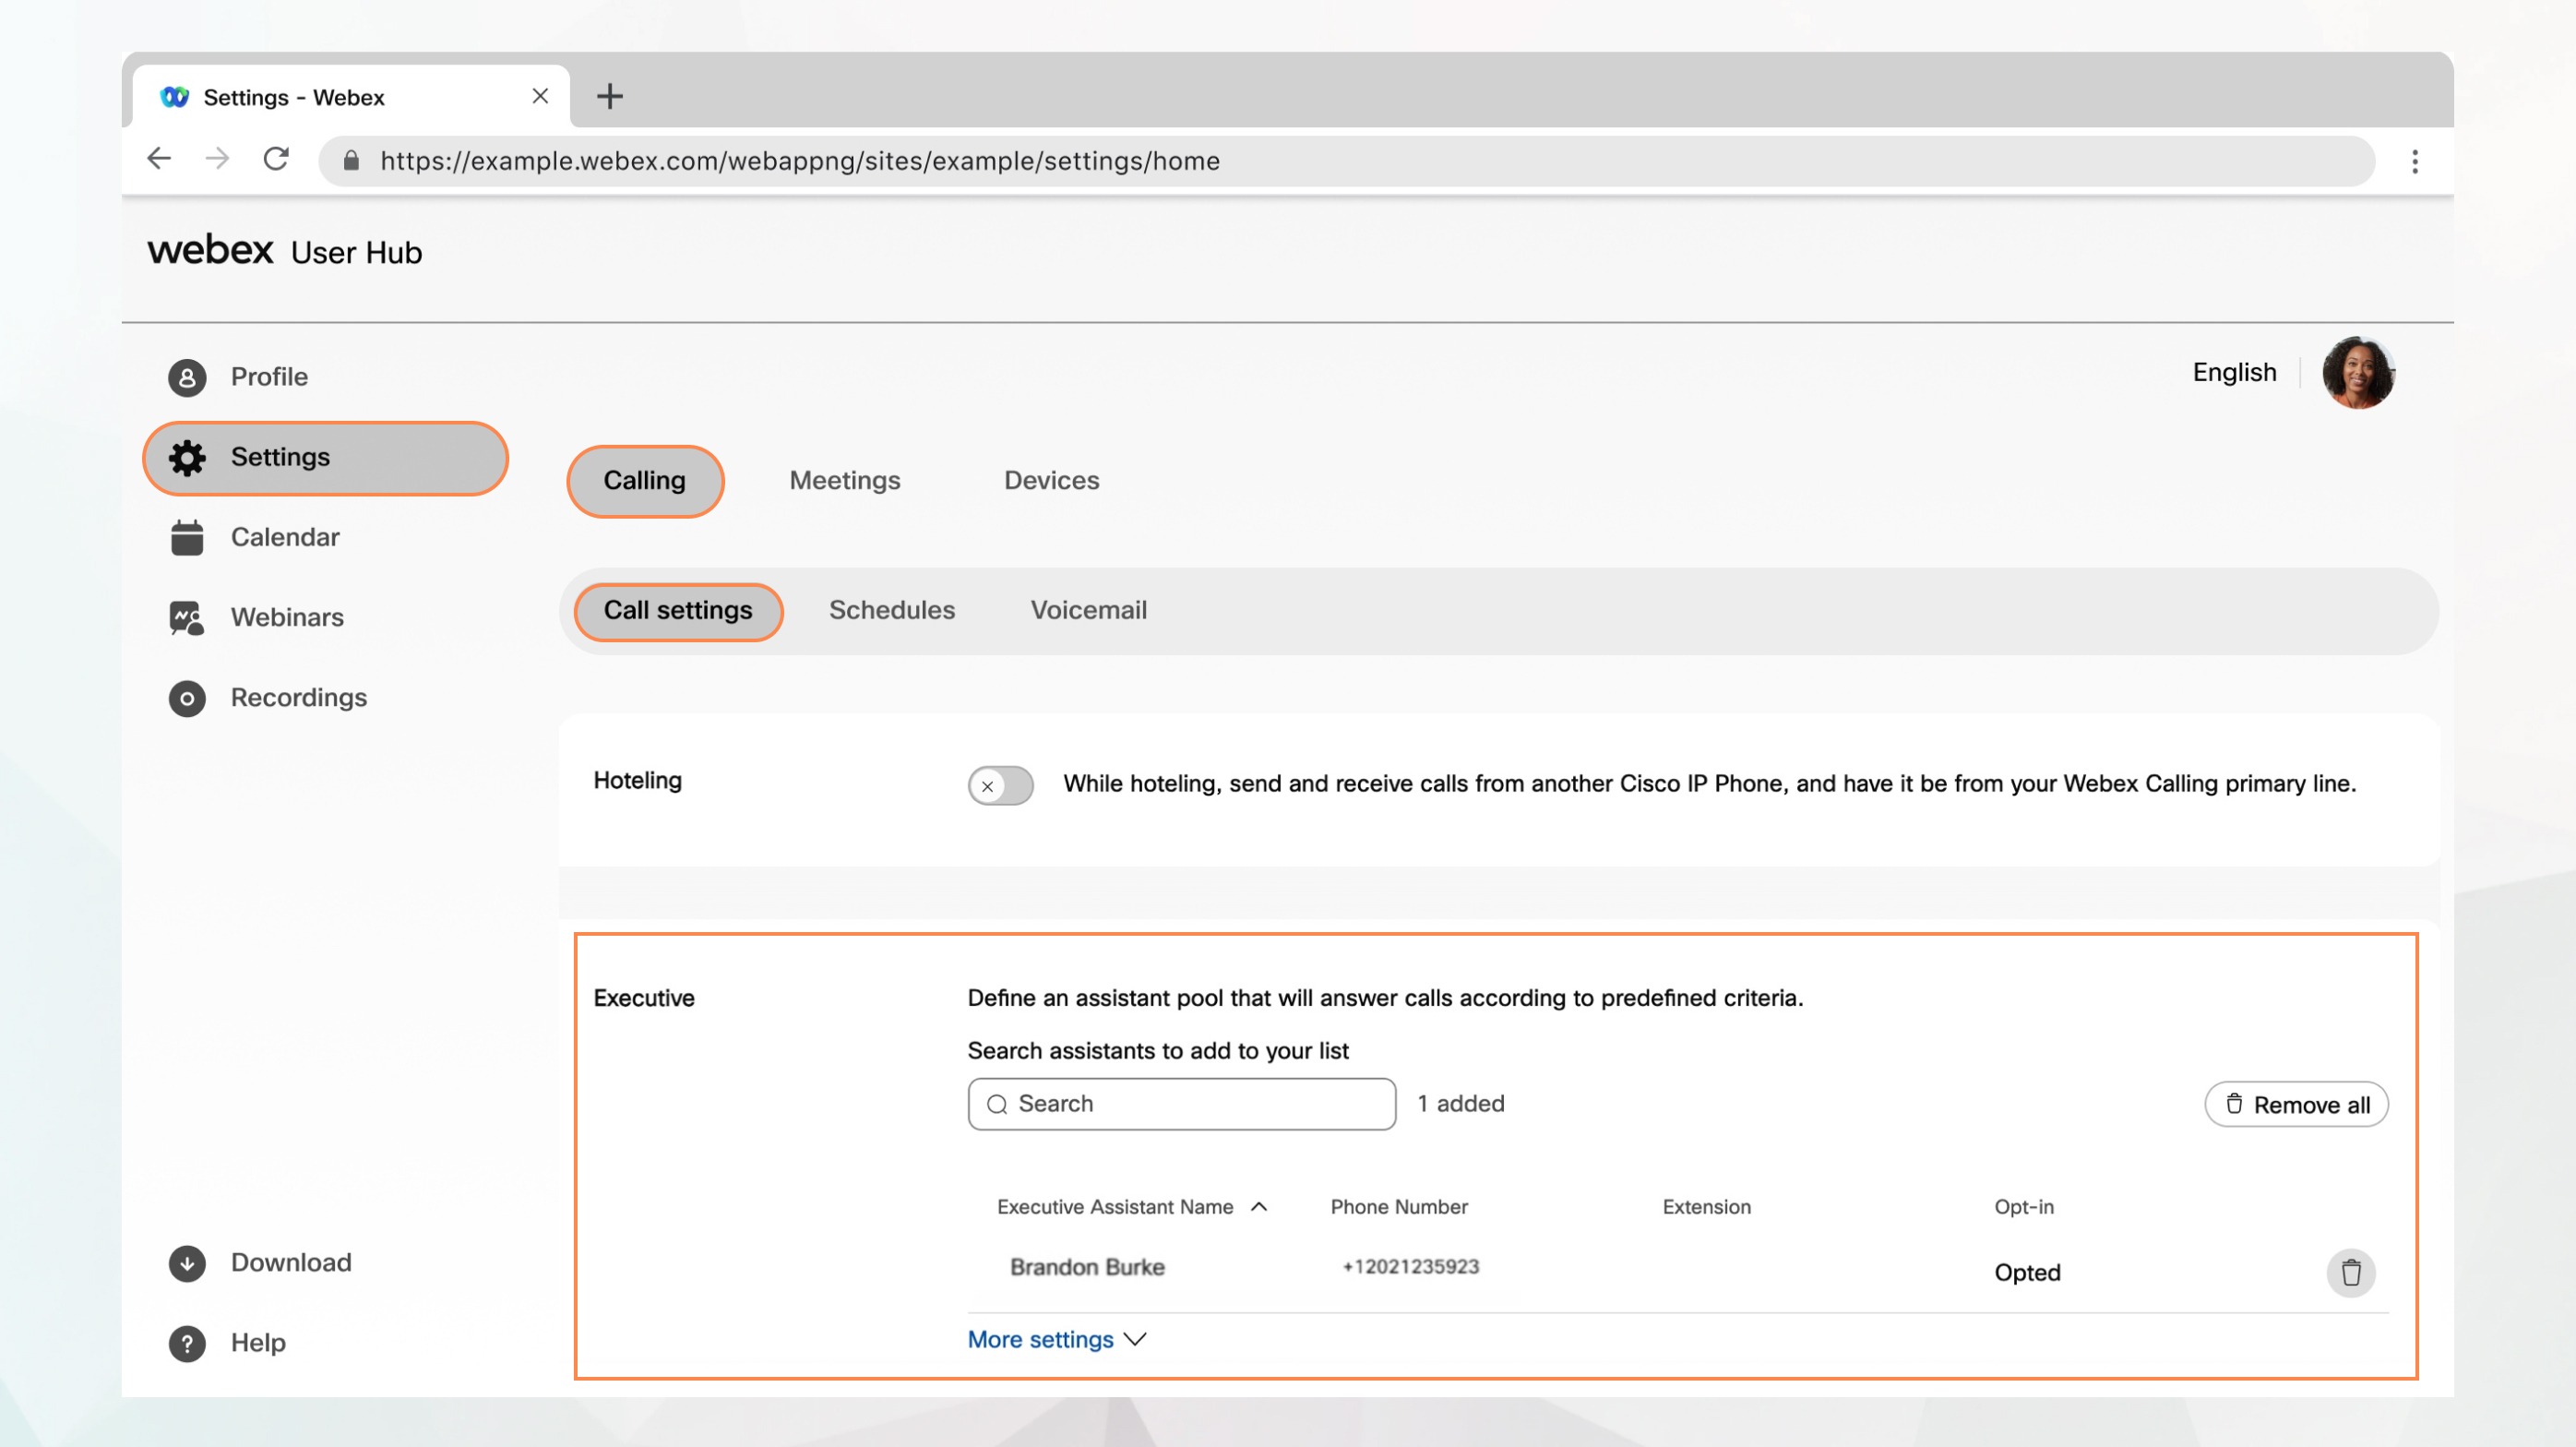
As an executive, you can add assistants to your executive pool to manage calls for you, while as an executive assistant, you can make, answer, intercept, and route calls appropriately on behalf of your executive.
Configure your executive service
As an executive, you can set when and which types of calls an assistant can handle. Assistants can opt in or opt out as needed.
Before you begin
-
Your administrator must have enabled the executive and executive assistant services for you to access and configure it. If you don’t see this setting, check with your administrator.
-
The executive must assign you to their assistant pool.
-
You can configure all the call settings from User Hub by navigating to .
The Calling option is available only for users with a Webex Calling license. If you don’t see the Calling option, it means you don’t have a Webex Calling license.
If you want to find out which calling service you’re set up with, you can check from Webex App. For more details, see Find out what calling service you have.
Set up ring options, rollover options, and caller ID presentation
With the alerting feature, you can configure ring options for inbound calls, rollover options, and caller ID presentation.
| 1 |
Sign in to User Hub. |
| 2 |
Go to . |
| 3 |
Go to the Executive section and click More settings. |
| 4 |
Choose one of the following Alerting Mode:
|
| 5 |
Choose how calls are handled if no one answers.
You can specify the time (in seconds) after which the unanswered calls are forwarded. |
| 6 |
Choose the caller ID name and number to show on the assistant's phone for incoming calls from your line. |
| 7 |
Click Save. |
What to do next
Enable call notifications to additional locations
You can choose to alert additional locations using the executive service. You can also choose to add a ring splash to these alerts.
| 1 |
Sign in to User Hub. |
| 2 |
Go to . |
| 3 |
Go to the Executive section and click More settings. |
| 4 |
Turn on Location to ring. |
| 5 |
Select the Alert Type from the drop-down menu:
|
| 6 |
Select the locations that you want to alert:
|
| 7 |
Click Save. |
Filter calls sent to your assistant
Use call filtering to decide which calls should go to your assistant.
| 1 |
Sign in to User Hub. |
| 2 |
Go to . |
| 3 |
Go to the Executive section and click More settings. |
| 4 |
Turn on Call Filtering. |
| 5 |
Choose one of the following options:
|
| 6 |
Click Save. You can activate or deactivate the call filtering option using your desk phone. Use the following Feature Access Codes (FAC), which can be entered through the phone keypad to control certain features, to activate or deactivate the call filtering options that you have set up in User Hub.
|
Assign assistants to your assistant pool
| 1 |
Sign in to User Hub. |
| 2 |
Go to . |
| 3 |
Go to the Executive section. |
| 4 |
Search and select the users to add to your assistant pool. |
| 5 |
Click Save. |
Manage your executive assistant service
If your administrator has set you up as an Assistant with the Executive Assistant feature (also known as Boss-Admin), you can make and answer calls on your manager's behalf. If you have more than one manager, you can select the appropriate line when making a call.
Opt in or out of the executive assistant feature
| 1 |
Sign in to User Hub. |
| 2 |
Go to . |
| 3 |
Go to the Executive Assistant section. The list of executives you're assigned to as an assistant is shown, along with the option to opt in or opt out.
|
| 4 |
To opt in to an executive assistant service, select the executive, then check Opt-in. To opt out, check Opt-out. |
| 5 |
Click Save. You can opt in or out of the executive assistant service by entering the respective Feature Access Codes (FAC) on the phone keypad.
|
Forward your executive assistant calls
| 1 |
Sign in to User Hub. |
| 2 |
Go to . |
| 3 |
Go to the Executive Assistant section. |
| 4 |
Enter the phone number to which the calls are to be forwarded in the Set phone number field, and select Forward filtered calls. |
| 5 |
Click Save. |


